How to Build a WordPress Business Website in 5 Easy Steps

Whether you’re an owner of a small local shop or of a new online business, whether you’re a one-man interior decorator or a two-man cake-baking company, you need to have a business website.
The reason is straightforward: your potential clients are certain to Google your name or business to understand how reliable or established you are. So, here’s how you can start from scratch and end up with a beautiful business website in just 5 easy steps.
1.Register at 10Web and Log into Dashboard
The first two decisions we suggest you make are WordPress and 10Web. Why?
WordPress is a platform that currently powers the vast majority (60%) of existing websites. It’s free and open source. Besides, it has a huge community to rely on and countless plugins to add to your site, including e-commerce. It is the obvious choice for getting started with your business website.
There is only one concern: WordPress is not easy, especially for a beginner. And that’s where we come in.
10Web has everything for turning WordPress into your best friend. You can enjoy all of the world’s best CMS’s perks without having to deal with its disadvantages.
We offer automated WordPress hosting powered by Google Cloud, an advanced website builder, a whole bundle of plugins and services, as well as top-notch customer support that’ll make having a website for your business a breeze. Let’s get right to it.
After signing up for the free trial on the 10Web homepage, go to your 10Web dashboard and click “Add website.”
Then click “Next” to host a new website!
Now you have to pick your automatically generated 10Web subdomain. Your website will always be available through this subdomain, and you can add a domain later if you want.
See How 10Web Can Benefit You
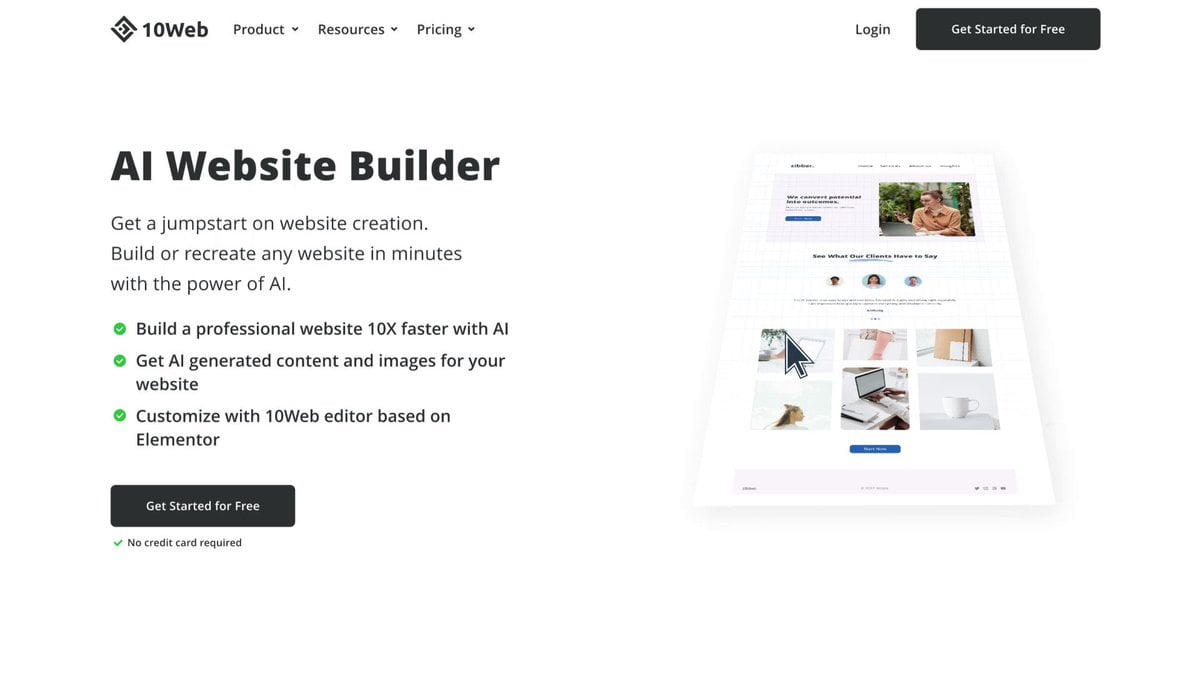
Visit our homepage to learn more about the first-ever AI-powered WordPress platform.
See How 10Web Can Benefit You
Visit our homepage to learn more about the first-ever AI-powered WordPress platform.
Let’s choose “mybusinesswebsite” as an example.

The second field is if you have purchased a domain elsewhere and want to add it. You can skip the step for now and just use the subdomain.
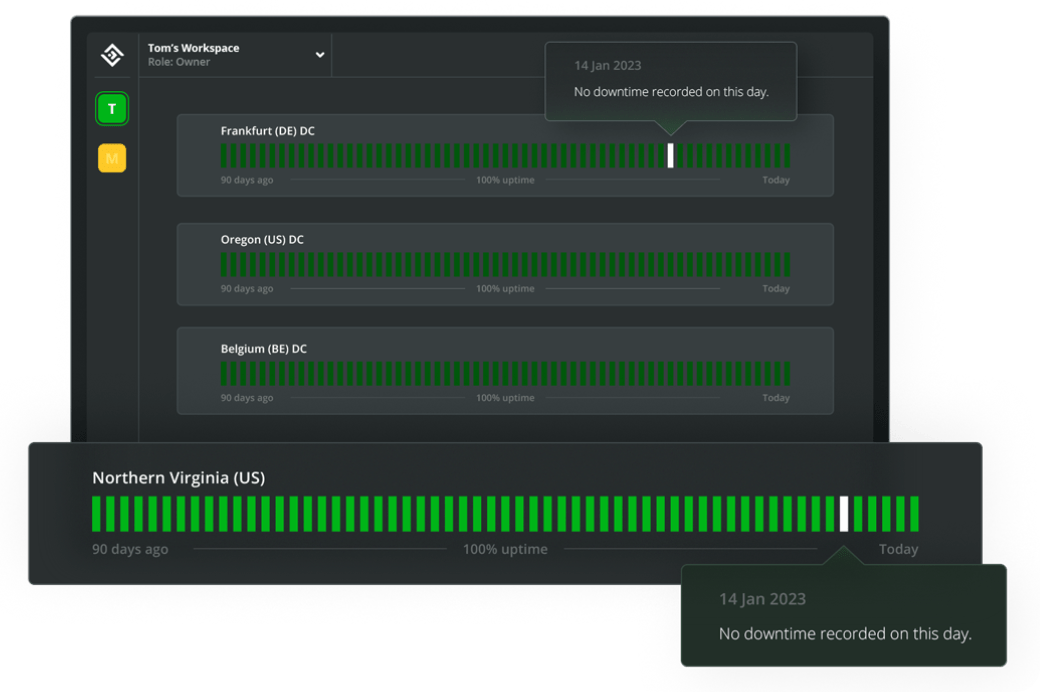
Final field is about making your website faster by choosing the data center closest to your potential user base. For example, if you’re targeting Parisians, you have to choose “Frankfurt, Germany” because it’s closest. Click “Next” when you’re done filling this out.

Now you need to fill out your website’s title, say “John’s Business,” come up with a secure username and password. Tip: Try not to use “admin,” it’s the most popular username and makes hackers’ job easier.
Click “Install” and your website is already created and hosted on Google Cloud!
You’ll then be redirected to your new website’s 10Web dashboard and can proceed with creating your business site.
2.Build Your Website
To start building your website, you need to use the awesome builder on top of Elementor we’ve developed. Click “10Web Theme & Sites” button from the menu section on the left.
You’ll see the list of all templates organized by topics. You can then choose the one that suits your business best – for example, “Cafes & Restaurants” if you’re running a bakery – and click “Import.”
After your template is done importing, click the eye in the upper left corner to take a first look at the website you got.
Now click “Edit with 10Web Builder.”
Welcome to 10Web builder on top of Elementor. Let’s start customizing your website. Firstly, click the website title to edit it and write in, for example, “John’s Bakery.” Change the sentence below it to your tagline/description in the same way.
Now the photo of a bunch of people gathering tea is not quite fitting. Right click on the image and then click “Edit section.”
Click “Style” and “Delete” the background image.
Then click the plus sign, choose “Upload,” and go with some large photo of your cupcakes.
Scrolling down you’ll see sections similar to the ones we just edited and can customize them in the same way, inserting relevant text and images. Don’t forget to edit the contact information so people can find your business!
Let’s insert the right links for social icons next. Click on the Facebook icon to edit it.
Write in the link to your business’s Facebook page in the Link section.
You can edit other social links similarly. Scrolling up you’ll see a subscription form but maybe for a bakery you’d rather have a “Contact Us” form there.
Right click and select “Edit Form” to change it. Select the “Contact Us” form from the dropdown menu.
You can easily edit this form, too, if needed, by clicking Edit form directly below.
If you have any trouble editing this form, check out this article. But you probably won’t, it’s pretty intuitive.
Now that your landing page is pretty much done, click “Update.”
Next we’ll go ahead and enable all the essential services for your website’s speed and security.
3.Enable Services
The first step toward decreasing your website’s load time is compressing all uploaded images. Click “Image Optimizer” from the left side menu and then “Enable Now.”
After the service is enabled, you’ll see the number of images ready to be optimized on the right side. Also note the three different modes of optimization you can select. Your choice should mostly depend on if you want to keep EXIF files (Conservative) and full-sized images (Conservative and Balanced).
Go ahead and click “Optimize now.”
Once your images are done optimizing, I recommend enabling automatic optimization so you won’t have to worry about it anymore. Just click the round button to enable automatic optimization.
Done!
The next important service to activate is the security service: It’ll save you a lot of headache later on. Click “Security” from the left menu and then “Enable now.”
You’ll see a number of issues, which are mostly just file additions or modifications, so unless they were done by an unauthorized source, are mostly ok and you can “Ignore” them.
In general, you should periodically “Run scan” and take the “Vulnerabilities” tab more seriously.
After you’ve activated the security service, it’s time for the backup service that’ll take care of your website if things actually go wrong. Click “Backups” and “Enable now.”
You can click “Backup now” to create your new website’s first backup.
It’s also recommended to schedule automatic backups in case you forget. Click “Scheduling” and then the round button to activate the feature.
Then set the frequency of your backups depending on how frequently you plan to make changes to your website. Say you want to offer new cupcake deals and recipes on a daily basis. Drag the button to “Daily” and click “Save.”
That’s it for backups. Let’s move on to content.
4.Fill Website with Content
Depending on the way you plan to run your business’s website, you probably have some general idea about the pages you need to create.
For example, you need an “About” page where you’ll list your bakery’s glorious history. We’ll go ahead and edit that template page.
Click the “W” button in the upper left corner to open your WordPress dashboard.
Then click “Pages.” You’ll see a number of readymade template pages which you can configure. Open “About.”
Click “Edit with Elementor.”
You can edit the title, background image, and other aspects of the page in the same way we did for the landing page. Once you’re done, click “Update” to save the changes.
The “About” page is already linked to the landing page but if you wanted to create a different button for it you could easily do that using the respective widget and its “Link” section.
5.Promoting Your Website
Creating a website for your business with 10Web is just that easy but once you’re done creating you need to take some steps to invite traffic. We recommend:
Creating a blog section and writing about the topics that might interest your business’s customers. Depending on your resource capacity and business scale, you might write it yourself or hire a couple of content writers.
Enabling 10Web’s SEO service in the same way we enabled other services and adding relevant Meta Titles and Descriptions. You can read more about it here.
Linking your website on your social media accounts and sharing the page on your pages.
Creating backlinks by guest posting for publications or online platforms relevant to your business.
Offering periodic deals and other marketing endorsements for the visitors of your website.
Listing all your products and their prices on a separate page.
Responding quickly and thoroughly to all received questions.
These are the five easy steps you need to undertake to present your business online. If you run into any issues or have any questions in the process, we’re more than happy to answer them in the comments!