Launch and grow
your
business
online with AI
Create a website using AI
Website Builder,
host
it on
10Web Hosting,
and optimize it
with
PageSpeed Booster.

All the tools you
need for
your
website
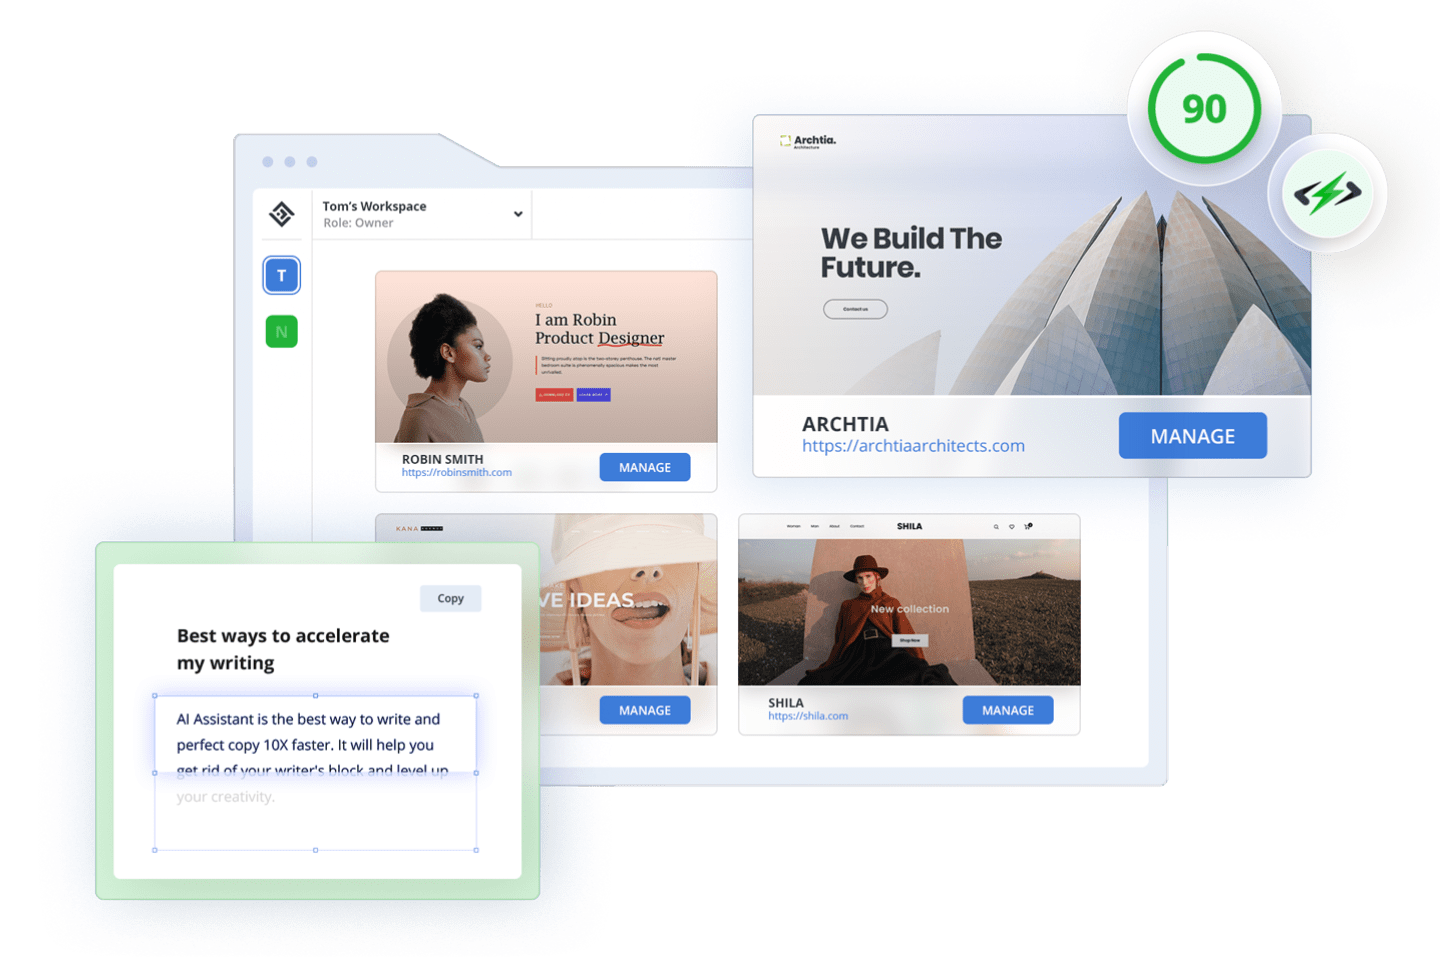
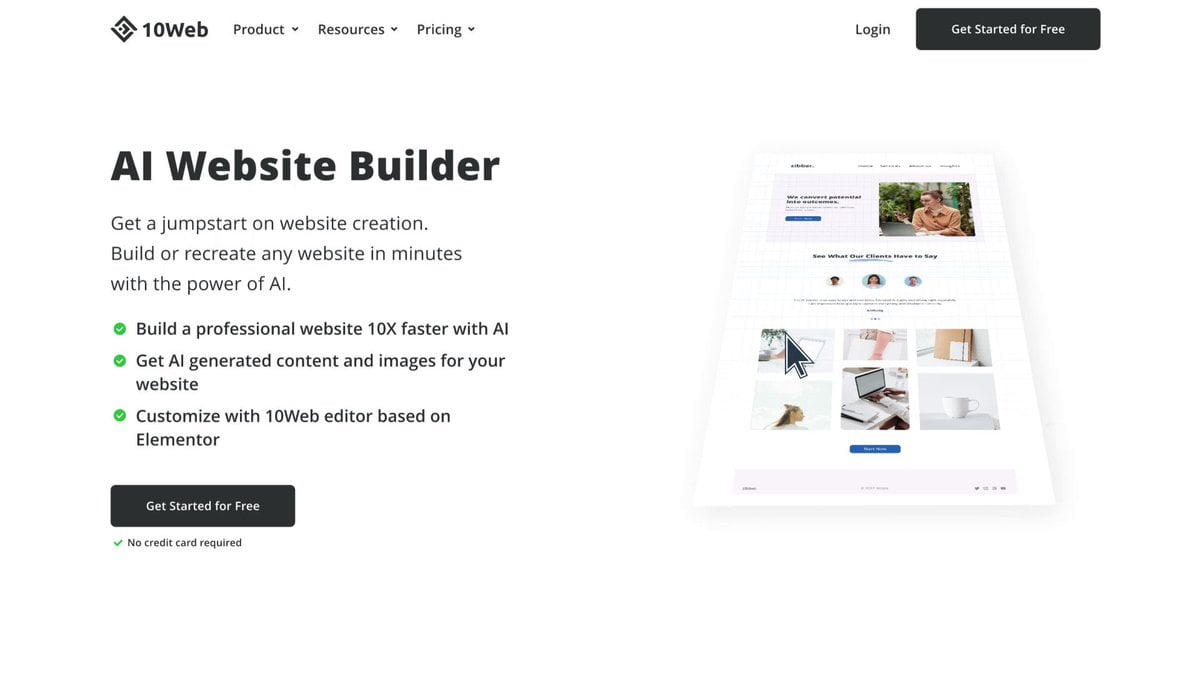
AI Website
Builder
Build or recreate any
website
with AI and get
AI generated
content
and images in minutes.
Customize it with 10Web editor based on Elementor.
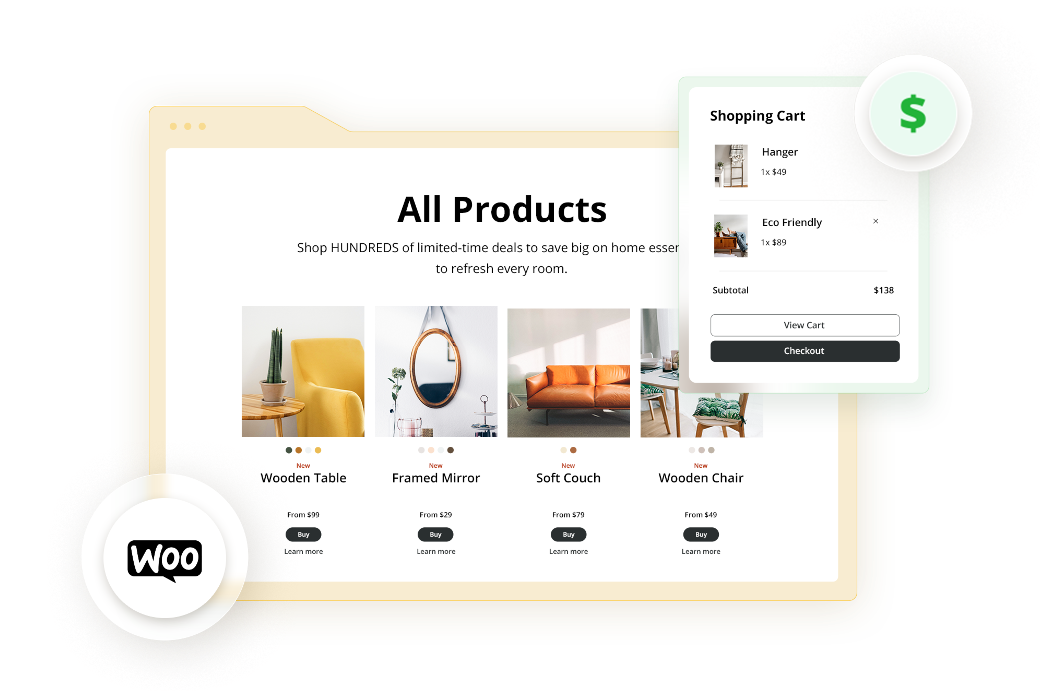
AI Ecommerce
Website Builder
Build your Ecommerce business
with the help
of AI. Easily sell
and grow anywhere, everywhere.
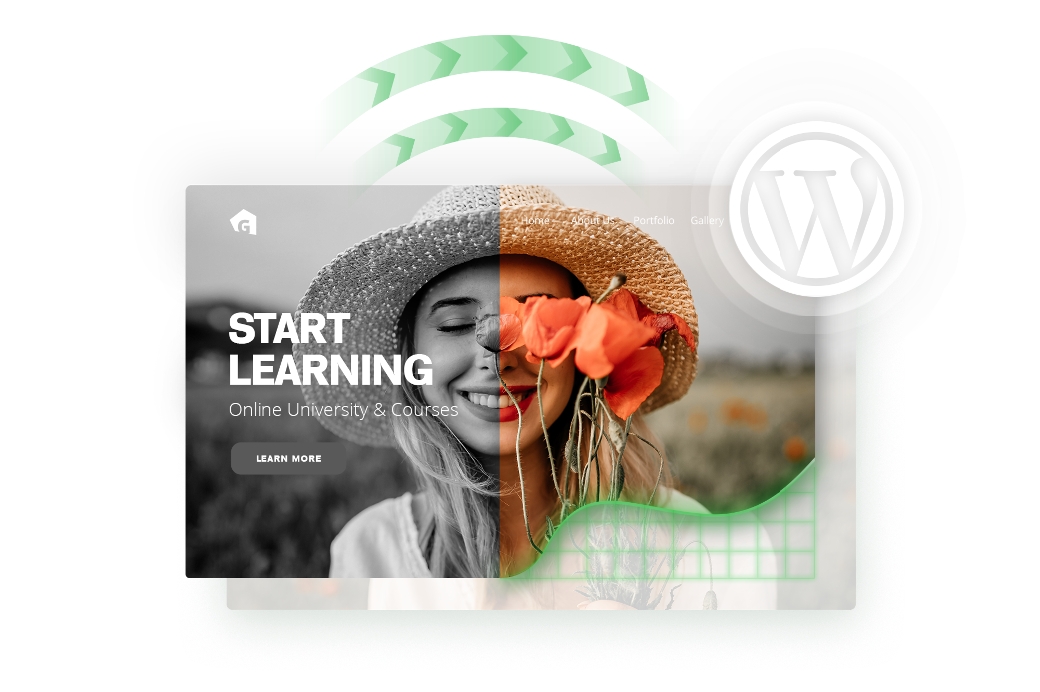
Automated
Hosting
Host your website on the fastest, fully automated hosting
for
WordPress
that’s powered
by Google Cloud.
PageSpeed
Booster
Optimize your website
to receive
a
90+ PageSpeed score, improved Core
Web Vitals, and better performance.
Build
a professional website with
the
help of AI
Create your website with
AI-generated content
and images effortlessly.
Start creating your website with AI
Create and customize your unique website
within minutes.
- Answer a few simple questions about your business
- AI will generate tailored content and images based
on your answers - Customize your content
and images - Add more pages and complete your website

Level up your
editing process
Create and customize
your unique website
within minutes.
Easily customize your website using our intuitive drag-and-drop editor and
premium widgets, all in one place.
Ensure full responsiveness across all screens, and experiment
with design elements, styles, colors, and typography.
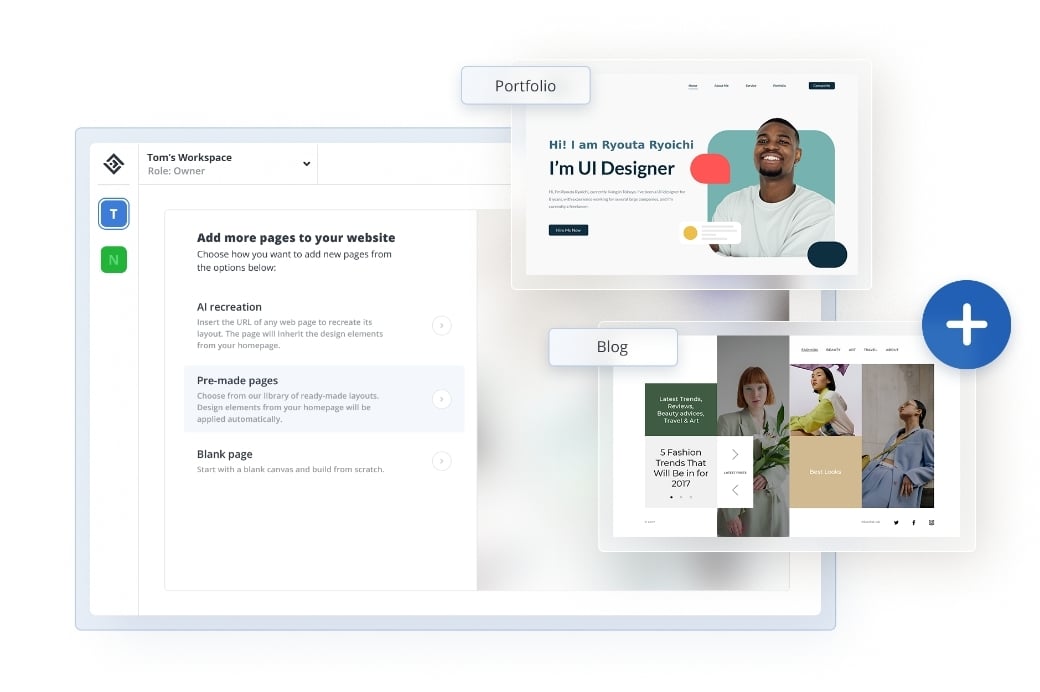
Add pages with AI
Choose the way you want to add pages and complete your website.
- Insert the URL of any web page to recreate the layout
- Choose from our library
of ready-made layouts - Start with a blank canvas and build from scratch
Recreate any website
Like a website and want
to make one similar?
Let AI
save you hours of work in
just minutes.
- Simply insert
the homepage URL - AI will copy the layout, design elements, and content
- Customize with drag
and drop editor - Add more pages and complete your website

Automated Hosting
for your website
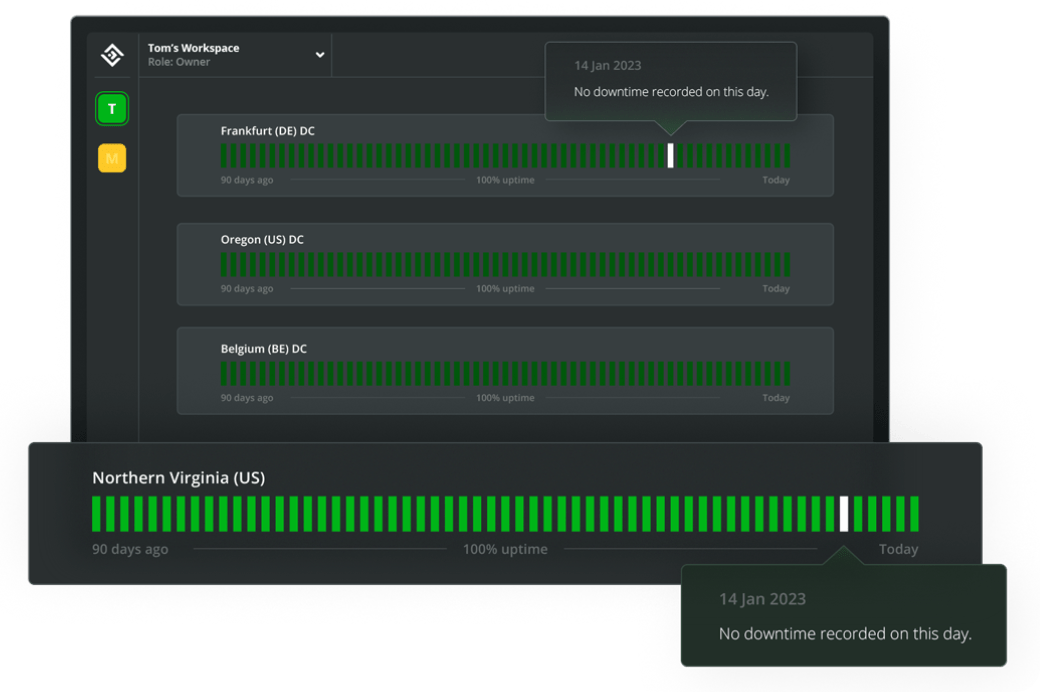
Reliable website performance
Never worry about hosting downtimes and technical maintenance again.
With 99.9% uptime and
elastic scaling, your websites will be up
and running at all times, so you can focus
on other tasks.
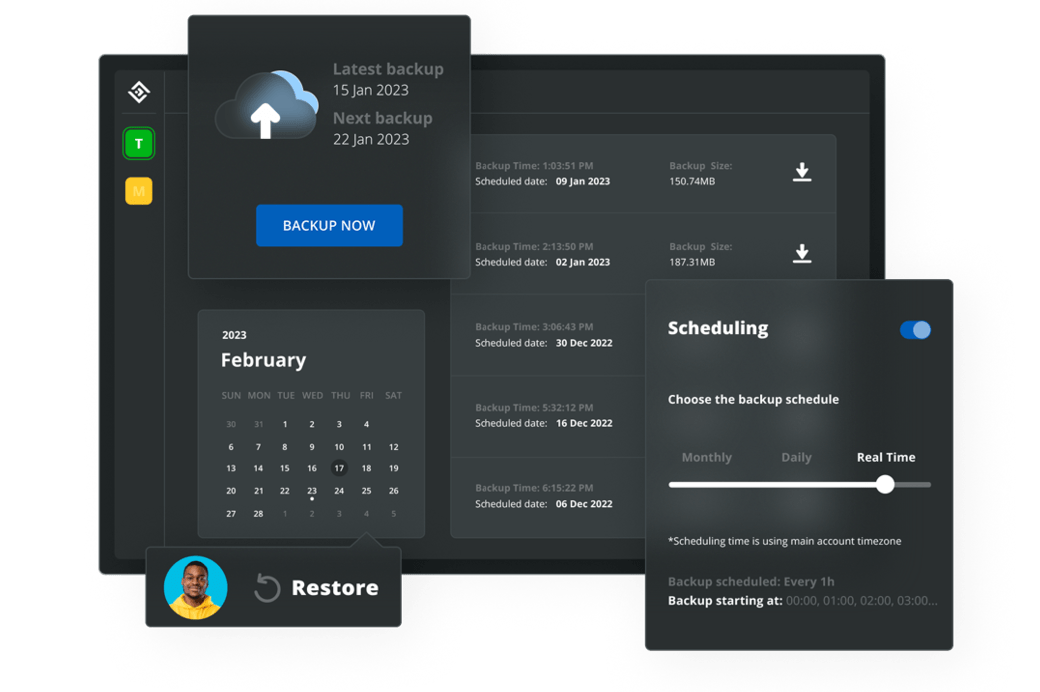
Real-time backups
Set and schedule real-time backups for all your websites
using
10Web. Our service guarantees that you’ll never experience any data loss and can focus on other aspects
of your website.
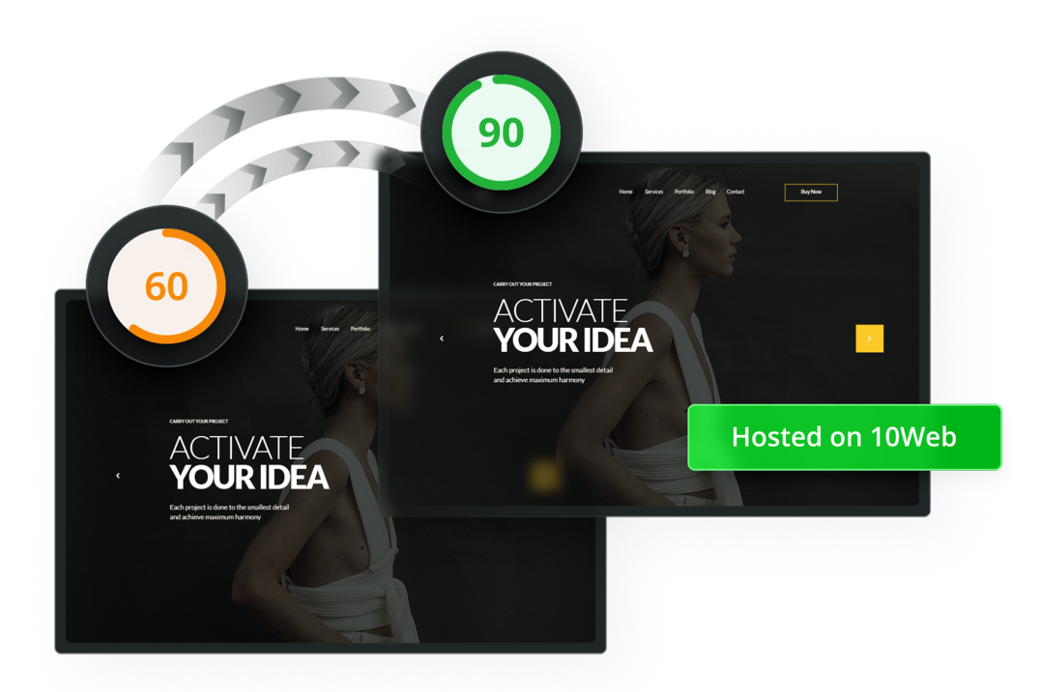
1-click migration
Save time on migrating any website to 10Web and
avoid
dealing with technical
issues. Immediately get
an optimized copy of your
website hosted on 10Web
with 90+ PageSpeed Score.
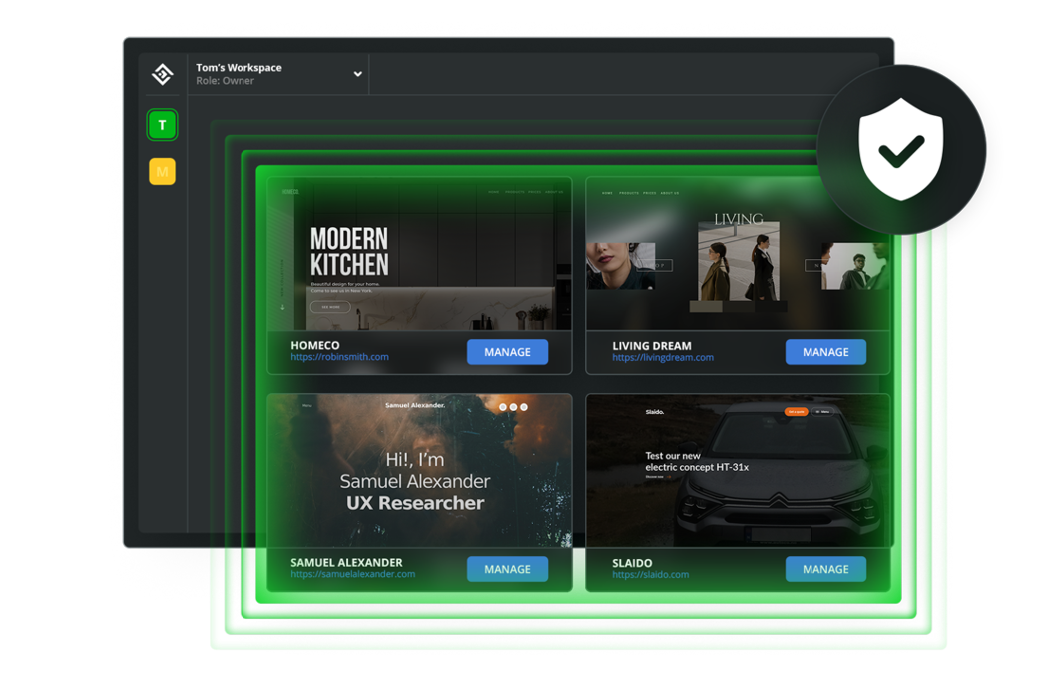
Security
Here at 10Web we value security above all else.
We monitor
all websites hosted on 10Web for security breaches, malware detection, DDoS attacks, preventing
brute force attacks, and more.
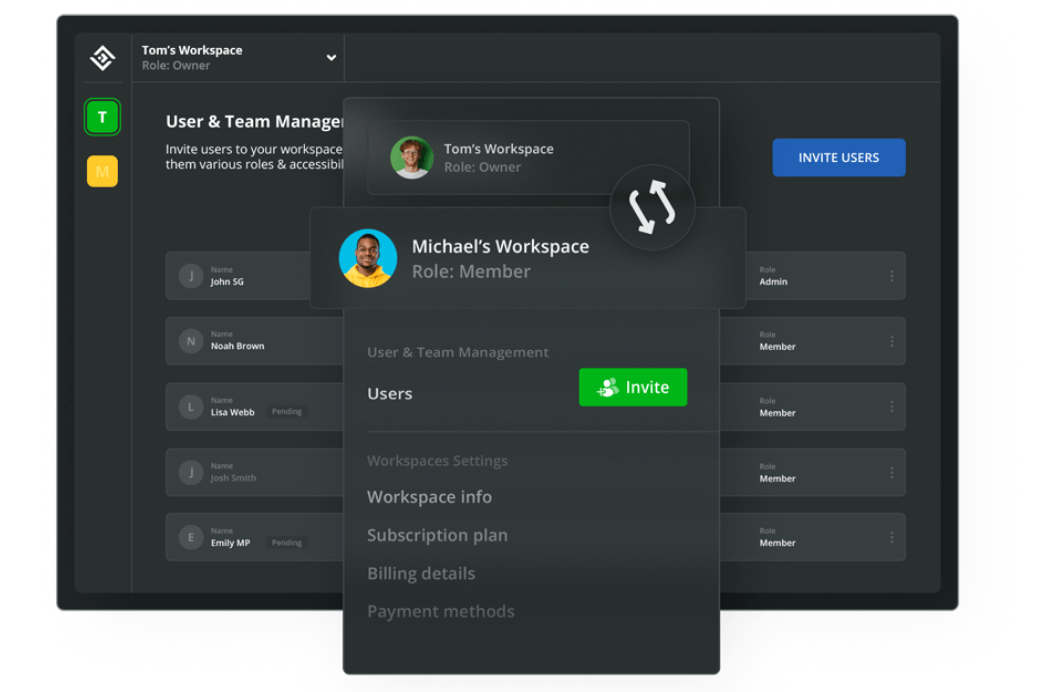
User & team management
Collaborate with your team members and clients from
one workspace.
Invite your team to your workspace,
give them granular access to work on different aspects
of the site.
Scale your Ecommerce business
Experience unlimited growth opportunities for
your Ecommerce business with 10Web.
Get unparalleled performance, reliability,
and ease-
of-use with 10Web
AI Ecommerce Website Builder.
 AI Website Builder integration
- Product page customization with AI
- Product description generation with AI
- Easy-to-use dashboard
for product management - Inventory and order tracking
- WooCommerce powered backend
AI tools for your business success
AI Business
Name Generator
Effortlessly generate captivating
and memorable business names
using AI,
at no cost.
AI Marketing
Strategy Generator
Leverage the power of AI
to create your winning marketing
strategy
and achieve exponential
revenue growth.
WordPress
AI Assistant
Write and perfect SEO-optimized content with
AI 10X faster
in Gutenberg and
Classic Editor.
AI Assistant
SEO Pack
Improve your website SEO,
increase
your website rankings
and fix SEO
and readability errors
in Yoast SEO.
Automated PageSpeed
Booster
with Cloudflare CDN
Supercharge your website’s performance and speed with ease.
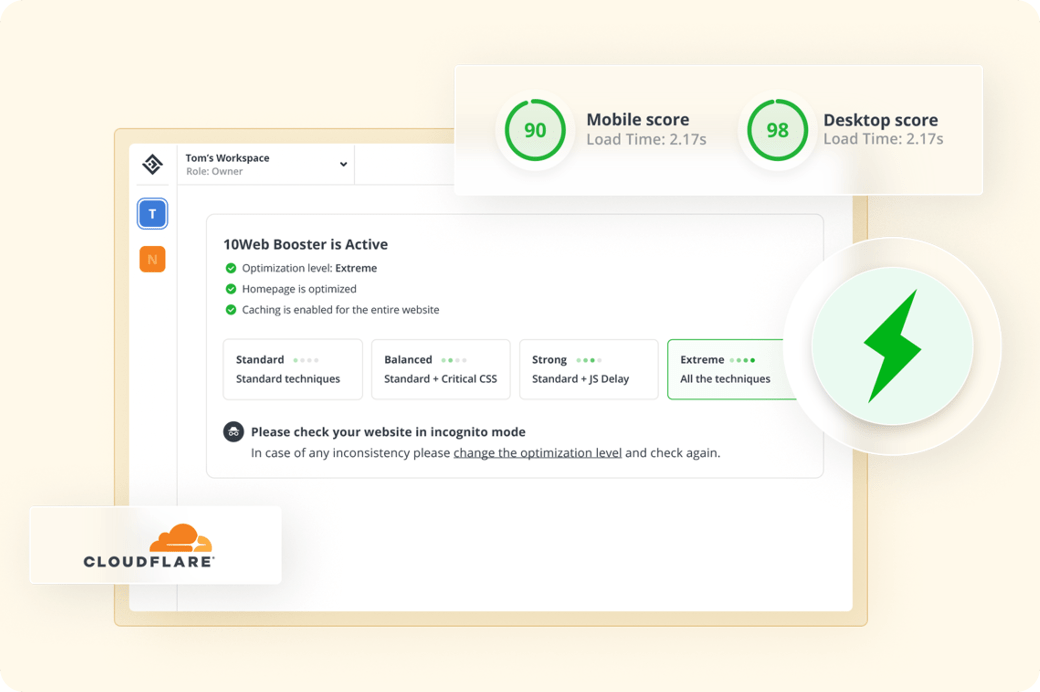
Website optimization
Complete frontend
optimization on any hosting that gives
WordPress websites:
- 90+ PageSpeed score
- Improved Core Web Vitals
- 50% faster load times
- Higher rankings on Google
- Better UX and website performance
Image optimization
Optimize all images on your website for faster loading:
- WebP conversion
- Container-specific image resizing
- Image lazyload
- Auto-optimization of new uploads
Cloudflare CDN
Reduce latency and load times and improve performance by enabling Cloudflare Enterprise CDN:
- Enterprise CDN
- Full page cache
- DDoS and bot protection
- Free SSL certificate
- Web application firewall
- Mobile optimization with Mirage
Get the priority support you
deserve
At 10Web your websites’
security and performance
is
our number one priority.
24/7 live chat support
Reach out to us anytime.
We’re ready to take on any
WordPress question.

Dedicated Slack channel
Connect with our engineers
and work with them directly to
solve any issues
as quickly as possible.

100s of influencers love 10Web
Experience the revolutionary impact of 10Web in the digital landscape.
Unlock the potential of AI firsthand.


Are you struggling to build your personal website?
Don’t worry! AI can help you create it only in 3 steps.
Here’s how to build your dream website with AI (in minutes):


1) Creating your first website
1. Create an account on http://10web.io
2. Answer a few simple questions about your business
3. Let AI generate tailored content and images based on the answers
Next, you’re going to…


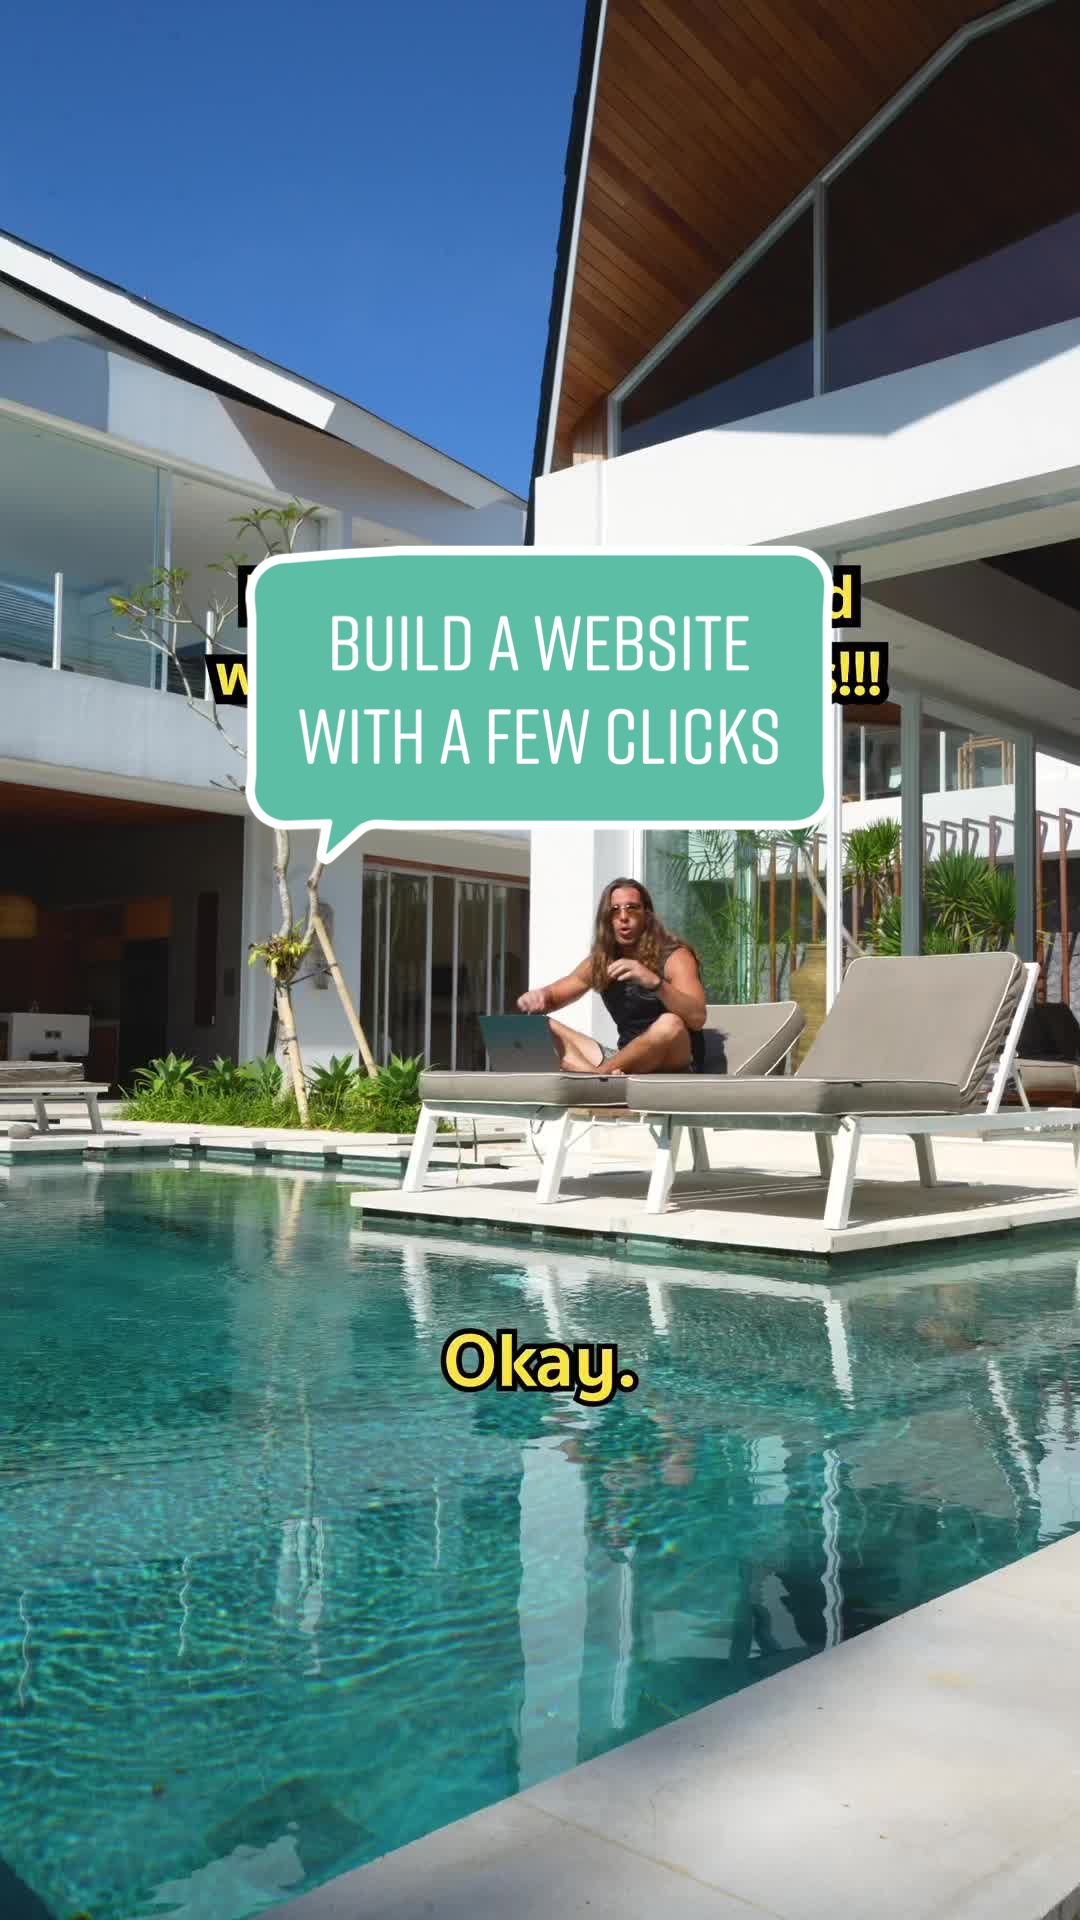
Things have changed for web developers. AI tools can save you writing hours of code and deliver websites in 5 minutes. Let me show you how:


2010: Hire an expensive developer 2023: Build a website in minutes using AI I bet this tutorial on building a website with AI will blow your mind:

ChatGPT can create almost anything. But it can’t create a website. Here’s how to create a whole website in seconds using AI:


FAQ
Image optimization does several things. First it converts images to WebP format, which drastically reduces the size of your website images, allowing them to quickly load.
Second, it implements container-specific image resizing, which creates small size images and displays them instead of full-size images for visitors using small-screen devices.
Third, image optimization implements lazy-loading and preloading of images, two techniques ensuring fast webpage loading with instant on-demand image display.
On top of that, with Cloudflare’s Mirage optimization, we optimize all images based on device and network connection types for each mobile visitor