What Is Gravatar in WordPress
If you’ve ever noticed how your profile picture shows up consistently across different websites when you leave comments, that’s thanks to Gravatar. A Gravatar, or Globally Recognized Avatar, is an image that follows you from site to site, appearing next to your name when you interact online. It’s like having an online ID that makes your presence recognizable.
In WordPress, Gravatars play a key role by allowing users to establish a visual identity. When you set up a Gravatar, this image will automatically display next to your comments and posts on any WordPress site that supports it. This helps with identification as well as boosts engagement by making your commentary more personal and relatable.
Setting up a Gravatar is simple. Once you create an account and upload your image on the Gravatar website, it links to your email address and starts appearing wherever you use that email. This integration can make your online interactions more cohesive and professional. Gravatars are supported by many platforms beyond WordPress, including Slack, GitHub, and Stack Overflow, ensuring your avatar is recognized widely across the web.
Gravatar in WordPress
Gravatar in WordPress helps you establish a consistent identity across various websites. It allows your profile image, or avatar, to appear alongside your comments and posts.
When you comment on Gravatar-supported sites, your custom avatar displays next to your name. This helps others recognize you and builds your online presence. You need a WordPress.com account to use Gravatar. Once registered, your avatar works across multiple platforms, like WordPress, Slack, and GitHub.
The benefits of using Gravatar
Using Gravatar has several benefits.
First, it builds trust and credibility by adding a face to your name. This helps others engage with you.
Second, it enhances your profile by showing a consistent avatar across various websites, boosting recognition.
Third, it fosters a sense of community. A recognizable avatar helps others remember you and creates a more personal interaction.
Gravatar is free and easy to set up, providing a seamless experience on WordPress and other platforms.
Setting up your Gravatar account
After learning what is Gravatar in WordPress, you can get started with Gravatar on your site. You’ll need to create a Gravatar account, link your email addresses, upload an avatar, and then crop and adjust it to fit perfectly. Here’s how you can do it step by step.
Create a Gravatar account
First, visit the Gravatar website and click on the Create Your Own Gravatar button. You’ll be prompted to sign in using your WordPress.com credentials. If you don’t have a WordPress.com account, you must create one by clicking Sign Up and following the instructions to set your username, password, and email address.
Once you log in, Gravatar will automatically link to your WordPress.com profile. This integration allows Gravatar to pull relevant details, making the setup quick and seamless.
Link your email addresses
After logging in, you need to link the email addresses you use across different platforms. Each email address can have its own unique avatar.
Go to the Manage Gravatars section on the Gravatar website. Click on Add a new email address and enter the email address you wish to associate with a new avatar. Confirm your email address by following the instructions sent to you. Repeat this process for any additional email addresses you want linked to different avatars.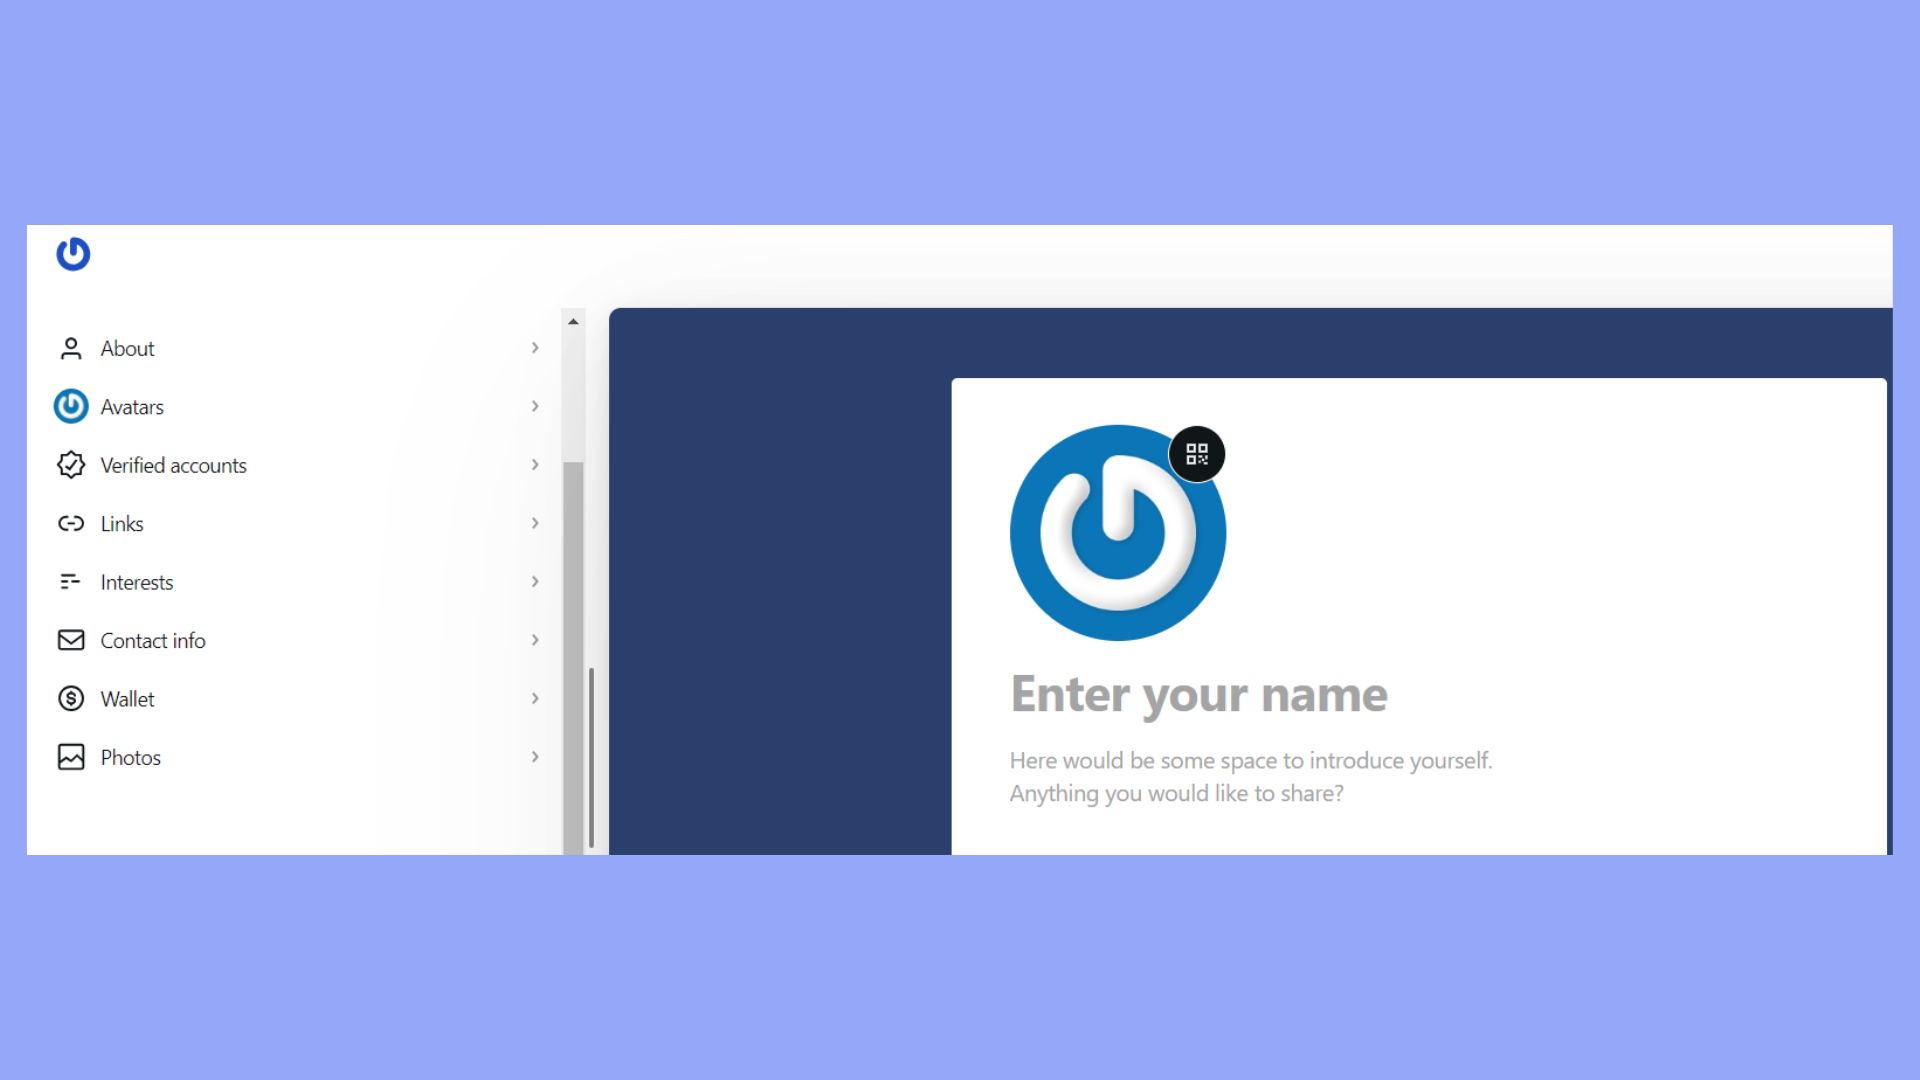
Upload your avatar
Once your email addresses are linked, you can upload your avatar. Go to the Add a New Image section and click the Add one by clicking here link.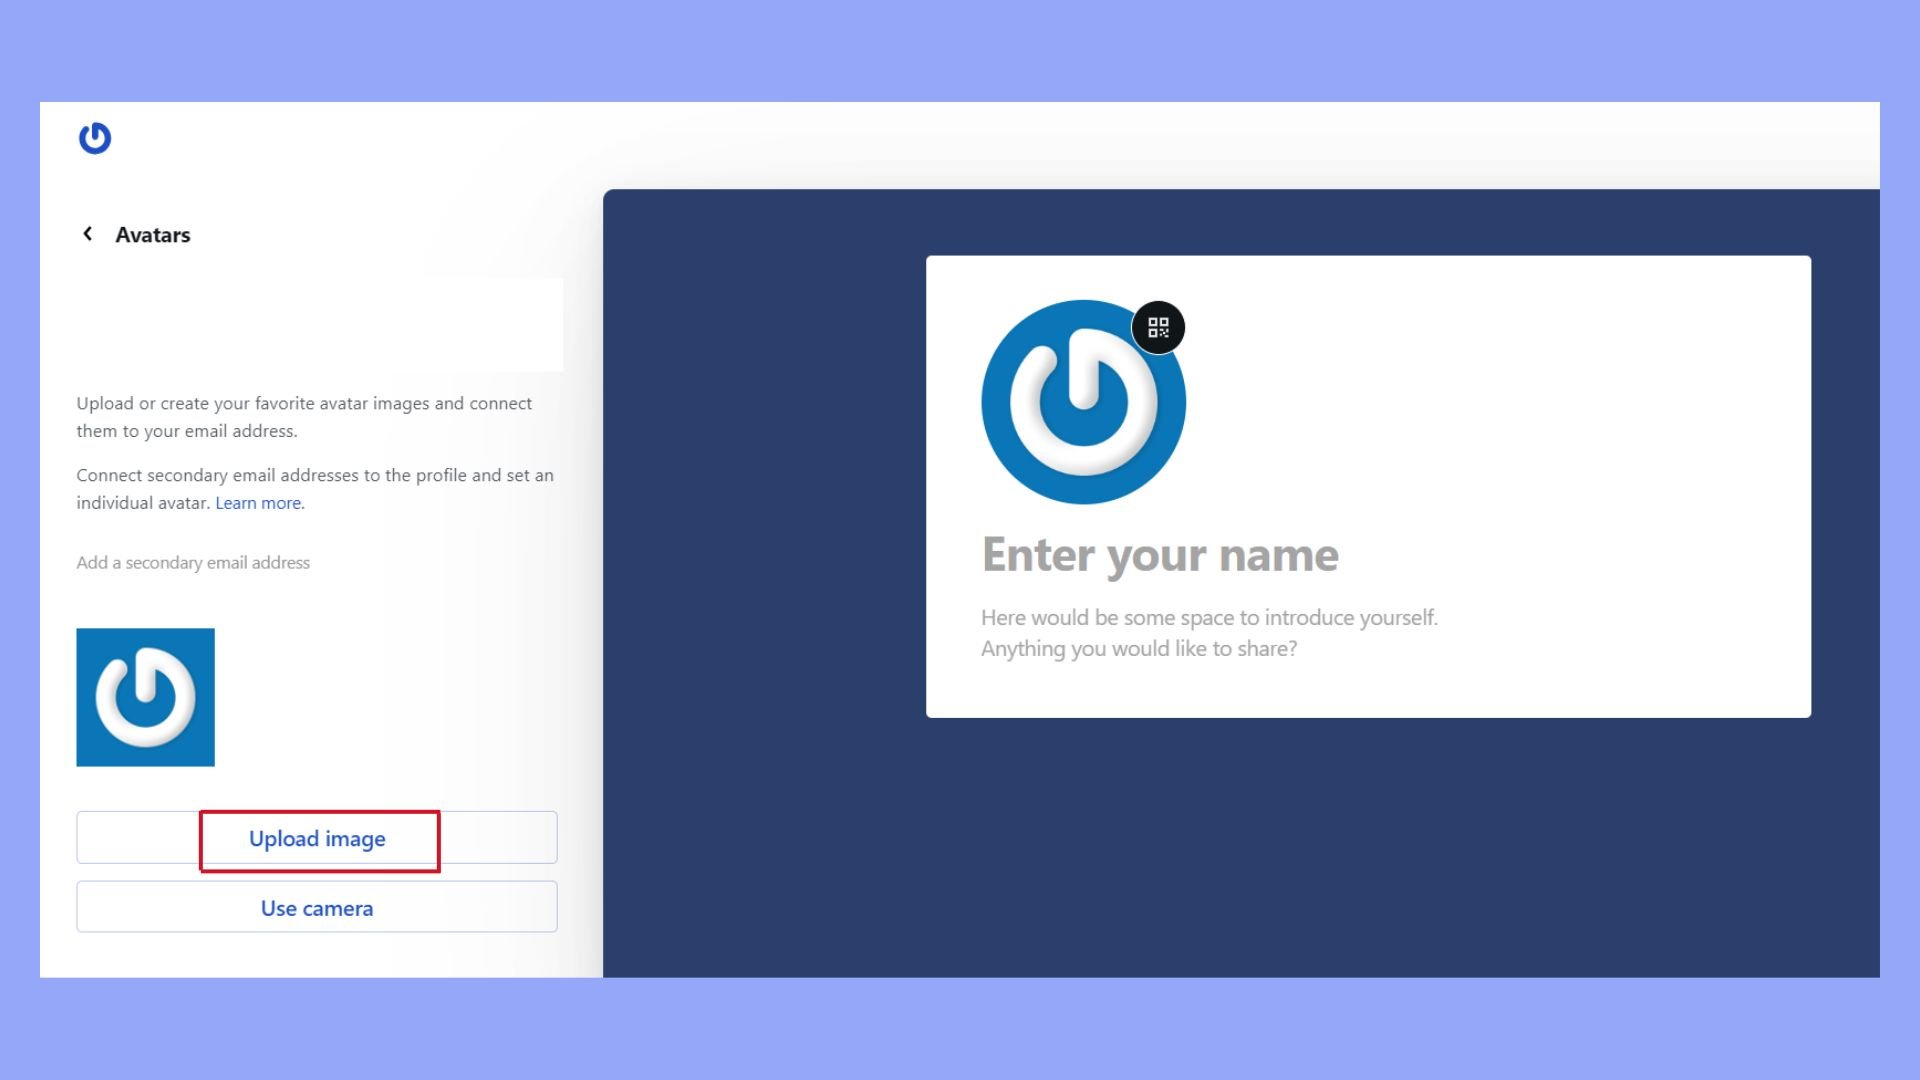
You can choose to upload an image from your computer, import one via URL, or use a previously uploaded image. Ensure that the image you select is a clear representation of what you want to show as your profile picture across different platforms. The image should be in a common format such as JPEG or PNG.
Crop and adjust your avatar
After uploading your image, Gravatar will guide you to the cropping tool. Adjust the cropping tool to focus on the most important areas of your avatar. You can resize and move the cropping box to ensure that your profile picture looks good in different sizes.
Once you are satisfied with the crop and adjustment, save the changes. Your new avatar will now be associated with the linked email addresses and will automatically appear on any site that supports Gravatar, such as WordPress, Slack, and GitHub.
Configure Gravatar on your WordPress site
To set up Gravatar on your WordPress site, you will need to access the settings and choose how avatars will appear. This involves enabling Gravatars, selecting default and custom avatars, and managing avatar ratings.
Access Gravatar settings
First, log in to your WordPress dashboard as an administrator. Navigate to Settings > Discussion. Here, you’ll find the section for configuring avatars.
Make sure to check the box for Show Avatars to enable Gravatars on your site. This allows Gravatars to display next to comments and posts. You can also adjust other settings related to avatars in this section.
Choose default and custom avatars
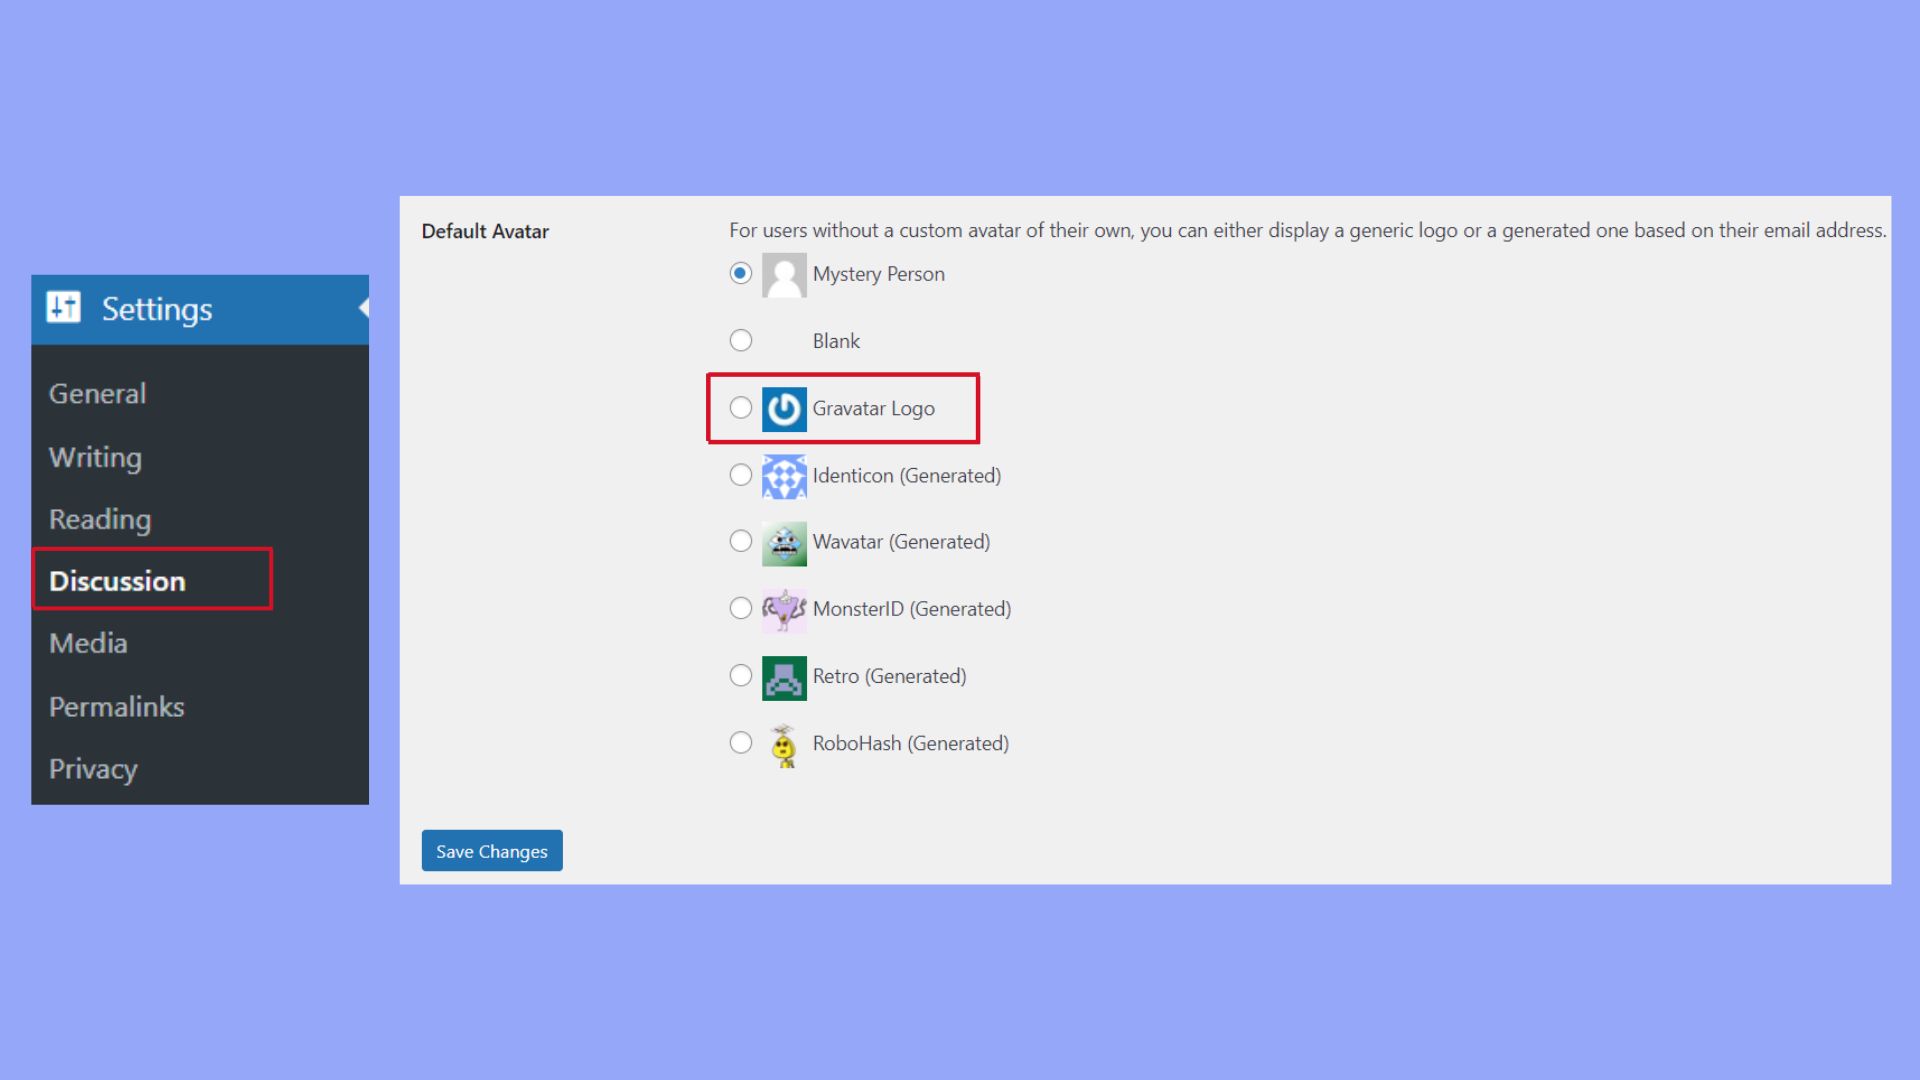
In the same Discussion settings, under the Avatar section, you have options for choosing your default avatar. This is the image that appears when a user does not have their own Gravatar set up.
Default Avatar: Select from several pre-made options like Identicon or Wavatar.
Custom Avatar: If you prefer a unique avatar, you can upload a custom image to represent users without Gravatars. This helps maintain a consistent look on your site.
Manage avatar ratings
WordPress allows you to control the types of avatars displayed through Maximum Rating settings.
You can choose from the following ratings:
- G: Suitable for all audiences.
- PG: May contain some content unsuitable for children.
- R: Restricted, may have adult content.
- X: Explicit content, not recommended for most sites.
Selecting the maximum rating ensures avatars on your site meet your content standards.
By clearly defining these settings, you’ll be able to tailor how Gravatars appear, enhance user interaction, and maintain site aesthetics.
Interacting with Gravatar as users and commenters
Using Gravatar allows you to bring consistency to your online presence. You can easily manage how your avatar appears on different websites.
Viewing Gravatar in comments
When you leave a comment on a WordPress blog or page, your Gravatar is shown next to your comment if you used the registered email of your Gravatar account. This helps others recognize your contributions across different websites.
Blog owners can enable or disable Gravatars in the Settings > Discussion section of their WordPress dashboard. They can also set a default avatar for users who don’t have a Gravatar. These avatars can make the comment section look more engaging and professional.
Gravatar hovercards and profiles
Gravatar Hovercards offer more information about the commenter when you hover over their Gravatar. This usually includes a brief bio, contact links, and social media profiles. It helps build trust and more meaningful connections.
To create or edit your Hovercard, log in to the Gravatar website with your account. Complete the profile with details like your name, bio, and additional links. Hovercards are a great way to add a personal touch to your comments and increase your online visibility.
In conclusion, when learning what is Gravatar in WordPress, we discussed that it is integral to building a consistent and engaging online presence, allowing your personal or brand identity to be recognized across multiple platforms with ease. By setting up a Gravatar linked to your email addresses, you ensure that your image appears wherever you comment or post, enhancing trust and interaction within the digital community.
Subscribe to AI insights
- The latest trending AI news
- How AI boosts efficiency at 10Web
- In-depth reviews of AI tools
- Entrepreneurial wisdom and insights
- Valuable business growth tips
Share article
-
 Copy
Copy
-
-
-