What Is the WordPress Admin Dashboard
The WordPress admin dashboard is the first screen that will be visible when you log into the administration area of your website. It is the control panel for the entire WordPress website that serves as an overview and is where you can create and manage all content about the website. You can always navigate to the WordPress admin dashboard by adding /wp-admin to the end of your WordPress website.
Understanding the WordPress Dashboard
The WordPress admin dashboard is the hub where you manage your website. It includes tools for creating content, checking site health, and staying updated with WordPress news.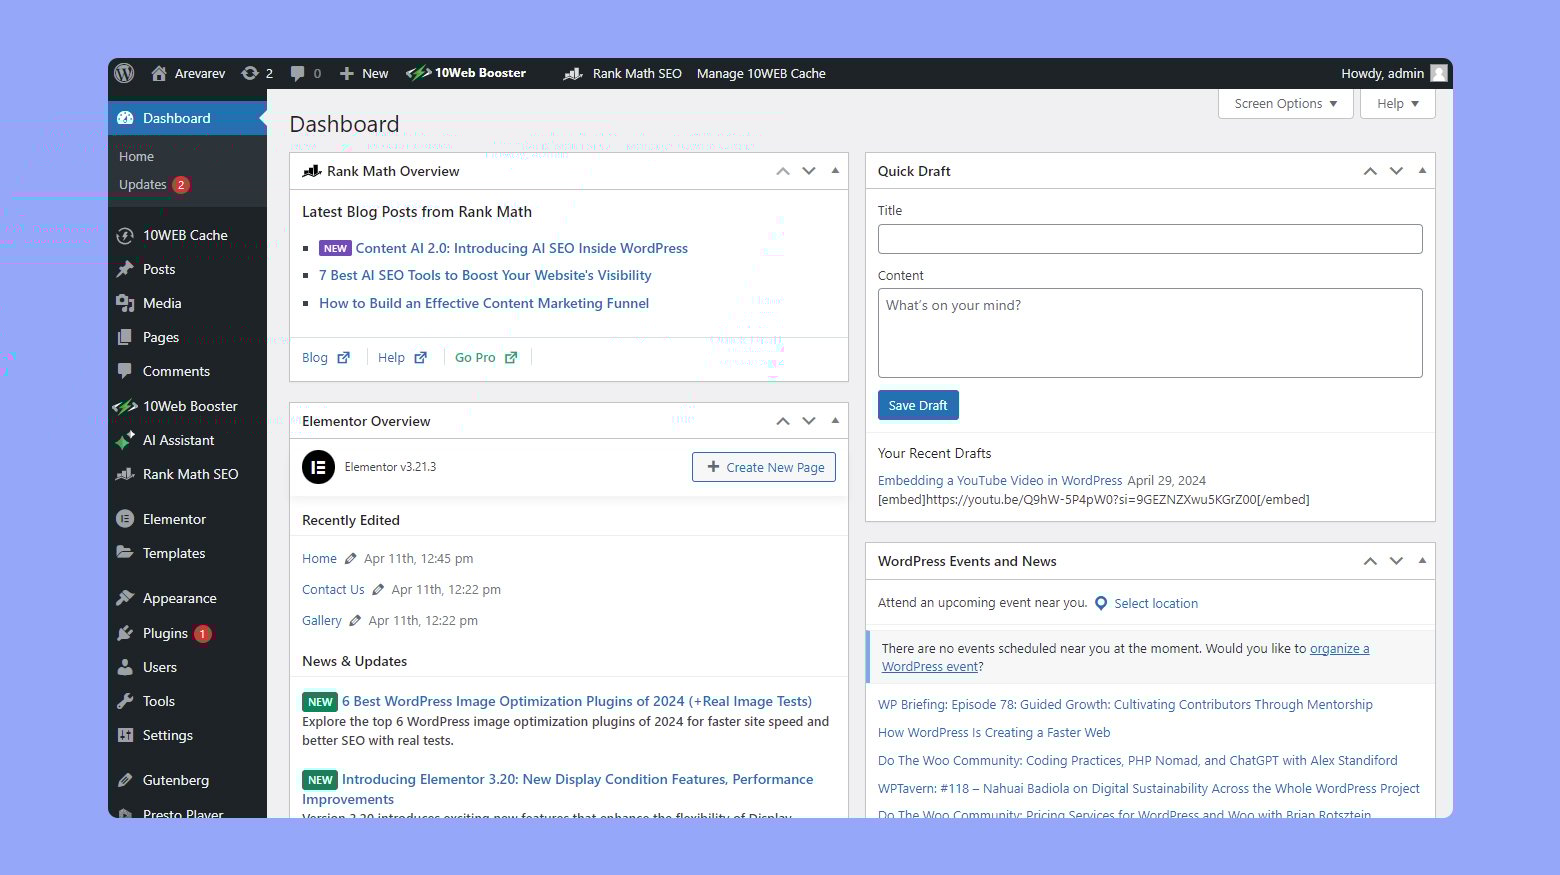
Dashboard overview
When you first log in to WordPress, you’ll land on the Dashboard Home tab. This is the control center for your site. Here, you can get a quick overview of what’s happening. You can also find shortcuts to common tasks and notifications about updates or issues.
You’ll see several sections, such as At a Glance, Activity, and Quick Draft. Each section provides essential information to help you manage your site effectively.
At a glance widget
The At a Glance widget shows you important statistics about your site.
You’ll see the number of posts, pages, and comments. It also displays what version of WordPress you’re using and your current theme. This widget gives you a quick snapshot of your site’s content and software status.
Clicking on these numbers takes you to their respective sections, making navigation simple. This widget helps you stay informed about the core aspects of your site.
WordPress events and news
The WordPress Events and News section keeps you updated on the latest happenings in the WordPress community.
You can find information about upcoming local events like WordPress meetups and WordCamps. News articles about updates, new features, and best practices exist. This section keeps you connected with the wider WordPress community and helps you stay informed about developments and opportunities.
Managing content and structure
Effectively managing your WordPress site involves organizing your posts, pages, media files, categories, and more to create a seamless experience for both you and your visitors.
Posts and pages
Posts are time-sensitive entries that appear in reverse chronological order on your site. Think of them as blog entries or news articles. To create a post:
To add a post you go to Posts in the dashboard, click Add New enter your content, and click Publish.
Pages are static and meant for permanent content such as an “About Us” page. To create a page, you should go to the Pages, select Add New, enter the content and press Publish.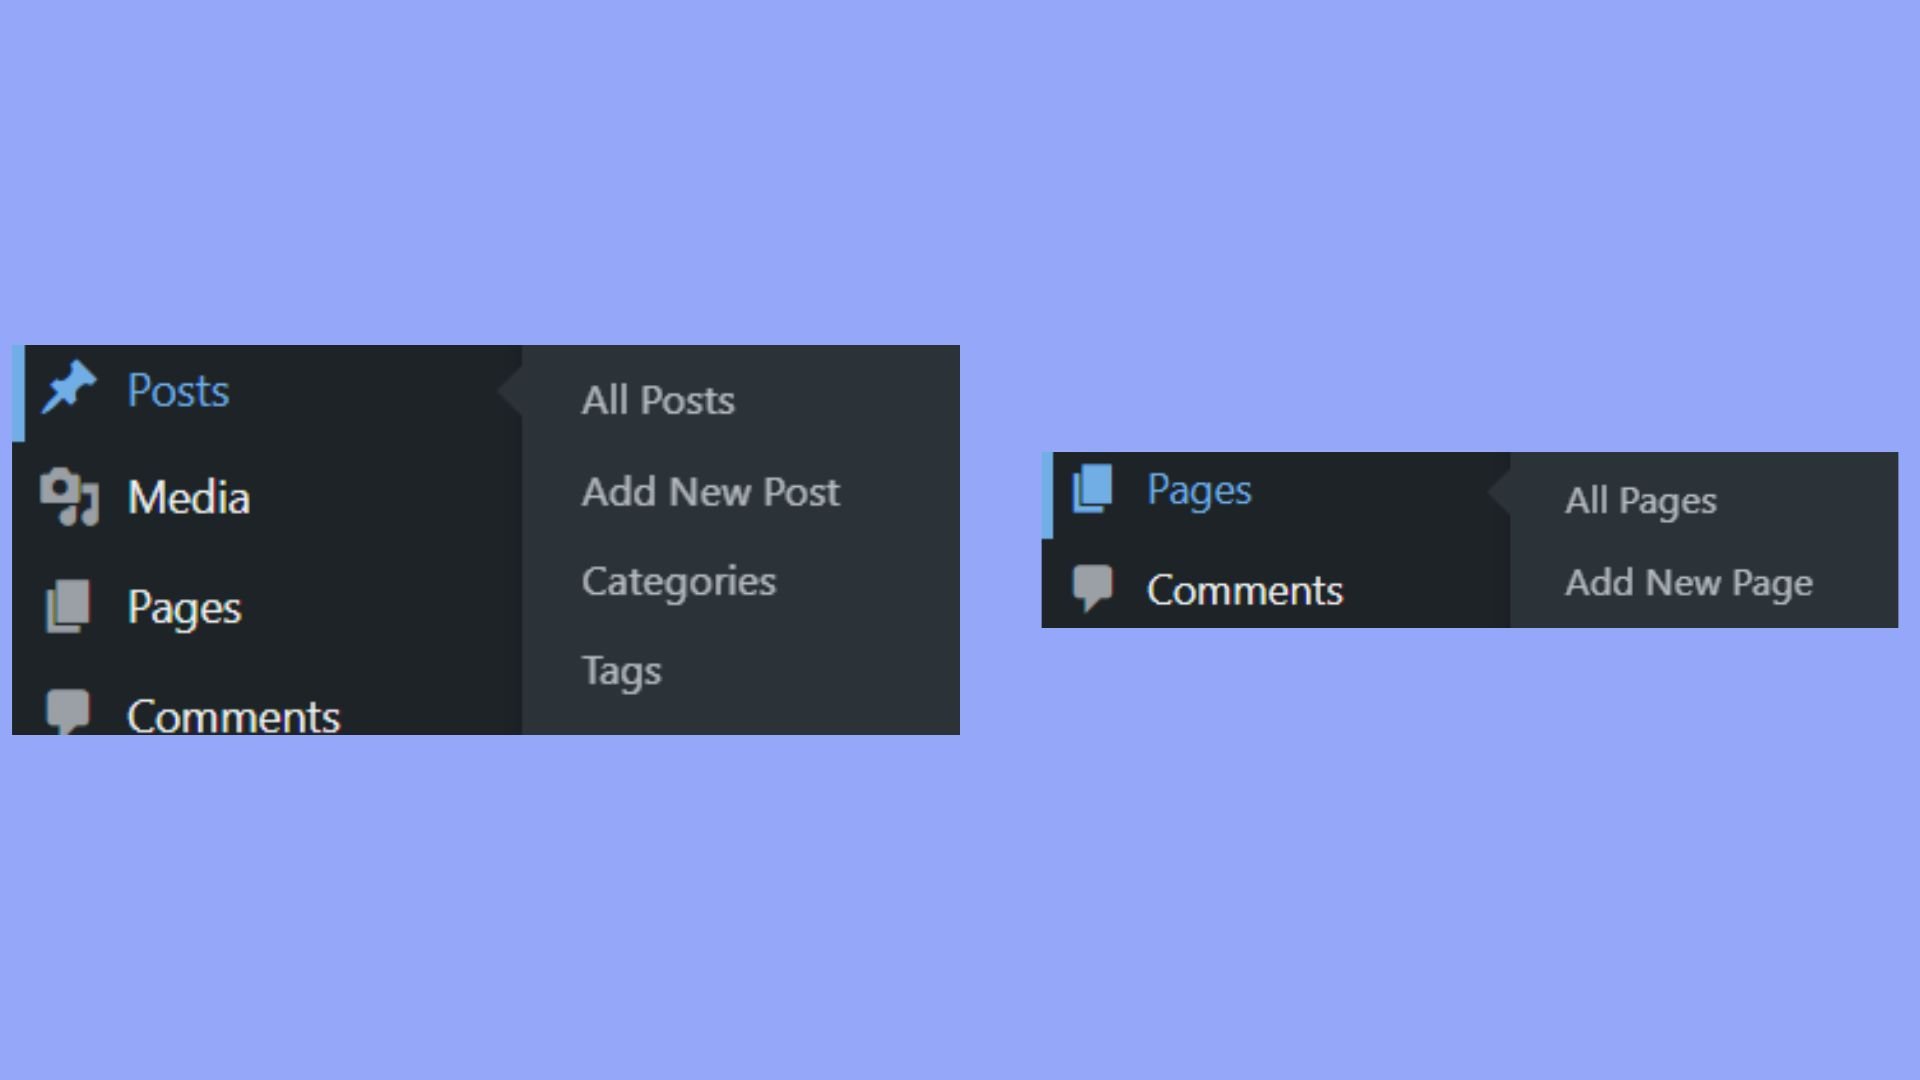
Media library
The media library is where you manage your site’s images, videos, and other files. To add media, you should go to Media in the dashboard, click Add New and upload your files which you can use whenever you want in your posts and pages.
You can also add media directly from the Posts or Pages editors by clicking Add Media. Images and videos enhance your content and make it more engaging.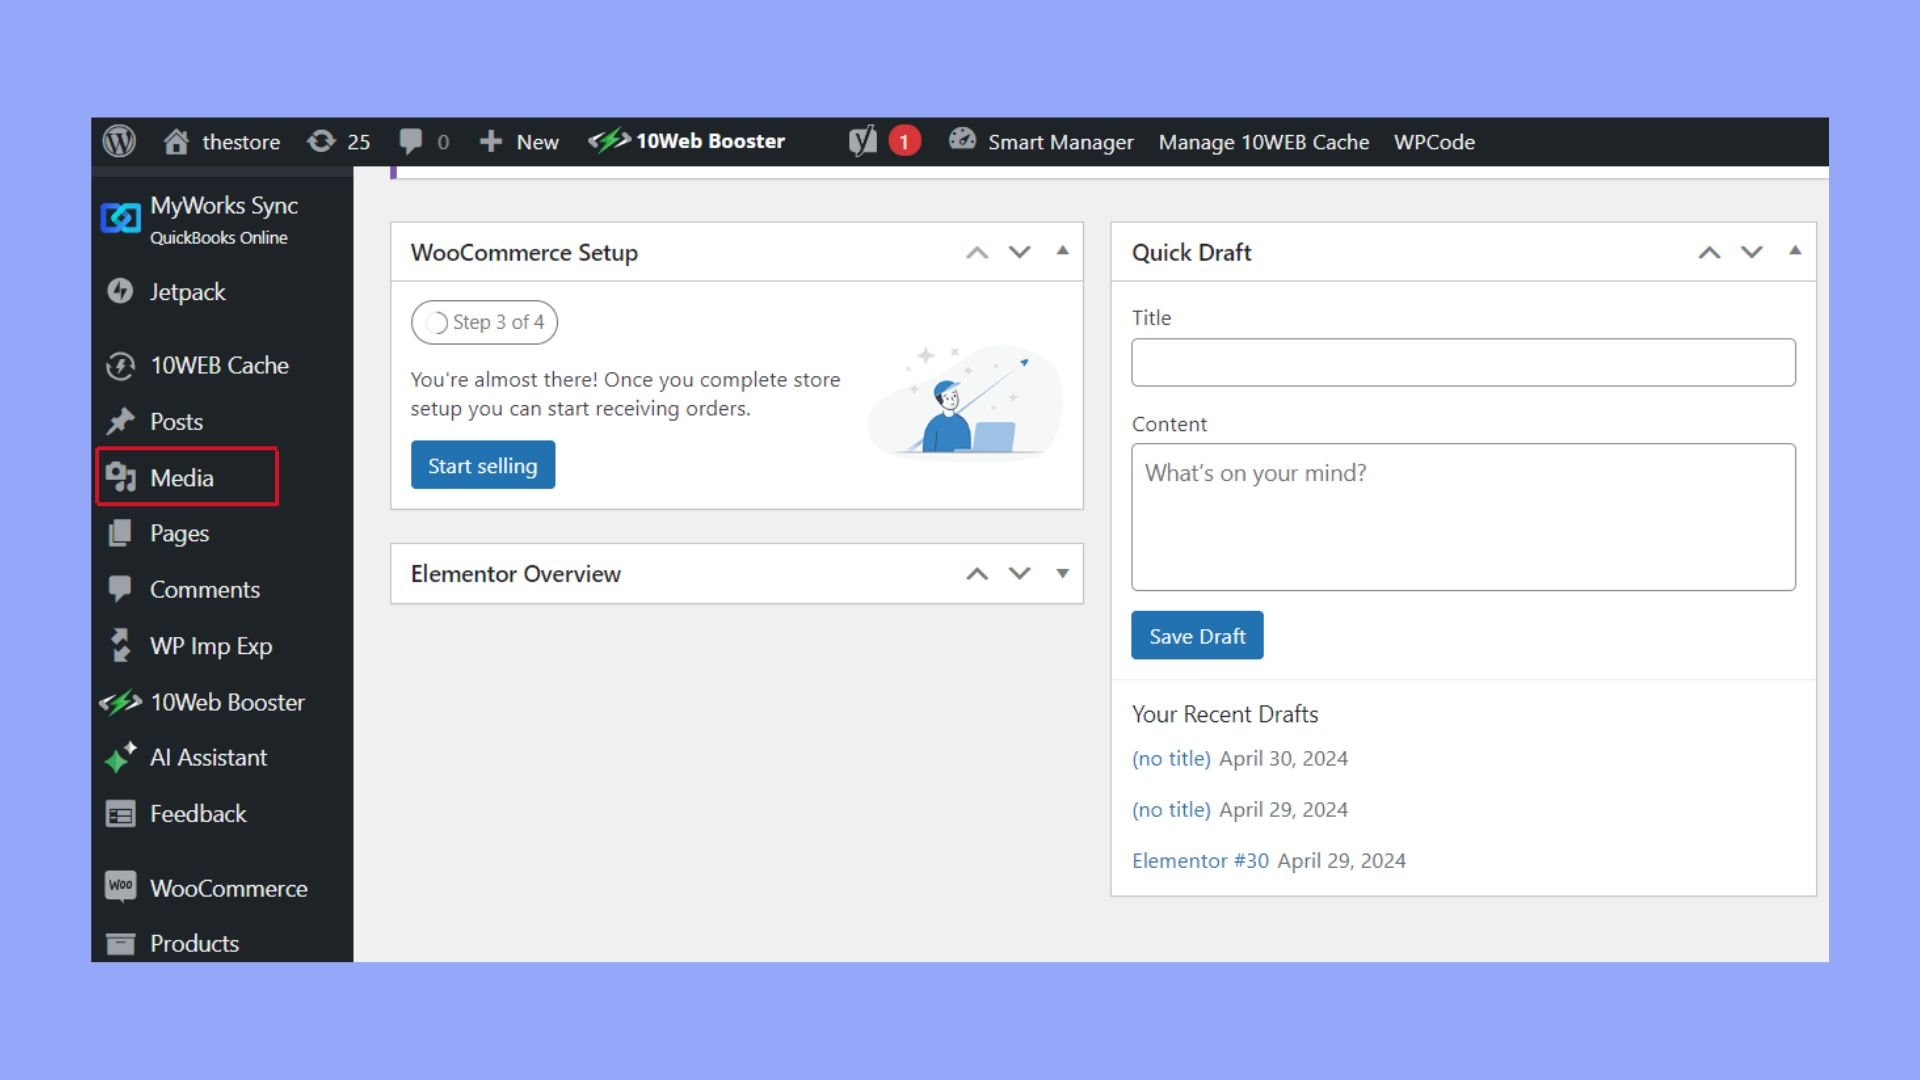
Categories and tags
Categories and tags help organize your posts, making it easier for visitors to find content. Categories are broad groups, while tags are more specific.
To add or edit categories, you should go to Posts, select Categories, and add a new category or edit an existing one.
To use tags while editing a post, locate the Tags panel and enter relevant tags. Using categories and tags improves your site’s structure and helps users find related content quickly.
Menus and widgets
Menus and widgets control your site’s navigation and layout. To set up a menu, you should go to Appearance, click Menus. Create a new menu and add pages, posts, categories, and custom links.
Widgets add functionality to your site’s sidebars and footers. To add or customize widgets, you should visit Appearance, select Widgets, then drag and drop widgets into your desired locations.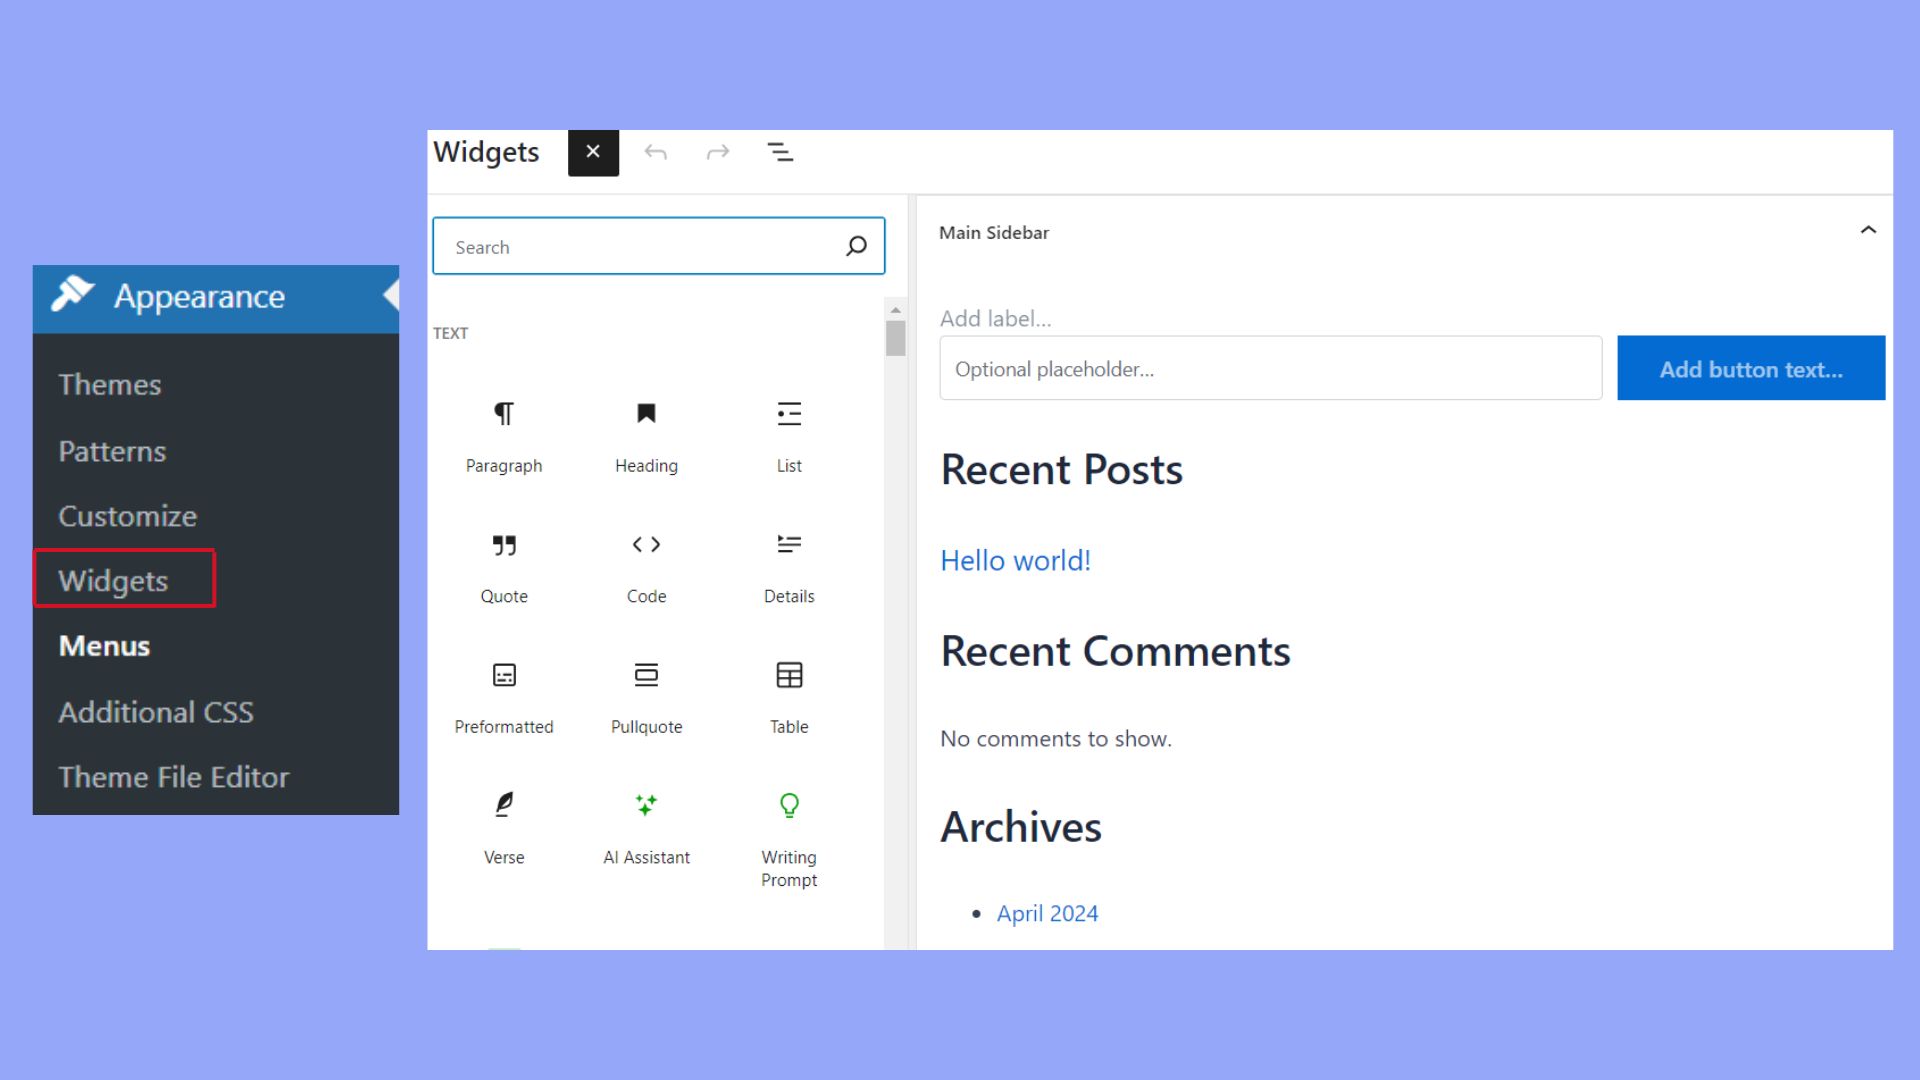
Menus and widgets enhance your site’s usability by improving navigation and providing additional information or features readily available to your visitors.
Interacting with users
Managing user interactions on your WordPress site involves handling user accounts and ensuring comments and feedback are effectively moderated.
User accounts and roles
Every user on your WordPress site can have a specific role, which defines what they can and can’t do. You can manage these roles in the Users section.
- Administrator: Full access. Can manage the entire site.
- Editor: Can publish and manage posts, including others’ posts.
- Author: Can publish and manage their own posts.
- Contributor: Can write and manage their own posts but needs approval to publish.
- Subscriber: Can only manage their profile.
To add a new user, you need to go to Users > Add New. Fill in the necessary details, including username and email. Choose a role from the Role dropdown and click Add New User.
Comments and feedback
Comments can help you connect with your audience. You can manage them in the Comments section. When a comment is posted, you can approve it to make it visible. Mark it as spam if it’s inappropriaten or move it to trash to delete it.
To manage comments, you can go to Comments in the dashboard. Use the checkboxes to select comments. Use the dropdown menu to Approve, Mark as Spam, or Move to Trash.
You can also use filters to view only pending, approved, spam, or trashed comments. This helps keep your site’s discussion clean and relevant.
Regularly check for spam to keep your site professional and engaging.
Customizing appearance and functionality
You can make your WordPress admin dashboard more user-friendly and efficient by changing its look and adding helpful features. This involves working with themes and plugins to tailor the dashboard to your needs.
Themes and customizer
Modifying the appearance of your WordPress admin dashboard starts with themes and the customizer. To change your site’s theme, go to Appearance > Themes. Select a theme you like and click Activate.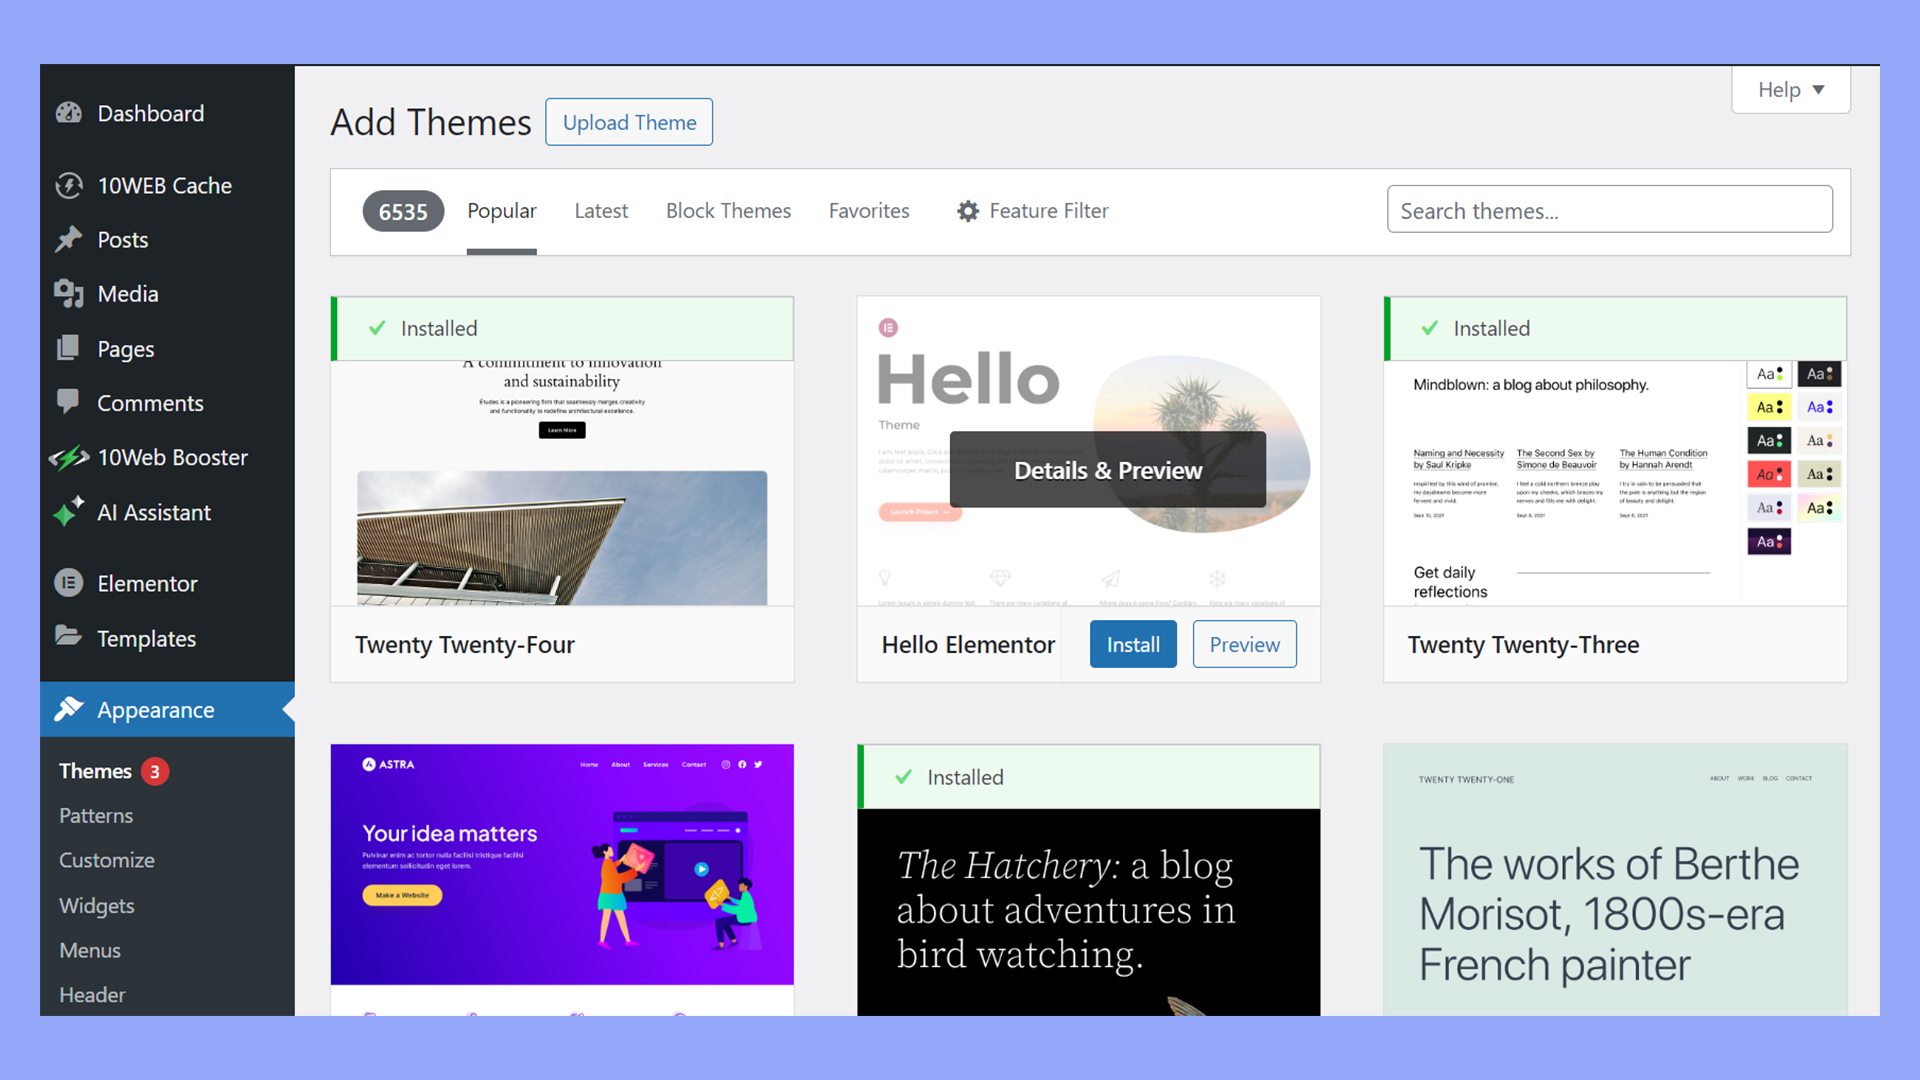
To further tweak the appearance, use the WordPress Customizer. This tool lets you change colors, fonts, layout options, and widget areas. To access it, click on Appearance > Customize. Here, you’ll find panels for different parts of your site. Each change you make is displayed in real-time.
The Customizer also includes settings for menus. Go to Menus to add, edit, or delete menu items. This helps you create an intuitive navigation structure. Using themes and the customizer, you manage your website’s look and feel down to the smallest detail.
Plugin management
Enhancing the functionality of your WordPress admin dashboard is done through plugins. Start by going to Plugins > Add New. Here, you can search for plugins by name or feature. Popular plugins for customizing the dashboard include WP Adminify, White Label CMS, and Admin Menu Editor.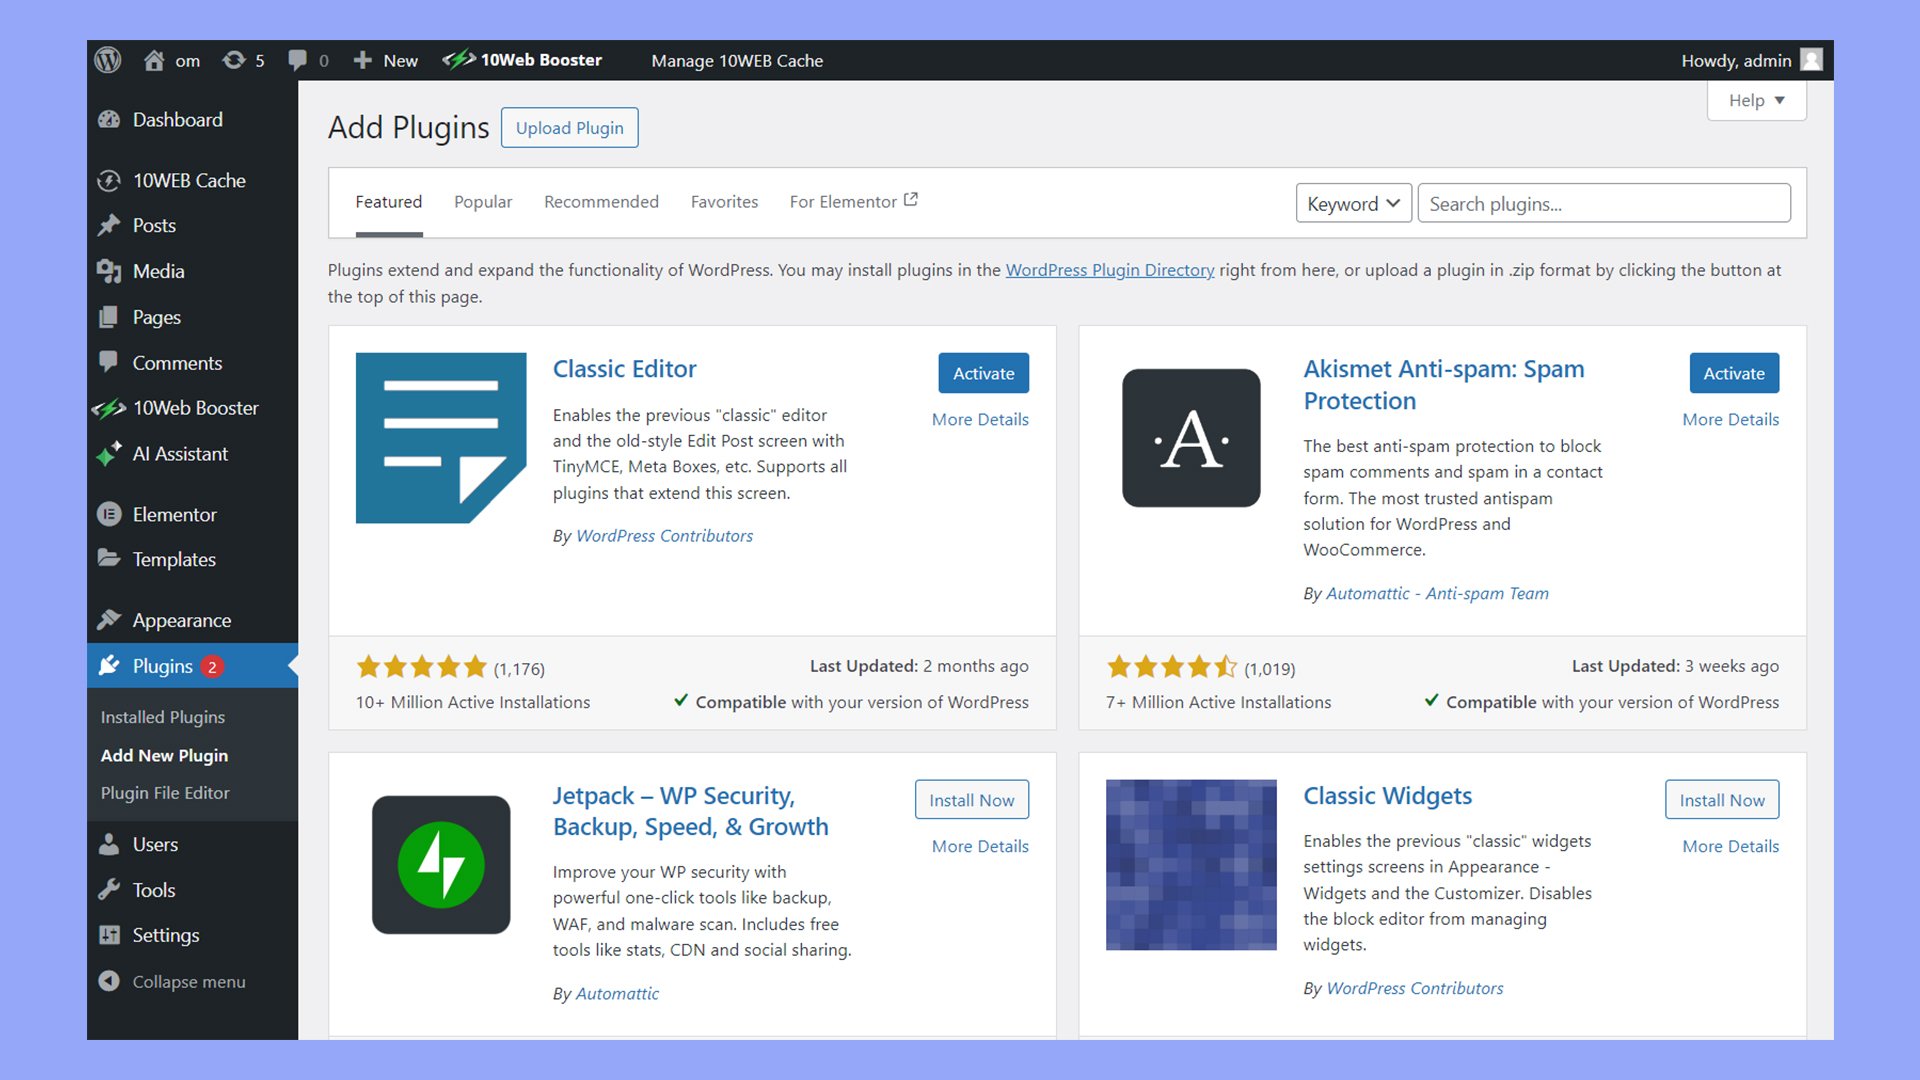
Once you find a plugin, click Install Now. After installation, hit Activate to start using it. Each plugin usually comes with its own set of options. For example, Admin Menu Editor allows you to reorder, hide, or rename menu items.
Updates are crucial for keeping your plugins functional and secure. Check for updates by going to Dashboard > Updates. Here, you can update individual plugins or bulk-update them all at once. Proper plugin management ensures your dashboard remains efficient and secure.
site_url vs home_url affecting WordPress dashboard
The site_url is where WordPress files are located for your website, whereas home_url is the actual website address. When adding /wp-admin to site_url, it will always give the location of the WordPress Admin Area.
Limiting access to WordPress dashboard
As the WordPress Dashboard is where you can create and manage all content pertaining to the website, it is important to be selective about access to it. There are a few different ways to go about this, one of which has already been covered: user roles and permissions.
Beyond that and especially if you run a site based on memberships, you can also add code to your functions.php file that would block all non-admin users from the dashboard in its entirety. You would just need to add the following code at the end of your functions.php file:
add_action( 'init', 'blockusers_init' ); function blockusers_init()
{ if ( is_admin() && ! current_user_can( 'administrator' ) && !
( defined( 'DOING_AJAX' ) && DOING_AJAX ) ) { wp_redirect( home_url() );
 exit; } }
And finally you can also use a plugin that will limit access to specific non-admin users and even redirect specific users to a different web page.
In conclusion, mastering the WordPress admin dashboard is essential for any website owner or developer, as it not only streamlines site management but also enhances the functionality and security of your website. With its well-organized interface and powerful tools, the dashboard allows you to efficiently control and customize every aspect of your site, ensuring a smooth and productive user experience.
Subscribe to AI insights
- The latest trending AI news
- How AI boosts efficiency at 10Web
- In-depth reviews of AI tools
- Entrepreneurial wisdom and insights
- Valuable business growth tips
Share article
-
 Copy
Copy
-
-
-