

Adding images to your posts and pages doesn’t just enrich the content appeal but also improves its readability. With a proper and valuable image, you can make your content more accessible, engaging, and memorable. Adding proper images also means knowing how to add images in WordPress in a way that is technically and visually correct.
WordPress allows you to insert images with ease. The platform provides various tools to upload and manage images, ensuring that your website remains vibrant and up-to-date with visual content. You can upload the images directly from your computer or select existing ones from the media library. Also, you have the flexibility to insert images via URL, and even find free images through integrated sources.
Let’s learn how to upload images in WordPress easily and properly.
The importance of proper image uploads in WordPress
When creating content in WordPress, images are integral for enhancing your message and user engagement.
Proper image uploading ensures your website remains fast and responsive, as oversized images can drastically slow down your webpage loading times. That’s why this guide will help you understand how to add images in WordPress in the best possible way.
You need to be aware of the following when uploading images:
- Image size: Large images can harm website performance. Resize your images to optimal dimensions before uploading.
- File format: Choose the right file format. JPEGs are ideal for photographs, while PNGs are better for graphics with transparent backgrounds.
- Quality: Balance image quality with file size. WordPress allows you to compress images without significant quality loss.
Also, properly uploaded images improve SEO (Search Engine Optimization). Descriptive, keyword-rich file names and alt text, will improve your website’s visibility to search engines. For the best WordPress SEO, use a descriptive file name for content identification, add an alt text to improve accessibility, and write a caption and description to provide context and information.
As a part of your content, images must be relevant and contribute to your post or page’s narrative. Knowing how to upload images in WordPress properly will benefit you from different aspects.
How to add images in WordPress content
Integrating images into your WordPress site enhances the engagement of your posts and pages. The process might seem simple, but the methods you choose will significantly impact your website’s performance and user experience. While WordPress simplifies the process of using visuals in your content, certain practices can do more harm than good.
Users commonly make the mistake of uploading images without considering their size or format. High-resolution images can dramatically slow down your site, as they require more bandwidth to load.
Similarly, choosing the wrong image format can negatively affect image quality and loading times. Another problematic practice is neglecting image SEO, such as skipping the addition of alt text, descriptive file names, and proper tagging, which are crucial for search engine optimization. So, besides learning how to add images in WordPress, you will also need to know what to pay attention to.
WordPress offers several methods to insert images, each fitting different user preferences and editor types. Let’s explore.
Using the add media button
To add an image using the Add Media button, go to the editor of the post or page you’re working on.
Above the text editor, you’ll find the Add Media button. Click on it to open the media library, where you can choose to upload a new media file from your computer or select an existing image in the library.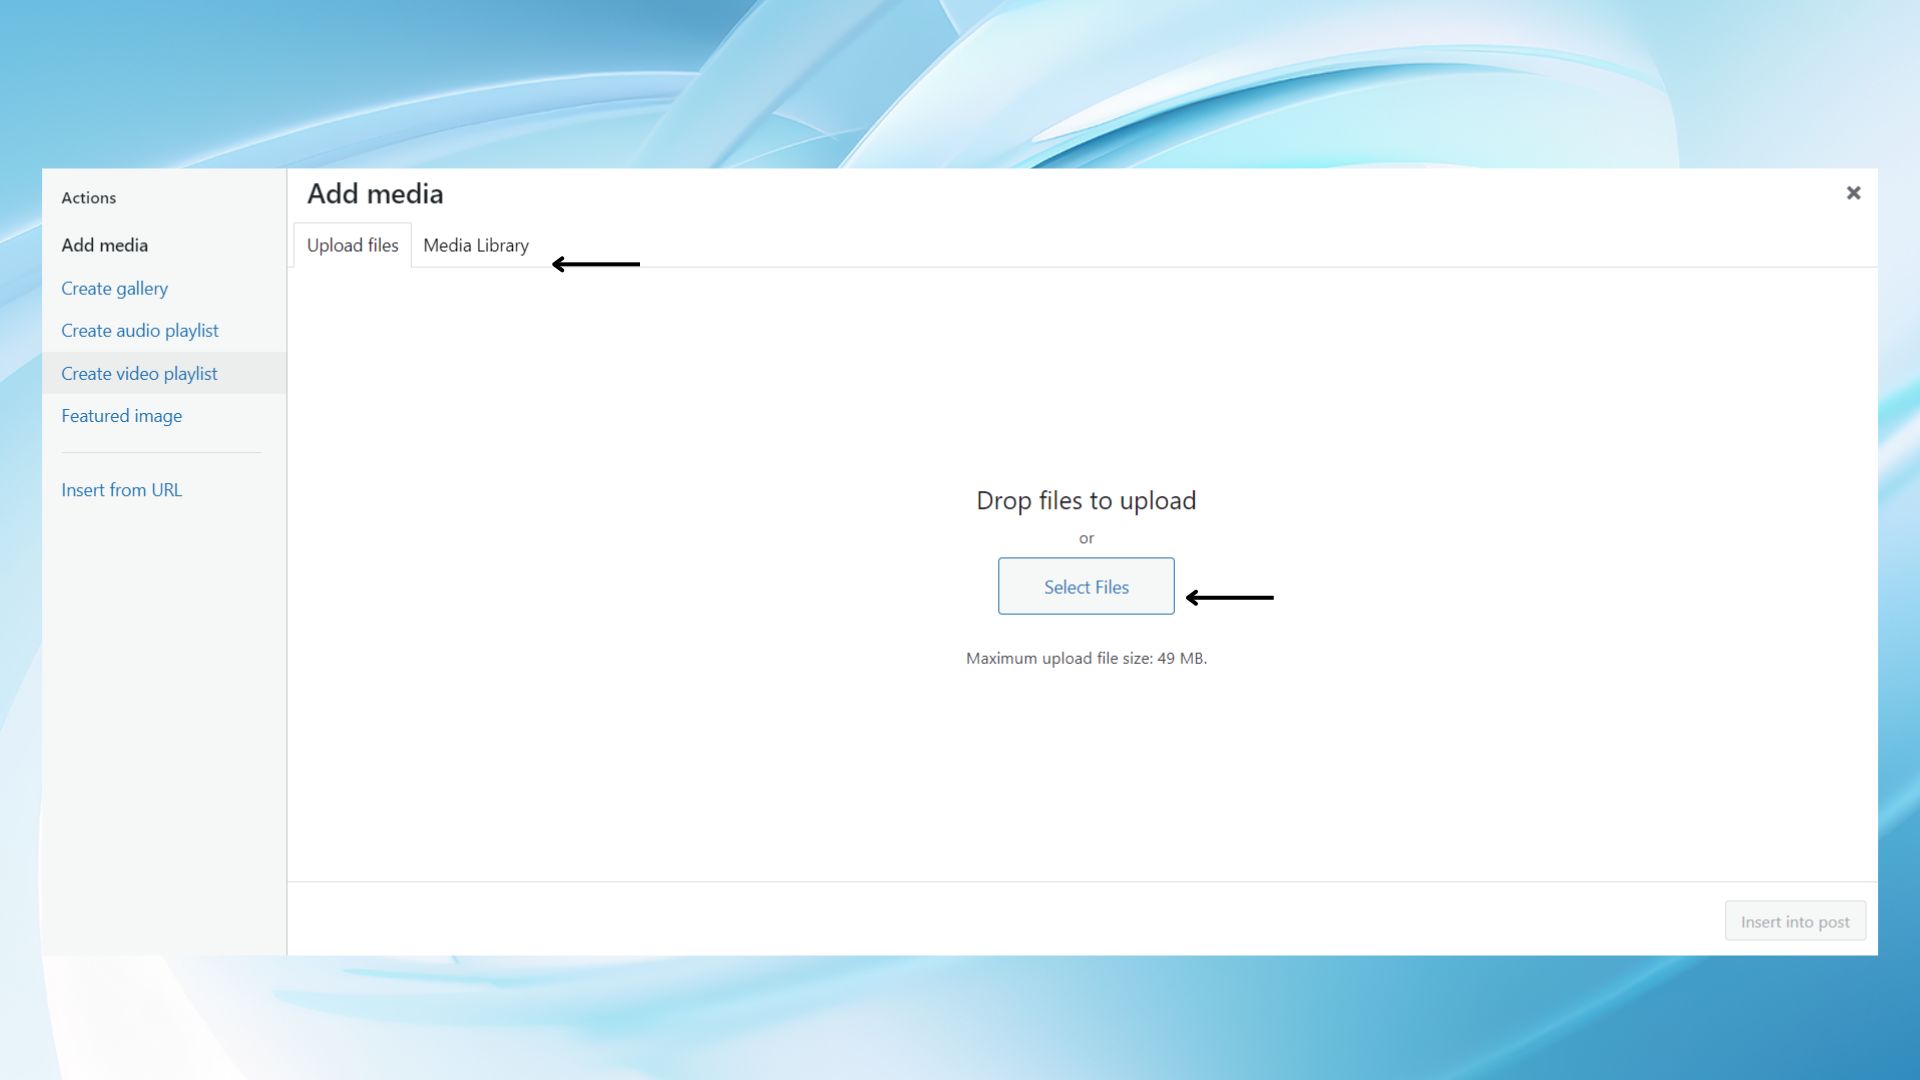
Once chosen, you can insert the image into your post or page.
Inserting images with the Block Editor
The Block Editor provides a modern, drag-and-drop interface for content creation.
To insert an image, click on the ‘+’ icon to add a new block and select the Image block.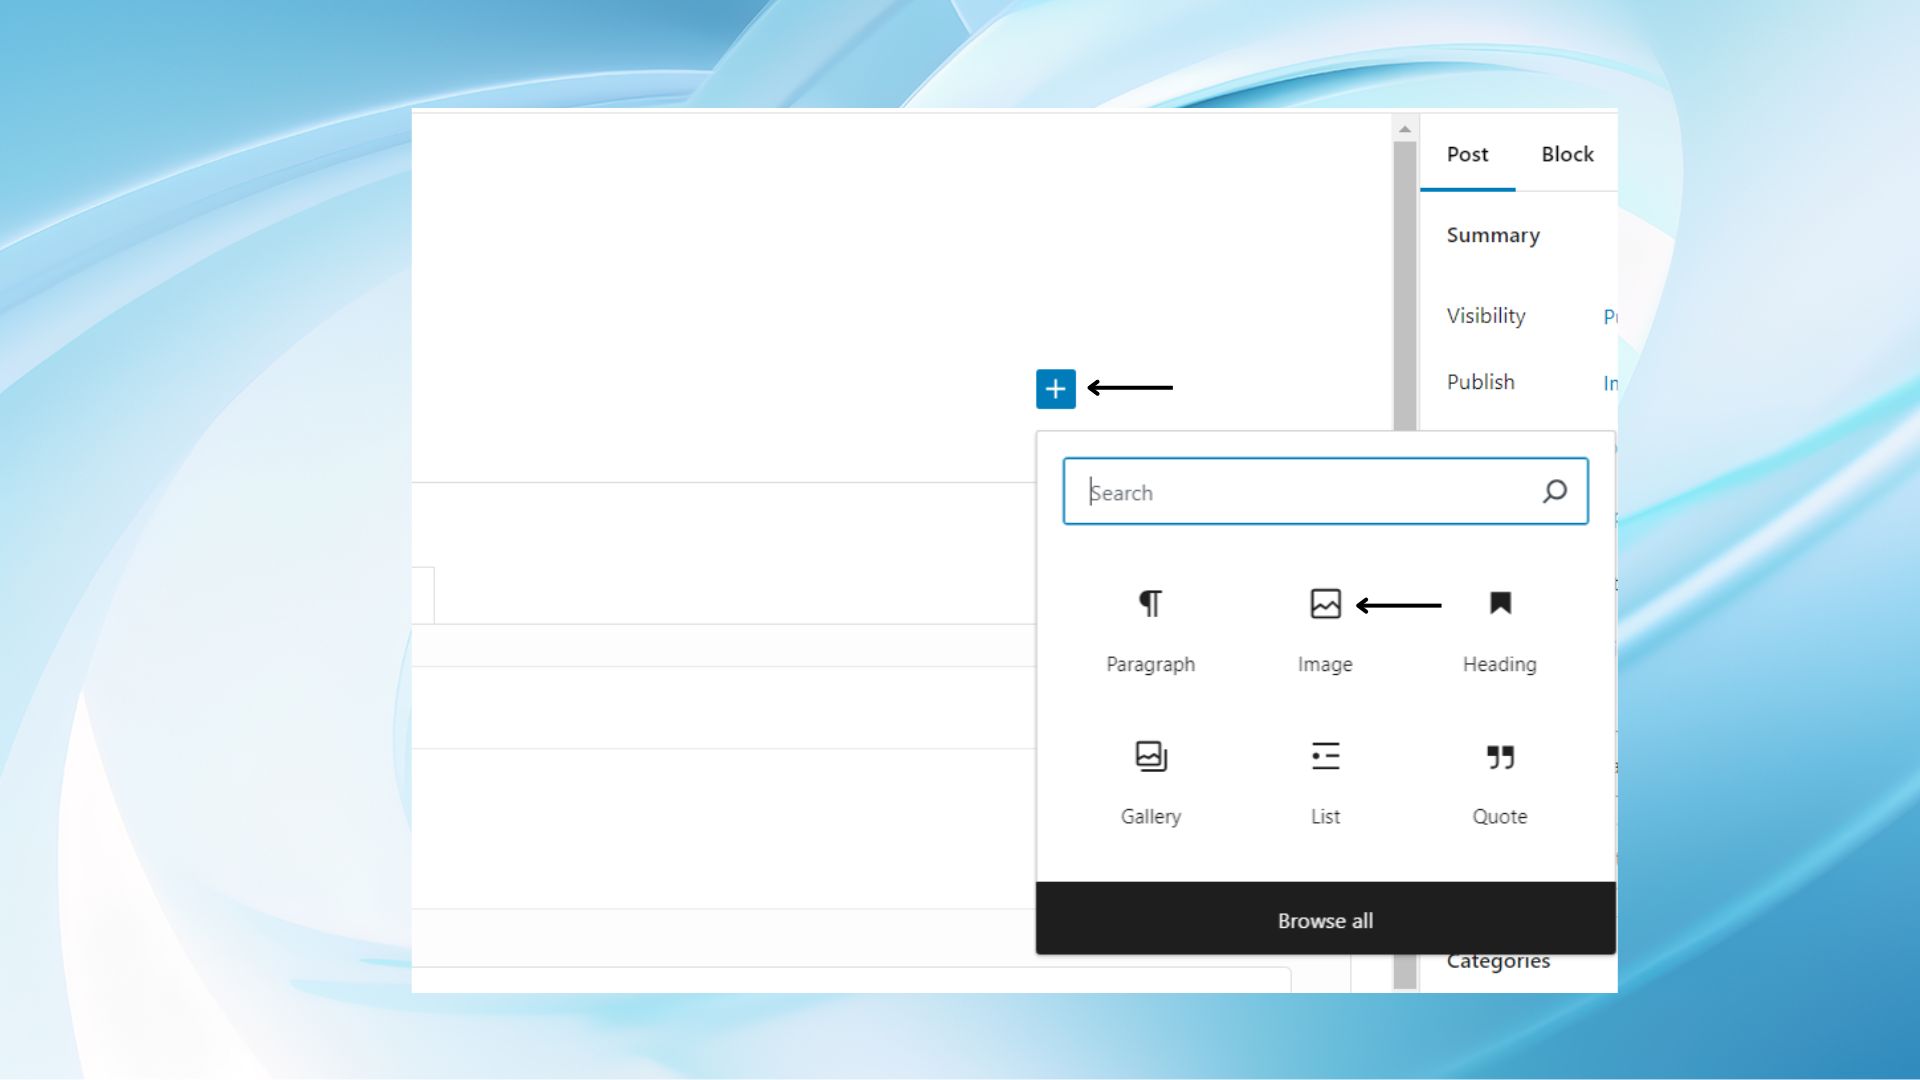
Here, you can:
- Upload an image from your device.
- Insert from URL to use an image hosted elsewhere.
- Select an image from the Media Library.
After adding the image, you can adjust its size, add a caption, and align it as required.
Working with the Classic Editor
If you’re using the Classic Editor and want to know how to add images in WordPress, begin by positioning your cursor where you want the image to appear.
Then, click on Add Media above the toolbar. You can upload a new image or select one from the media library.
After the image is uploaded, you’ll have options to set the title, caption, alt text, and alignment before inserting it into your post or page.
Image management in WordPress
After learning how to add images in WordPress, comes the managing process. It is simple, focusing on efficient upload processes, easy editing within the interface, and effective categorization to enhance media library organization.
Uploading images to the Media Library
To upload images, go to your WordPress dashboard, navigate to the Media section, and click on ‘Add New‘.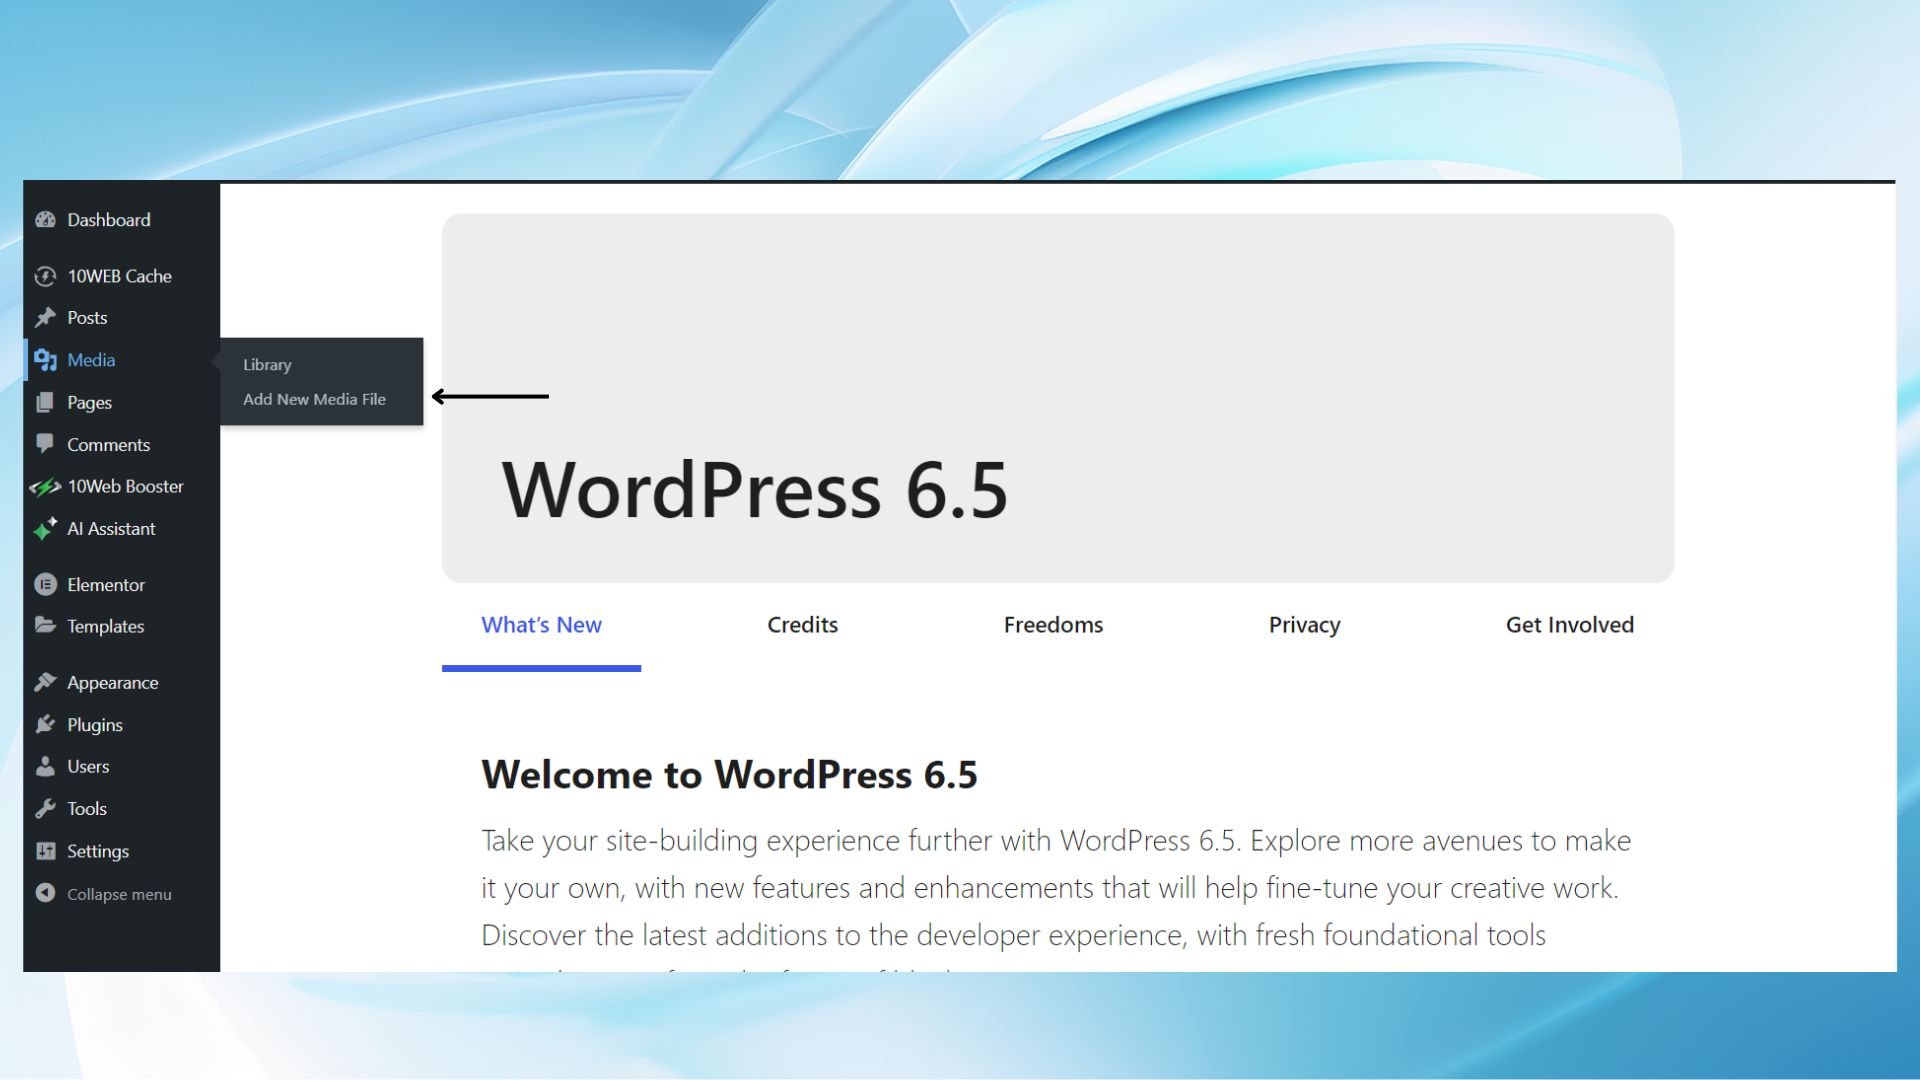
You can either drag and drop files directly or use the ‘Select Files‘ option to upload images from your computer.
Your images are stored in the Media Library, where you can access them anytime you need to insert an image into a post or a page.
Steps to upload images:
- Go to Media > Add New in the WordPress dashboard.
- Drag and drop your image files or click ‘Select Files‘ to upload.
- Wait for the upload to complete, indicated by a progress bar.
- Uploaded images will be automatically added to the Media Library.
Editing images in WordPress
Once your images are uploaded, you may need to edit them. To edit images, click on the image you wish to modify in the Media Library and select ‘Edit Image‘. This action opens an editing screen where you can crop, rotate, flip, and scale the image. WordPress saves all changes, but you can also undo edits or restore the original image if necessary.
Enhancing your posts with image blocks
Effectively incorporating image blocks into your WordPress posts can significantly improve the visual appeal and reinforce the messaging of your content. The reader will have a better guide of the content if it has informative and valuable visuals.
Choosing the right image block
When you add an image block, you contribute to the visual communication.
To add an image block, navigate to the post or page editor, click the “Add Block” button, and select “Image.” Choose an image from your media library or upload a new one. Always select imagery that supports and reflects your written content.
Adjusting image alignment
For optimal layout, adjust your image block’s alignment to sync with your overall post design.
Click on the image block to reveal alignment options: left, center, or right. Select the alignment that best suits your layout and ensures your image complements the surrounding text.
Customizing image captions
Captions provide context and can add further explanation to the image. After inserting an image into your block, click on it and type your caption directly below where it says “Caption…”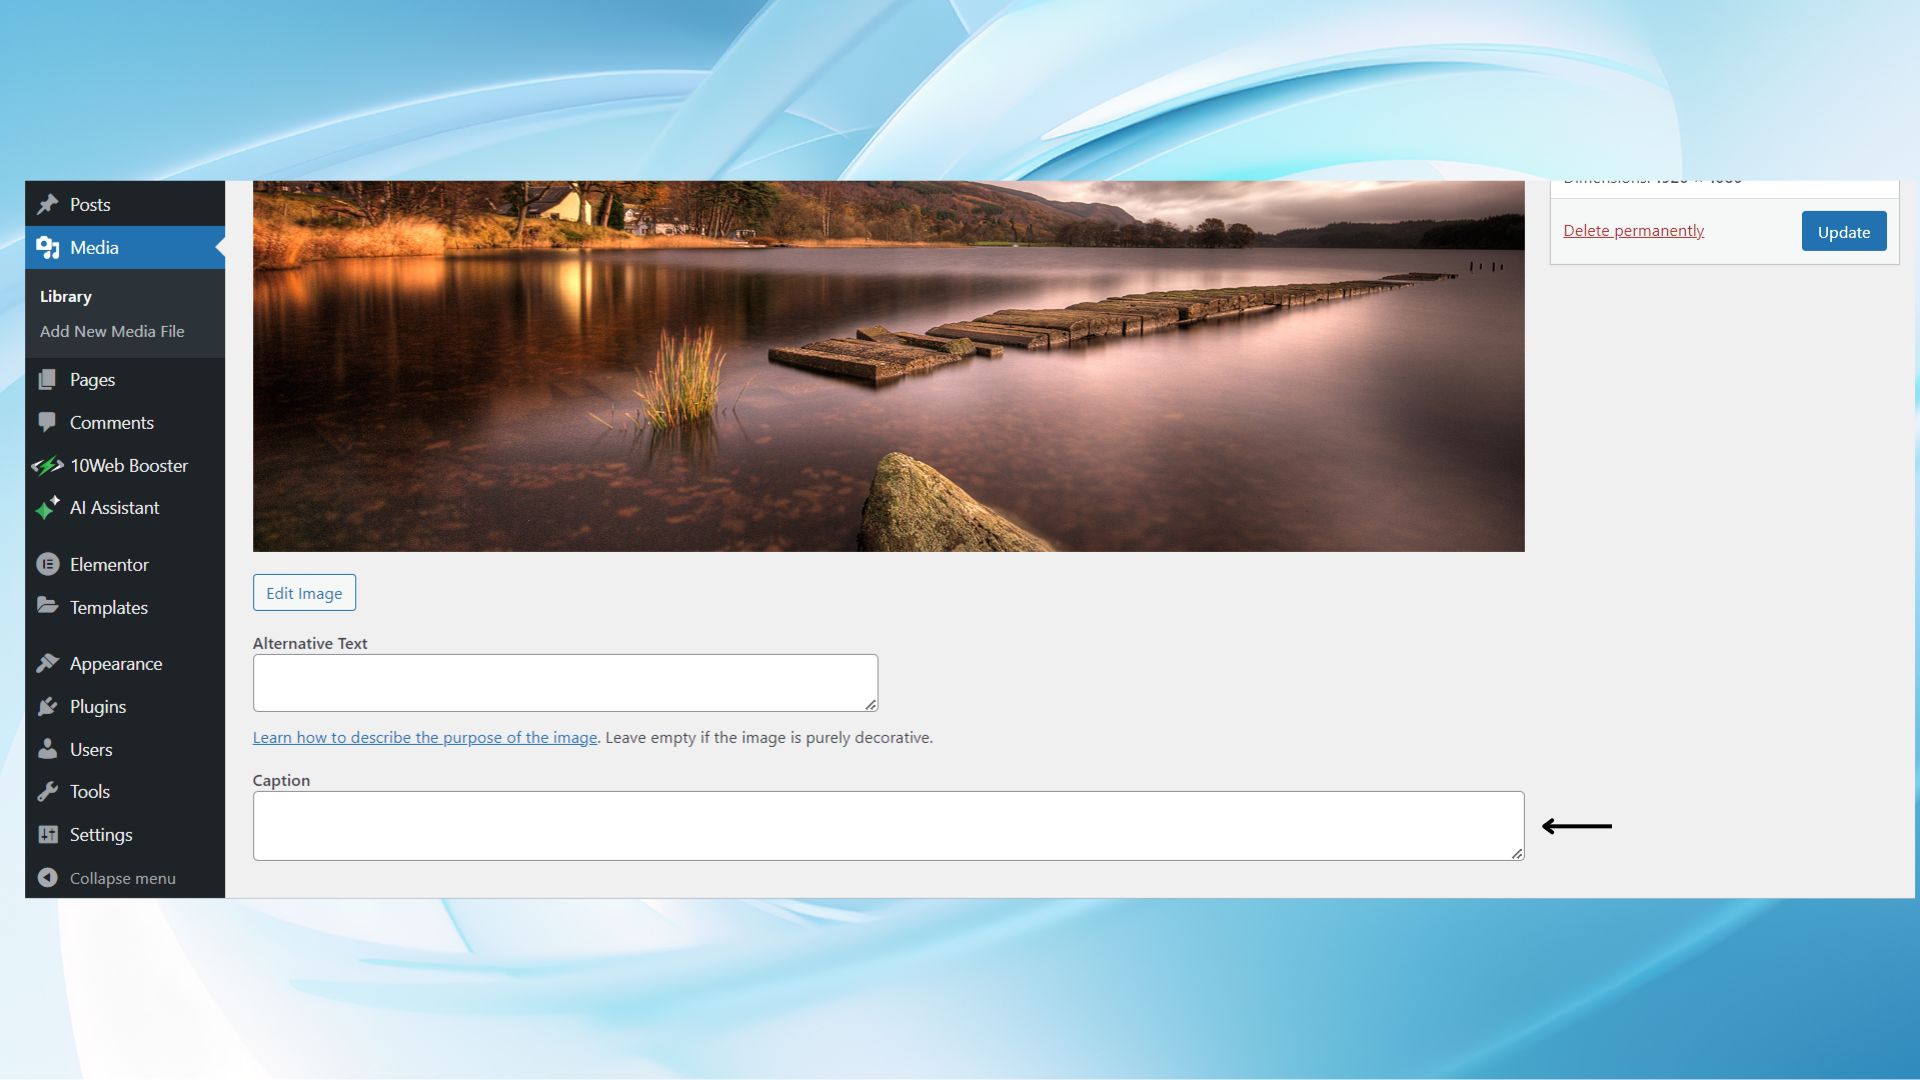
Use a concise caption that relates to both the image and the text content of your post. Remember, the right caption can increase reader engagement and understanding of your post’s message. It is something that the website visitor reads as part of the content, so make it informative.
Image optimization techniques
Optimizing images in WordPress is important for maintaining fast page load times and high-quality visuals on your site. Having learned how to add images in WordPress, you’ll now learn about adjusting image dimensions and quality as well as using image compression techniques to enhance website performance.
Understanding image dimensions and quality
To ensure your images don’t slow down your site, start by selecting the correct dimensions. WordPress automatically creates several sizes of each image you upload: thumbnail, medium, large, and full size.
Thumbnails are small and used for galleries or widgets, medium and large sizes are ideal for site content, and full size should be used with caution, as it’s the original, largest dimension.
- Scale images to the size actually used on the page to avoid unnecessary load.
- Crop images to focus on the main subject, which can also help reduce file size.
- Use the built-in WordPress functions to rotate or flip images as needed without affecting quality.
Always aim for the balance between the lowest file size and acceptable image quality. Lower-quality images load faster but might look pixelated, while higher-quality images look crisp but can significantly slow down page loads.
Working with image compression
Image compression is a technique that reduces the file size of your images without degrading their visible quality. You can either compress images automatically with WordPress plugins that optimize images when you upload them or manually by optimizing images before uploading using software like Photoshop where you can adjust the quality slider.
For most users, a quality setting between 60-80% in image editing software provides a good balance, significantly reducing the size of the image while maintaining quality. When compressing images, you should be careful not to post images that are blurry, of poor quality, or unintentional.
Advanced image management
Optimizing your images is crucial for both user experience and SEO. By utilizing advanced image settings within WordPress, you can ensure your images not only look professional but also contribute to your site’s search engine performance.
Use alt text for SEO
Alt text (alternative text) is a description that you add to an image’s HTML tag on your website. It plays a vital role in SEO as it helps search engines understand the content and context of the image.
- Click on the image in your editor.
- In the right-hand panel, locate the ‘Alt Text’ field.
- Enter a concise description that includes relevant keywords without stuffing.


Alt text should accurately reflect the image’s content and serve as a text alternative for users who cannot see the images on your webpage.
Set custom URLs and links
Custom URLs and links can be added to your images, which can lead to a specific webpage or an attachment page upon being clicked. You can select your image in the WordPress editor, click on the ‘Link‘ icon in the block options, and choose from the following options:
- None: No link will be associated with the image.
- Media file: The image will link directly to the full-size version.
- Attachment page: The image will link to its own WordPress page with a description.
- Custom URL: You’ll be prompted to enter the URL you wish to link the image to.
Optionally, you can set the ‘Link Rel’ attribute (e.g., nofollow) if you have advanced linking needs. Setting the title of the image provides a tooltip when users hover over the image, which can improve the user experience.
Design and layout considerations
When incorporating images into your WordPress site, it’s important to consider both design and functionality. Properly handling image sizes and ratios ensures visual appeal and coherence across your website, while custom CSS allows for unique stylings that can set your content apart.
Adjusting image sizes and ratios
To maintain a consistent look, you need to be aware of the image size and ratio. WordPress allows you to adjust these when you add an image to a post or a page:
- Click on the image block to select it.
- In the right-hand side panel, look for ‘Block’ settings.
- You’ll find options to specify the width and height, which let you control the image size.
To change the ratio of your images, you can crop them within WordPress by selecting the image in the media library, clicking on the “Edit Image” button, and using the crop tool to adjust the image to the desired ratio.
It’s essential to consider how these adjustments will look on different devices to maintain visual appeal across your site.
Applying custom CSS to images
If you want to go beyond the basic stylings, Custom CSS can be applied to individual images or globally to all images of a certain CSS class:
- Individual images: Click on the image block, go to ‘Advanced’ to find the ‘Additional CSS Class’ field, and enter a custom CSS class name.
- Global styling: Use Theme Customizer under Appearance > Customize > Additional CSS to add custom CSS that applies to classes used on your images.
For example, if you want to add a border:
.custom-border { border: 3px solid #333333; /* Replace #333333 with the color of your choice */}
Remember, when applying custom CSS, it’s important to test your changes across different browsers and devices to ensure compatibility and preserve the visual appeal of your site.
Creating complex image layouts
Enhancing your WordPress site with complex image layouts allows you to present multiple images in an organized and visually appealing way. Using gallery, cover, and media & text blocks can transform your content into a captivating visual narrative.
Building image galleries
To create a gallery in WordPress, use the Gallery Block. Here’s how:
- Click the + icon to add a new block and search for “Gallery.”
- Select the Gallery Block and upload your desired images or choose from the media library.
- Once your images are in place, you can adjust the number of columns and the crop images setting for uniformity.
By tailoring spacing and image dimensions, you curate a professional-looking gallery that showcases your visuals with finesse.
Working with cover and media & text blocks
The Cover Block lets you add an image or video with a text overlay:
- Start by selecting the Cover Block from the block inserter.
- Upload your background image or select one from the library.
- Click on the block to add your text overlay, which you can customize in terms of size and color.
On the other hand, the Media & Text Block is perfect for side-by-side layouts:
- Choose the Media & Text Block from the inserter.
- Upload an image or video to one side and add your content to the other.
- You can customize the media width ratio and align the blocks as needed for a consistent layout.
Both blocks not only enhance the visual appeal but also provide a narrative to your images, making your content more engaging.
Maintaining accessibility and visibility
When adding images to your WordPress site, it is crucial to maintain both accessibility for all users, including those with disabilities, and visibility across various devices. This ensures that your content is inclusive and reaches a wider audience effectively.
Ensuring proper image accessibility
When uploading images to WordPress, always include alternate text (alt text) for each image.
- Add alt text: In the image details, fill in the ‘Alt Text’ field with a description of the image. It describes images to screen readers. You should just add a brief, descriptive summary of the image.
- Use title attributes: Although not as critical as alt text, the title attribute can provide additional information when an image cannot be seen or loaded. It offers additional context; visible on hover. You can include it if it offers supplementary value.
Optimizing images for different devices
Ensuring that images appear correctly on different devices enhances visibility and user experience. For that purpose, you can use responsive WordPress themes, meaning they adapt to the screen size of different devices, like smartphones, tablets, and desktops or the `srcset` attribute so browsers can choose the most appropriate image size based on the user’s device.
Consider the following for device optimization:
- Image file sizes: Keep them as small as possible to reduce loading times while maintaining quality.
- Media screen: Use CSS media queries to serve different styles depending on device characteristics for optimal display.
Troubleshoot WordPress images
In this section, we address the primary steps for resolving image upload issues in WordPress and guide you through the process of deleting and restoring images efficiently.
Resolving common image issues
When you encounter problems uploading images to your WordPress site, checking file sizes and dimensions can often resolve the issue.
Keep in mind that images larger than 1GB may need resizing. Make sure your images are in a web-friendly format (typically JPEG or PNG) and don’t possess unusually large dimensions that surpass your WordPress site’s upload limits.
- File size too large: Compress the image using tools or plugins without compromising on quality.
- Incorrect image format: Convert images to compatible formats (JPEG, PNG, GIF).
- Upload error messages: Ensure your PHP settings for file uploads (like upload_max_filesize and post_max_size) are appropriate.
If the issue persists, check for any plugin conflicts or a deficient .htaccess file which may need updating or reconfiguring.
Deleting and restoring images
To remove an image from your WordPress site:
- Go to your Media Library.
- Select the image you wish to delete.
- Click on ‘Delete Permanently’ in the attachment details.
If the image that was recently deleted is still in the Trash, but you want to restore it, simply go to the Trash section of your Media Library, hover over the image, and click ‘Restore’.
Once deleted permanently, an image cannot be easily restored without a backup. It’s recommended to always have a recent backup of your site before making bulk changes or deletions to your media files.
Extending image functionality
To enhance your website’s visual appeal and user experience, using advanced features for image functionality in WordPress is essential. Expand the core capabilities with plugins and theme customization for a more powerful image display.
Exploring image-related plugins
Plugins act as tools to extend the capabilities of your WordPress site. You can add sophisticated image galleries, sliders, and lightboxes with the right plugin.
Here are specific actions you can take to improve image functionality:
- Search for image optimization plugins: These plugins can help you reduce file sizes without sacrificing quality, and ensure your images load faster.
- Install a featured image plugin: To showcase multiple featured images, which WordPress does not support by default, seek out plugins that enable this function.
- Look for responsive image plugins: Ensure your images work well across all devices, as responsiveness is a key part of modern web design.
Customizing themes for better image display
Your theme influences how images are displayed on your site. Here’s how to customize it for better image presentation:
- Edit the theme’s CSS: Modify the style.css file of your theme to change image display settings like borders, margins, or shadows.
- Use custom hooks for featured images: If your theme supports hooks, you can easily insert multiple featured images at different locations within your templates.
- Modify theme templates: For more substantial changes, edit your theme’s template files to alter how images are displayed on posts and pages.
Keep in mind that while themes offer various image display options, they may require some coding knowledge to customize extensively.
Always back up your site before making changes to theme files.
Conclusion
To sum up, learning how to add images in WordPress is not just about uploading visuals; it’s about enhancing the user experience, boosting engagement, and optimizing your site’s performance and SEO.
This guide has walked you through the essential steps and best practices—from selecting the right images and understanding technical considerations to optimizing for search engines and managing your media library efficiently.
With these strategies, you’ll ensure that your WordPress site remains visually appealing, functionally robust, and SEO-friendly. Whether you’re a beginner or looking to refine your skills, the insights provided here will help you use images to their fullest potential.
Simplify WordPress with 10Web
Simplify WordPress with 10Web
Skip and automate manual work with 10Web Managed WordPress Hosting and the 10Web AI Website Builder.


