A website builder with API integration lets your SaaS platform create complete, hosted websites for users without sending them to a separate tool. Users still need a website after they sign up, and every redirect to an outside builder costs you engagement and opens a door to churn. You have two ways to offer site creation: build a builder yourself, or integrate one through an API. This guide covers the decision, what to look for in a provider, and the exact steps to embed the 10Web Website Builder API inside your product.
What website builder with API integration means
A website builder with API integration is a hosted site-creation engine your platform controls through a REST API instead of a user-facing dashboard. Your backend sends authenticated requests, the provider creates and hosts the website, and your product keeps the user inside your own interface the entire time.
The provider handles the parts that are expensive to build and operate. That includes provisioning, content and layout generation, hosting, performance, domains, SSL, and backups. Your platform decides when each action runs and stores the identifiers the API returns.
The alternative to this model breaks the experience. A user who leaves your product to assemble a site elsewhere is a user you no longer control. An API keeps the work native to your platform, which is the difference between a feature you own and a hand-off you hope converts.
Build vs. buy: should you build a website builder or integrate an API?
Integrate an API if your core product is not a website builder. Building one from scratch takes a large engineering team and a year or more before you ship version one, and the hardest part is not the editor.
The real engineering cost sits in connecting a modern frontend to a production WordPress backend with full plugin compatibility, custom post types, and Core Web Vitals out of the box. 10Web spent 30 engineers and roughly a year on that bridge. An API gives your team the result in days instead of asking your engineers to leave your core roadmap to rebuild it.
Cost follows the same logic. The cost of API integration is the integration effort plus per-site or usage-based pricing, which is a fraction of an in-house build measured in headcount times months plus ongoing maintenance. AI models, WordPress compatibility, and performance tuning change constantly, and an API provider absorbs that maintenance instead of your team.
| Decision factor | Build in-house | Integrate an API |
| Time to first version | 12+ months | Days to weeks |
| Engineering cost | 30+ engineers, ongoing | Integration only |
| Maintenance | Yours forever | Absorbed by provider |
| Output quality | Uncertain | Production-grade from day one |
Some technical teams still prefer to build for full control over their data model and integration surface. That preference is reasonable, and it has one real answer in this category: choose an API whose output you can own and move. The next section covers what that looks like.
What to look for in a website builder API
A website builder API should give you real website output, bundled hosting, AI generation, white-label control, and lifecycle operations. Those five criteria separate an integration you can build a product on from one you will outgrow.
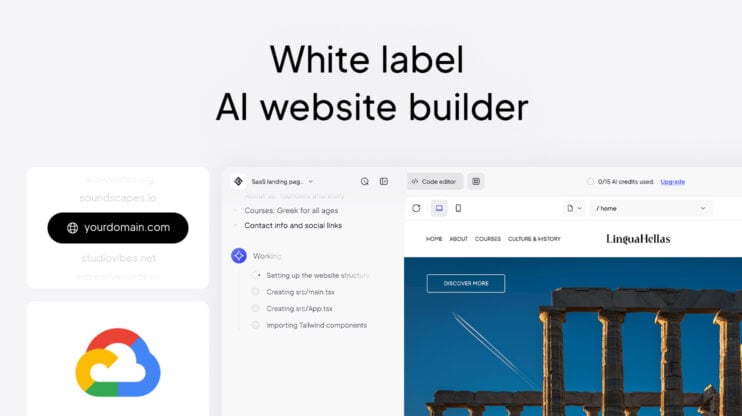
- Real, standard output. The API should produce real websites on a standard CMS, not a proprietary format. 10Web generates WordPress, the platform behind 43% of the web, so sites stay portable and free of vendor lock-in.
- Hosting included. The provider should host the sites it creates. That removes servers, SSL, and performance tuning from your scope.
- AI generation. The API should build a complete site from a short business description, not leave your users facing a blank install.
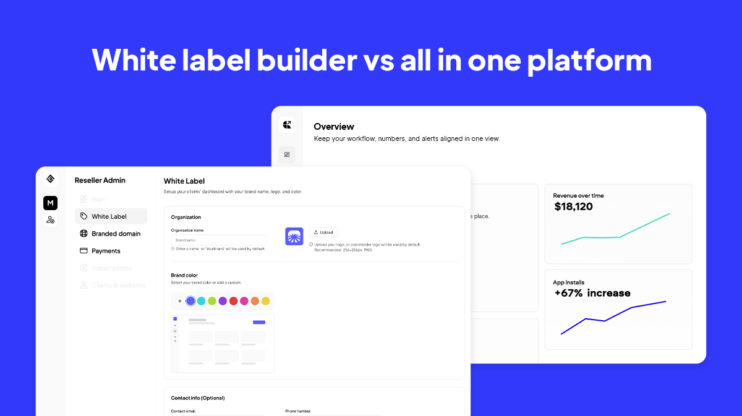
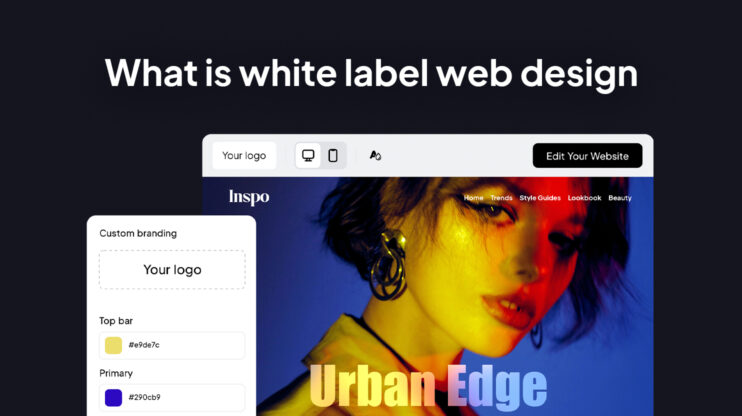
- White-label control. Your users should see your brand. The editor and the WordPress admin should carry your name, not the provider’s.
- Lifecycle operations. Backups, staging, cloning, and domain management should be available through the same API so you can support sites after launch.
These criteria also answer the most common question developers ask when they shop for a builder: which one actually exposes a usable API. Many website builders never publish one, and several that do return a limited surface. A complete API covers creation, generation, access, domains, and growth events in one place.
What the 10Web Website Builder API gives you out of the box
The 10Web Website Builder API gives you a managed WordPress stack and a developer-friendly REST API in a single integration. Through it, your platform can perform the full set of site operations without running any infrastructure.
- Create WordPress websites on demand
- Generate complete sites with AI from a business description
- Manage domains, DNS records, and SSL certificates
- Trigger backups and restore points
- Handle cache, staging, and performance operations
- Auto-log users into their website dashboards
- Apply plugin presets to every new site
- White-label the WordPress admin area
- Receive webhook notifications for website events
Because the system bundles hosting and lifecycle management, your team never configures servers or tunes performance. Your platform orchestrates the flow, and 10Web runs the stack behind it. Sites run on 10Web’s managed WordPress hosting with containerized isolation, free SSL, caching, daily backups, and staging.
How to integrate the 10Web Website Builder API (step-by-step)
The integration follows six steps: authenticate, create a site, generate with AI, embed editing, attach domains, and handle growth events. Each step is one authenticated API call from your backend, and the API returns identifiers your platform stores against the user’s account.
Step 1. Authenticate and prepare your integration
Everything starts in the API dashboard, where you generate a private API key and configure the integration. The key authorizes each request, so it belongs on your backend, never in client-side code.
The dashboard is also where you set custom domains, white-label the WordPress admin’s API-related services, register webhook URLs, and select plugins to install automatically on every API-generated site.
Step 2. Create a new WordPress site
The first operational step provisions a fresh WordPress installation. Your frontend triggers an action such as Create Website, your backend makes the authenticated request, and the API returns a website_id your platform stores against the user’s account.
curl -X POST "https://api.10web.io/v1/website" \

  -H "Authorization: Bearer YOUR_API_KEY" \

  -H "Content-Type: application/json" \

  -d '{

    "subdomain": "my-startup",

    "region": "us-central1-c",

    "site_title": "Sushi Wave",

    "admin_username": "Admin",

    "admin_password": "Strong-Password",

    "is_demo": 0,

    "demo_domain_delete_after_days": 7,

    "enable_wp_ai_generation": false

}'
The API responds with a status and the website_id your platform uses for every future action on that site.
{

  "status": "ok",

  "data": {

    "website_id": 12345

  }

}
Step 3. Generate a website using AI
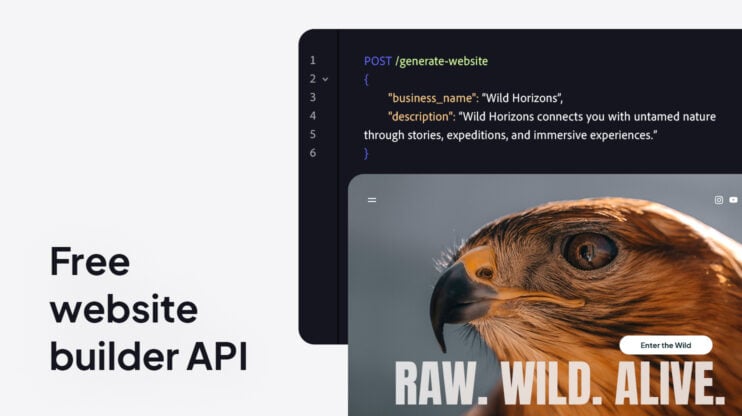
Once you have a blank installation, the AI generation endpoint turns it into a complete site from a few high-level details. You pass the business type, name, and description, and the API generates page structures, layouts, section copy, and visuals.
The language of the description sets the language of the site. A description written in French produces a French-language site. You can add ecommerce elements by specifying a store.
curl -X POST "https://api.10web.io/v1/ai/generate_site" \

  -H "Authorization: Bearer YOUR_API_KEY" \

  -H "Content-Type: application/json" \

  -d '{

    "website_id": 12345,

    "business_type": "restaurant",

    "business_name": "Sushi Wave",

    "business_description": "A sushi restaurant with a modern twist"

}'
Your product controls when generation runs, so you can place it inside onboarding or a post-signup task. The response returns the live URL.
{

  "msg": "Success",

  "status": 200,

  "data": {

    "url": "https://subdomain.domain.com"

  }

}
Step 4. Embed editing and management inside your UX
Your platform needs a secure way for users to reach their WordPress admin without handling passwords. The 10Web API provides a single-use autologin token that expires in five minutes for exactly this purpose.
Your backend requests the token, then constructs the login URL with the token and the user’s email. If a WordPress user with that email exists, they log in automatically. If not, the API creates an administrator account for that email and logs them in.
const response = await fetch(

  "https://api.10web.io/v1/account/websites/{website_id}/single?admin_url={wp_admin_url}",

  {

    method: "GET",

    headers: { "x-api-key": "YOUR_API_KEY" }

  }

);

const { token } = await response.json();

const email = "[email protected]";

const loginUrl =

  `https://mywebsite.example.com/wp-admin/?twb_wp_login_token=${token}&email=${email}`;

window.location.href = loginUrl;
Because the editor and the WordPress admin can be white-labeled to your brand, users never see 10Web behind the scenes.
Step 5. Add domains, and manage DNS & SSL certificates
Attaching a domain is the next step once a site is published. The API includes endpoints to add a domain to a website, manage its DNS records, and generate or remove SSL certificates.
This lets your product guide users through domain connection inside your interface, with no external dashboards or manual record copying.
curl -X POST "https://api.10web.io/v1/hosting/websites/{website_id}/domain-name" \

  -H "Authorization: Bearer YOUR_API_KEY" \

  -H "Content-Type: application/json" \

  -d '{

    "domain_name": "sushiwave.com"

}'
10Web handles DNS and SSL automatically after the domain is saved. You can also set a branded default domain for temporary sites, so each site gets a subdomain under your own domain instead of a generic URL.
Step 6. Support growth with webhooks
As users start managing many sites, webhooks keep your dashboards current without polling the API. The webhook system notifies your backend when specific operational events complete.
- Staging environment operations, enabled or disabled
- Environment sync operations, push or pull between staging and live
- Backup events, created or restored
- Website clone events
These events run in the background and take time to complete, so a webhook is the reliable signal your system needs to update UI state or trigger follow-up actions. That replaces polling loops and custom schedulers.
FAQ
How do I integrate an API with a website?
You integrate an API by sending authenticated HTTP requests from your backend to the provider’s endpoints and storing the identifiers it returns. With the 10Web Website Builder API, your backend calls the create, generate, autologin, domain, and webhook endpoints, and your frontend triggers those actions inside your product.
How much does website builder API integration cost?
The cost is the integration effort plus the provider’s per-site or usage-based pricing. That is a fraction of an in-house build, which is measured in engineering headcount times months plus ongoing maintenance the provider would otherwise absorb.
What are the types of REST API requests?
REST APIs use standard HTTP methods: GET to read data, POST to create, PUT or PATCH to update, and DELETE to remove. The 10Web API uses GET and POST for the operations in this guide, such as POST to create a site and GET to request an autologin token.
How tightly coupled is our product to 10Web if we use this API?
The generated sites are standard WordPress installations, not a proprietary format. Content, plugins, and configuration live inside WordPress, which keeps the sites portable at the CMS level and limits long-term lock-in.
What does the API handle, and what stays on our side?
The API handles WordPress provisioning, hosting, AI generation, and lifecycle operations such as backups, staging, and cloning. Your platform handles user management, triggering API actions, storing returned identifiers, and deciding how site creation fits your workflows.
How much control do we have over what gets installed on user sites?
You can define plugin presets that apply to every new site, which lets you standardize tooling such as SEO or ecommerce plugins. Beyond that, the sites behave like normal WordPress installations.