WordPress plugins are essential tools that allow users to extend and customize the functionality of their WordPress websites. Essentially, plugins are software that can be uploaded to expand the capabilities of a site. By learning how to create a WordPress plugin, you can extend your site’s functionality beyond what the original developers of the platform provided. This ability makes WordPress a powerful choice for building websites.
Plugins are written in the PHP programming language and integrate easily with WordPress. In this detailed guide, you will learn how to create a WordPress plugin and enjoy the features you need. First, let’s learn a bit more about these cool additions.
FAQ
Who can create a WordPress plugin?
How do I begin writing a WordPress plugin from scratch?
Can I make money making WordPress plugins?
How do I create a WordPress plugin form?
How are WordPress plugins built?
The importance of WordPress plugins
The true power of WordPress lies in its extensibility, primarily achieved through plugins since it’s an open-source platform. For users without coding skills, plugins offer the ability to implement complex features with minimal effort. For developers, they provide a basis for adding custom-fit functionality without starting from scratch.
Plugins can affect various aspects of a website, including SEO optimization, security enhancements, social media integration, and much more. They are crucial in ensuring that a WordPress site can evolve to meet the growth demands.
These additions can dramatically change how a WordPress site operates, adding almost limitless possibilities. They work by hooking into the WordPress core and using a series of actions and filters to modify default features, add new administrative sections, or even completely alter the front-end user experience. WordPress site owners fit their specific needs and preferences through plugins.
Automate manual work with 10Web Managed WordPress Hosting and 10Web AI Website Builder. Optimize your WordPress website effortlessly. ![]()
Simplify WordPress with 10Web
Setting up your development environment
Before diving into how to create a WordPress plugin, there are several areas you need to have a solid foundation. Below, you will learn what you need to get started and how to set up a local development environment, develop and test your plugin without affecting a live website.
Requirements for creating a plugin
You are about to learn how to create a WordPress plugin and customize your website the way you want. Here are your requirements:
PHP knowledge: WordPress is primarily written in PHP, so you’ll need a basic understanding of PHP to create a functional plugin: familiarity with PHP syntax, functions, and how to manipulate data with PHP.
WordPress installation: Since plugins are extensions of WordPress, having a WordPress site installed is crucial. This could be a live website, but for development, a local setup is recommended.
Text editor: A good text editor will help you write and organize your code effectively. Examples of popular text editors include Sublime Text, Visual Studio Code, and Atom. These editors often have features like syntax highlighting and code completion, which can simplify the development process.
Setting up a local development environment
A local development environment allows you to run a server on your computer, simulating a live hosting environment. Here’s how you can set it up:
Step 1: Choose your local server environment
Tools like XAMPP (for Windows, macOS, and Linux) and MAMP (for macOS and Windows) are popular. These applications give the necessary server stack, including Apache, MySQL, and PHP, essential for running WordPress locally.
Step 2: Install the server environment
Download and install XAMPP or MAMP from the official websites. For XAMPP, you can select components necessary for WordPress, such as PHP, MySQL, and Apache during installation. And MAMP comes with PHP and MySQL pre-installed.
Step 3: Configure and start your server
After installation, open the control panel of your server tool and start the Apache and MySQL services. These services need to be running to host your local WordPress site.
Step 4: Install WordPress
- Go to the WordPress.org website and download the latest version of WordPress.
- Unzip the downloaded file and place it in a directory within your XAMPP or MAMP `htdocs` folder.
- Open the PHPMyAdmin from your XAMPP or MAMP dashboard and create a new database for your WordPress installation.
- Navigate to where you extracted WordPress in your local server’s directory, open a web browser, and go to `localhost/foldername` where `foldername` is the name of your WordPress directory.
- Fill in the database connection details, and proceed with the installation. Once completed, you’ll have a WordPress site running locally.
Step 5: Access your local site
Visit `localhost/foldername` in your browser. Now you can develop and test your plugin in a controlled environment.
Step 6: Use a version control system
Although optional, it’s a good practice to use a version control system like Git to track changes to your plugin. This is especially helpful if you plan on distributing your plugin or collaborating with others.
The setup we’ve just completed mimics a live server, giving you a more accurate development experience. You are ready to discover how to create a WordPress plugin from scratch since you have safely set up a local development environment.
How to create a WordPress plugin: detailed steps
Creating a WordPress plugin is an excellent way to start learning about WordPress development. Below are the steps to create your first simple plugin, from setting up the necessary files to writing a basic function that interacts with WordPress.
Step 1: Create the plugin folder and the main plugin file
- On your local development environment, go to the `wp-content/plugins` directory of your WordPress installation.
- Make a new folder for your plugin. Name it something relevant, like `my-first-plugin`.
- Inside this folder, create a PHP file with the same name as the folder (e.g., `my-first-plugin.php`). This will be your main plugin file.
Step 2: Write the plugin header comment
In the main plugin file you created, open it in your text editor and add the following header comment at the top of the file:
<?php

/*

Plugin Name: My First Plugin

Plugin URI: http://yourwebsite.com/my-first-plugin

Description: A brief description of what your plugin does.

Version: 1.0

Author: Your Name

Author URI: http://yourwebsite.com

*/
This header tells WordPress that this is a plugin file and provides meta-information about the plugin.
Step 3: Give basic structure to the plugin file
The basic structure of a plugin file includes the header comment (as shown above), which identifies the plugin, functions and hooks; the body of the plugin where you place your custom code and hook it into WordPress.
Here is a basic template of what the structure might look like:
<?php

/*

Plugin Name: My First Plugin

Description: This is a simple plugin.

*/

function my_plugin_function() {

 // Your code goes here

}

add_action('wp_footer', 'my_plugin_function');
Step 4: Write a simple function for new functionality
Suppose you want to add a custom text at the end of every post. You could use the following code:
function my_text_addition($content) {

 if (is_single()) {

 $content .= '<p>Thank you for reading my blog post!</p>';

 }

 return $content;

}

add_filter('the_content', 'my_text_addition');

This function checks if the viewer is on a single post page and appends a thank you message to the end of the post content.
Step 5: Use WordPress hooks and filters for function integration
In the example above, the `add_filter(‘the_content’, ‘my_text_addition’);` line is where we use a WordPress filter. WordPress filters allow you to modify data. In this case, it’s modifying the content of posts.
Hooks come in two ways: actions and filters: actions allow you to add or change WordPress functionality at specific points in the execution of WordPress, and filters modify data before it is sent to the database or the browser. Each hook interacts with WordPress’s Plugin API to integrate your custom functions without modifying the core files of WordPress.
These steps gave you the information needed on how to create a WordPress plugin that can modify the content of your posts. This example is a basic introduction to the power of plugins and should serve as a foundation to explore more complex features.
Automate manual work with 10Web Managed WordPress Hosting and 10Web AI Website Builder. Optimize your WordPress website effortlessly. ![]()
Simplify WordPress with 10Web
Deploying your plugin
Deploying your WordPress plugin involves several key steps to prepare it for public release, especially if you aim to submit it to the WordPress.org Plugin Repository. With these steps you will get your plugin ready for launch:
Step 1: Create a README file
Your plugin should include a README file explaining what it does, how to install it, and how to use it. WordPress.org uses this file to extract information to display in the plugin directory. It should include sections like Description, Installation, FAQ, Screenshots, Changelog, and Upgrade Notice.
Step 2: Compress your plugin into a zip file
A zip file is the format required for WordPress plugin installation. Ensure the zip file contains the plugin folder and all its contents, not just the individual files. The structure within the zip helps to recognize and correctly install the plugin.
The next stage is to submit your plugin to the WordPress.org plugin repository.
Step 1: Review the guidelines
Before submitting your plugin, ensure you understand and comply with the WordPress Plugin Directory guidelines. These guidelines ensure the quality and safety of plugins submitted to the directory.
Step 2: Submit for review
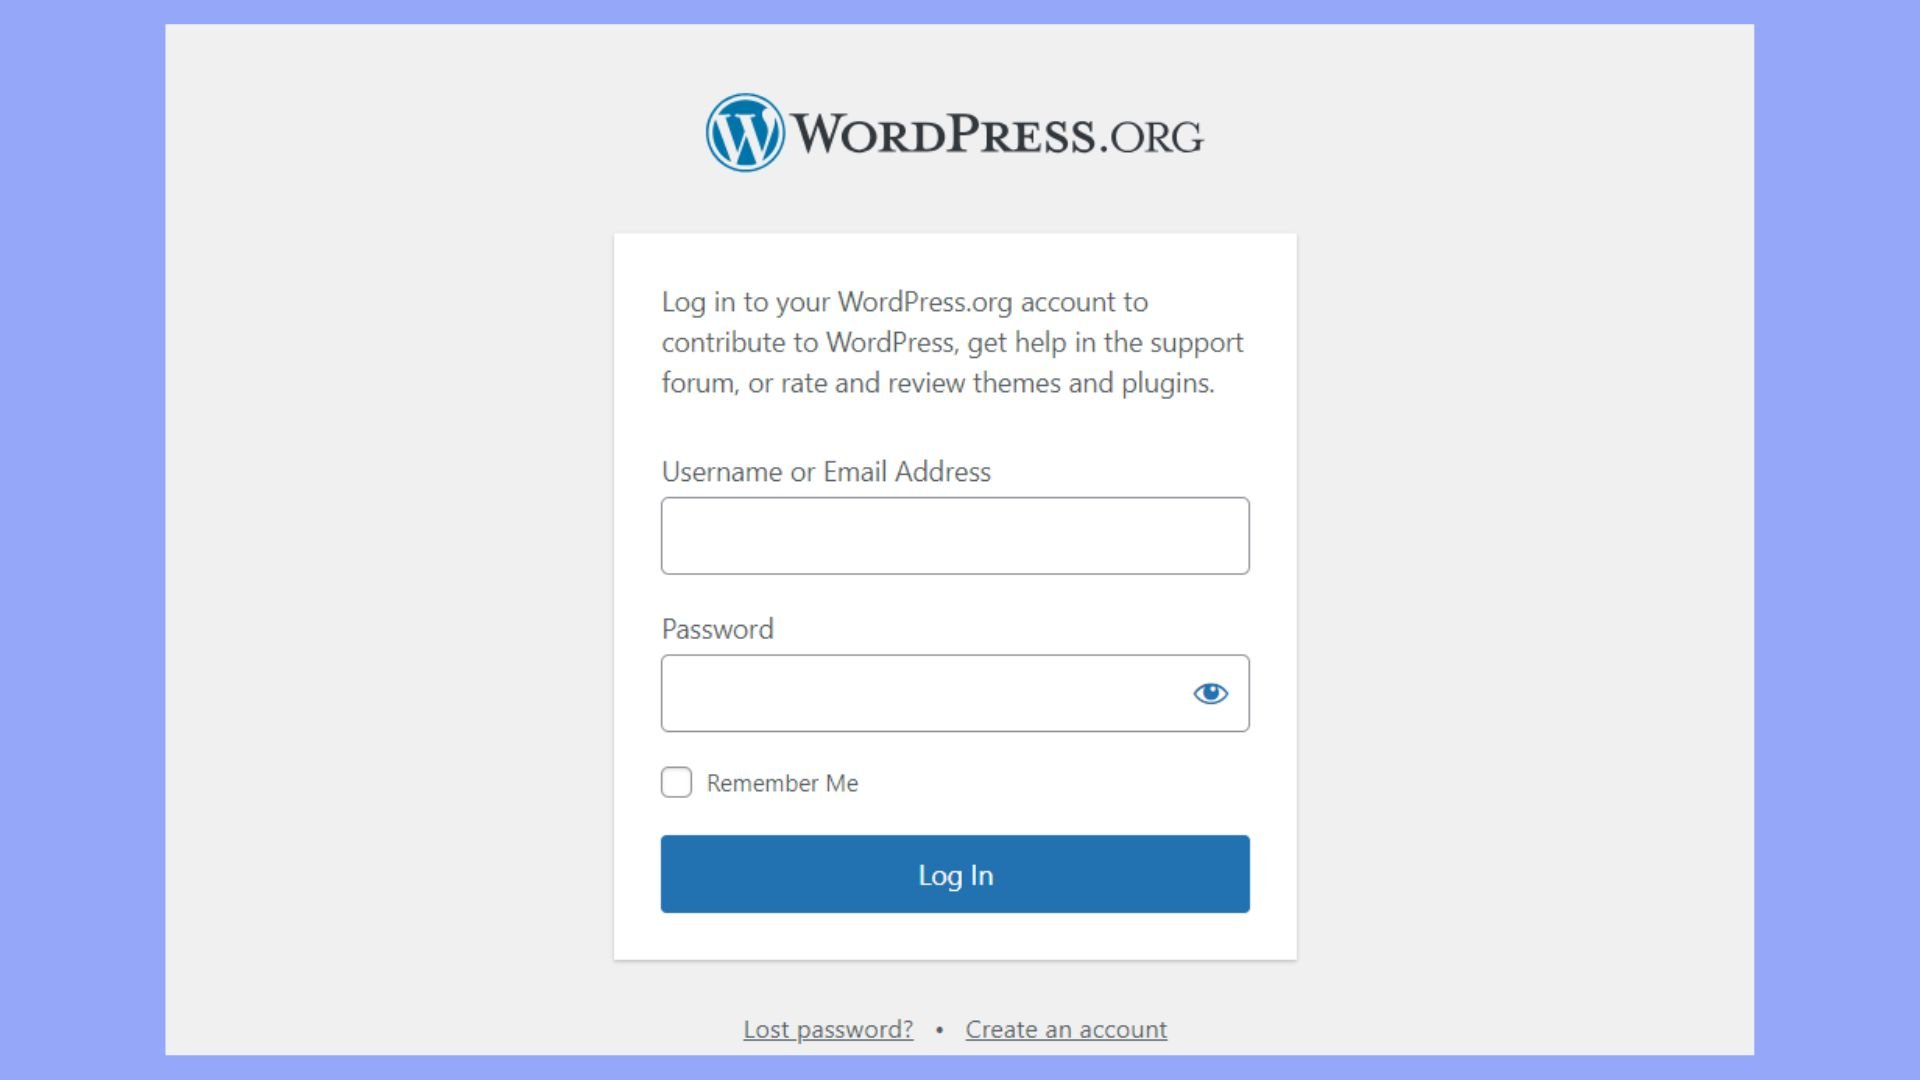
- Go to the WordPress.org Plugin Submission Page > log in with your WordPress.org account or create one.

- Upload your plugin zip file for review. The WordPress plugin team will review your submission to ensure it meets the guidelines and does not contain security issues or malicious code.
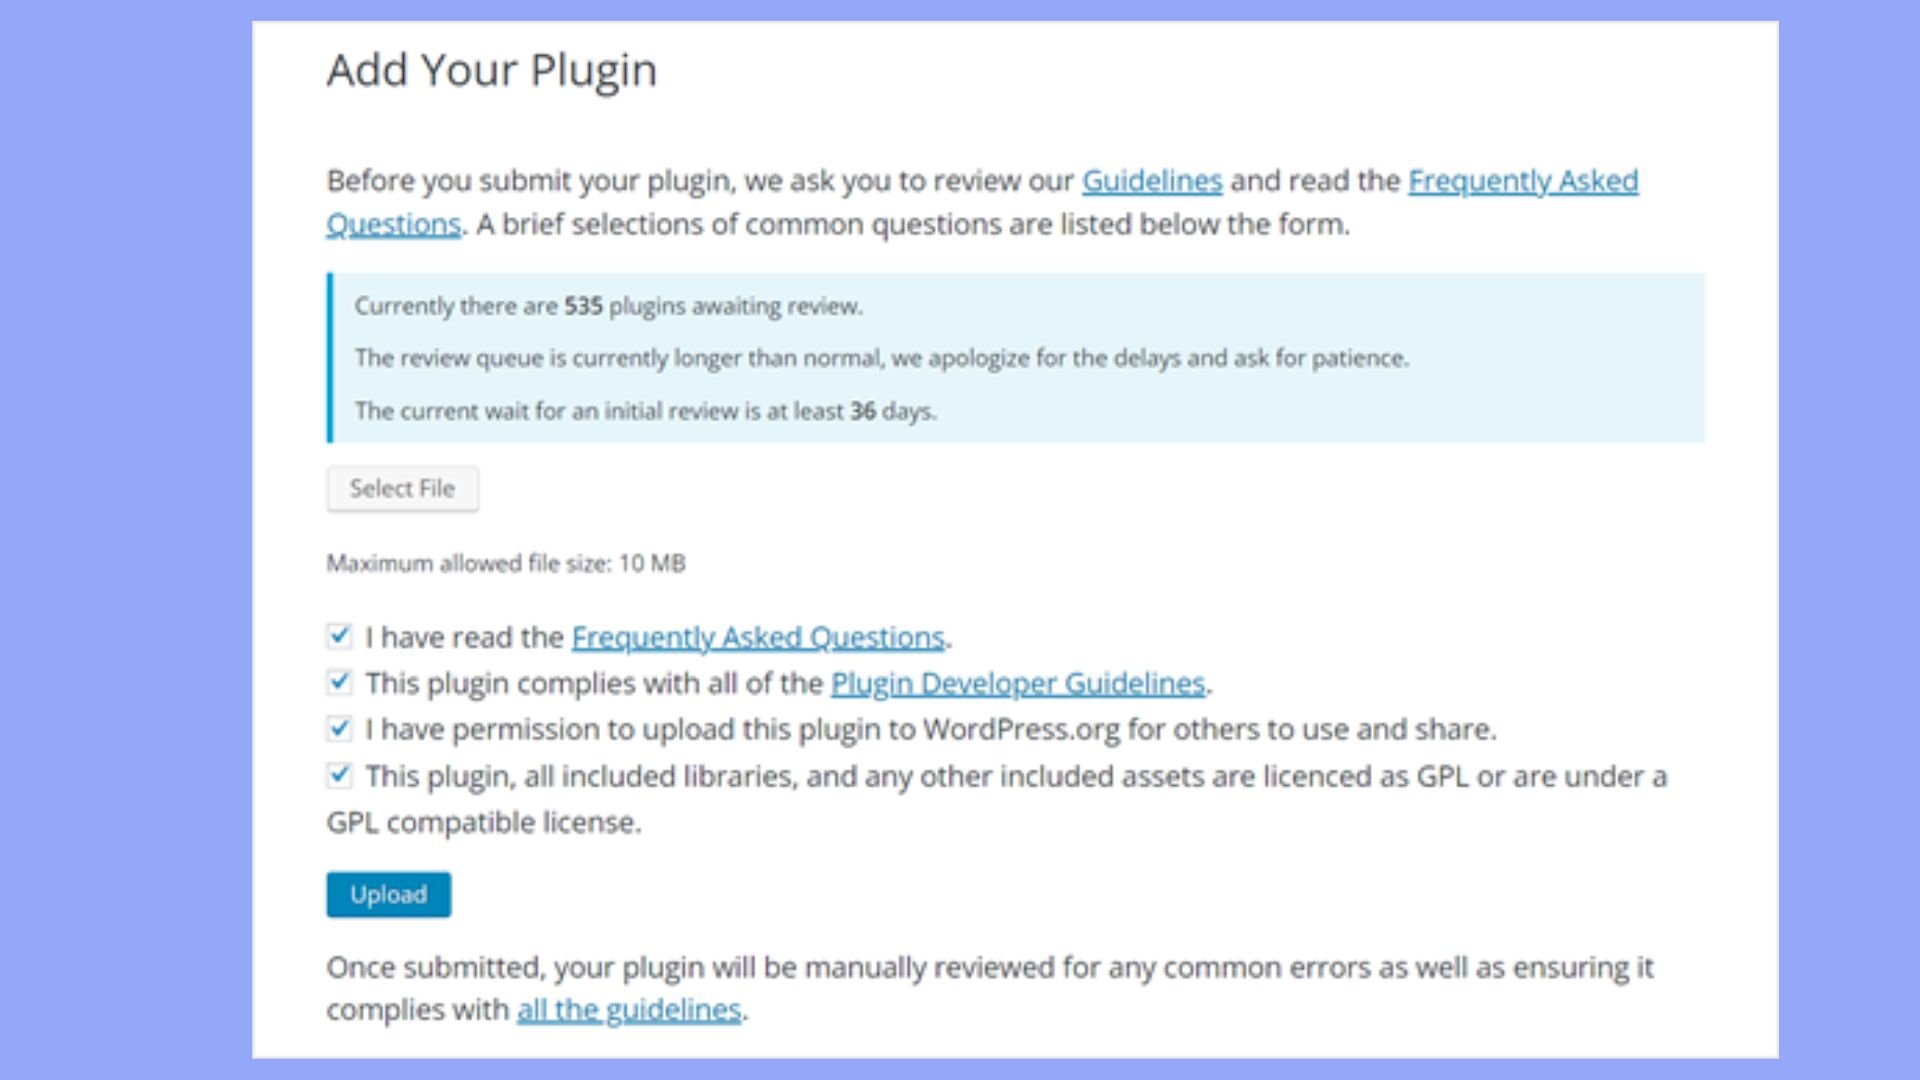
Once submitted, your plugin will undergo a review process where it might be tested for security and guideline compliance. This can take time, so be patient. If there are any issues, you may receive feedback on changes needed before approval.
Upon approval, you will receive access to a Subversion (SVN) repository where you can host your plugin. SVN is a version control system that WordPress uses to manage plugin files. You will need to manage your plugin’s SVN repository, updating it with new versions of your plugin as you release them.
Test your plugin
To ensure your WordPress plugin works effectively across various environments, here’s a simplified testing strategy:
- Begin by testing your plugin on a staging site that closely replicates your live environment. This helps you see how the plugin behaves under real-world conditions without risking your live site.
- Use tools like Docker or Vagrant to simulate different server setups (e.g., Apache vs. Nginx, different PHP versions). This ensures your plugin functions correctly across various hosting environments.
- Ensure your plugin works well on all major web browsers like Chrome, Firefox, and Safari, and check its responsiveness on different devices to ensure a good user experience.
- Regularly test your plugin with both the latest and older versions of WordPress to catch any compatibility issues and ensure it performs well regardless of the version used.
- Stay updated with WordPress core changes to avoid using deprecated functions in your plugin, ensuring it stays compatible with new WordPress releases.
- Turn on WP_DEBUG during development to catch and resolve unnoticed deprecations or other potential issues.
- Test your plugin with commonly used plugins and themes (like Divi, Astra, or Elementor) to identify any incompatibility issues.
- Use PHPUnit for unit testing, which allows you to test individual components of your plugin independently, ensuring they function as expected.
- Employ continuous integration tools like Travis CI or Jenkins to automate testing whenever changes are made, maintaining ongoing compatibility and functionality.
With these steps, you can confidently prepare your plugin for a successful deployment, knowing it will operate smoothly across different environments and WordPress setups.
Best practices in plugin development
Developing WordPress plugins involves more than just writing functional code. Following best practices in coding, security, and debugging ensures your plugins are reliable, secure, and perform well across various WordPress environments. Let’s explore this guide on the key best practices you should adopt.
Follow WordPress coding standards
WordPress has specific coding standards that help maintain consistency and quality in code. These standards cover everything from PHP, JavaScript, and HTML to CSS. Following them ensures your plugin code is clean, readable, and compatible with the core WordPress system.
Use descriptive names
Choose function and variable names that clearly describe their purpose without needing additional comments to explain them. This makes your code more readable and maintainable.
Comment your code
Proper commenting can significantly improve readability and maintainability. Comments should explain “why” something is done, not “what” is done, as the latter should be evident from the code itself.
Avoid conflicts
Use unique function names or class prefixes to avoid naming conflicts with WordPress core or other plugins. For example, if your plugin is called “Event Planner,” you might prefix your functions with `ep_`.
Organize your files
Structure your plugin files logically. Keep CSS, JavaScript, images, and PHP files in separate directories. This helps organize the code better and makes it easier to manage in the long run.
Take security into consideration
Here are a few tips to follow and keep your plugin secure.
- Always validate and sanitize data coming from user inputs or external sources. Validation checks if the data meets certain criteria (like being a number, a non-empty string, etc.), while sanitization cleans the data to ensure it is safe to use.
- Always escape output to prevent Cross-Site Scripting (XSS) vulnerabilities. Use functions like `esc_html()`, `esc_url()`, `esc_attr()`, etc., to ensure data output to the browser is safe.
- Check user capabilities before executing actions in your plugin to prevent unauthorized operations. Use WordPress nonces (a “number used once”) to verify that a request to your server originated from your site and not somewhere else.
- Use the WordPress `$wpdb` class and prepare statements to avoid SQL injection vulnerabilities. Never put raw SQL queries in the plugin code, especially those containing user input.
Advanced features in plugin development
After you have mastered how to create a WordPress plugin and become more comfortable with basic WordPress plugin development, you can start incorporating more advanced features that enhance functionality and user interaction. Let’s discuss.
Adding settings pages
Settings pages allow users to interact with your plugin, customize its operations, or input necessary data that affects its functionality.
- Use `add_menu_page()` or `add_options_page()` to add a new item to the WordPress admin menu. This function lets you specify the page title, menu title, user capabilities required, menu slug, and the function that will render the page’s HTML.
- To design the form, use HTML form elements and save their states using WordPress settings APIs.
- Use the `register_setting()` function to whitelist your options and handle them securely. When a user submits the form, WordPress saves these settings automatically if they are registered properly.
- Ensure that data validation and sanitization are part of your settings management to prevent security vulnerabilities and ensure the plugin functioning.
Creating custom post types and taxonomies
Custom post types and taxonomies allow you to define new types of content and organizational structures within WordPress, making it highly flexible.
- Use `register_post_type()` to create new types of content (like ‘Books’, ‘Reviews’, ‘Courses’). This function allows you to define the parameters that dictate how the post type behaves and appears in the admin area.
- Use `register_taxonomy()` to create ways to categorize or tag content within your custom post types, similar to categories and tags for posts. You can specify whether the taxonomy is hierarchical (like categories) or not (like tags).
- After creating, you can link taxonomies to post types so that they can be categorized and filtered by the taxonomy terms.
Storing plugin data in the WordPress database
Handling data storage within your plugin involves more than just saving settings; it may include creating custom tables or utilizing existing WordPress database structures.
- For complex large datasets, you can create a custom database table. Use the `$wpdb` object provided by WordPress to interact with the database safely and efficiently.
- Understand how to perform create, read, update, and delete (CRUD) operations using WordPress’ `$wpdb` class to manage your data effectively.
- Ensure that your data handling practices maintain database integrity and performance, especially when dealing with large volumes of data or high-traffic environments.
- Ensure that there are regular backups of your data, particularly if your plugin is critical to website operation.
By mastering these advanced functionalities, you can significantly enhance the capability and professionalism of your WordPress plugins after you have learned how to create a WordPress plugin and make it more advanced.
Conclusion
Developing and deploying a plugin gives you the functionality and features you need for better website management. It also allows you to contribute to the WordPress community and helps you gain credibility as a developer.
Plugins are indispensable tools that elevate and expand the capabilities of WordPress sites. This detailed guide walked you through the comprehensive process of how to create a WordPress plugin, test and submit it in the plugin directory, and make it available for others.
The process is simple if you have the requirements for a plugin development. Following the steps and tips in this article, you will arm yourself with the necessary knowledge to create your unique plugin and suffice your needs in website management.
Skip and automate manual work with 10Web Managed WordPress Hosting and the 10Web AI Website Builder.Simplify WordPress with 10Web
Simplify WordPress with 10Web

![]()
![]()