Changing your website’s logo in WordPress is a straightforward process that can greatly impact your site’s branding and visitor recognition. Through the WordPress Customizer, you have the ability to edit various elements of your theme. This includes the site identity which encompasses the logo, site title, and icon that appear typically in the header of your site.
This article guides you through how to change a logo in WordPress and keep your site’s look modern and fresh. By updating your logo, you ensure that your site maintains a professional and cohesive appearance that resonates with your audience.
FAQ
How do I change the logo image in WordPress?
To change your logo image, follow these steps:
- Navigate to Appearance > Customize in your WordPress dashboard.
- Click on Site Identity.
Then, click on Select logo to upload a new image, which will replace your current logo.
How do I change my WordPress logo in WP admin?
In the WP admin, you can change your logo by following these steps:
- Go to Appearance > Customize.
- Click on Site Identity.
- Find and click on Change logo.
- Then, upload your new logo directly or choose from your media library.
What should I do if I don’t see an option to change the logo in WordPress?
How do I create a custom logo in WordPress?
How do I change the tab logo in WordPress?
In WordPress, how can I replace the logo on my WP login screen with a custom logo?
What makes a great logo stand out
Your website logo is a crucial piece of your brand’s identity. It communicates your brand’s values and quality at a glance. It is the visual cornerstone of your brand, helping users identify your website and its content.
Design principles for effective logos
When designing your logo, it’s vital to ensure that it is simple, memorable, and versatile. Consider using SVG format for scalability so that your logo maintains clarity across various platforms. A logo should also have a transparent background to ensure it can be seamlessly integrated into various designs and color schemes.
Brand recognition
Your logo serves as a quick visual expression of your company story, mission, and values. It works as a tool for both recognition and differentiation, allowing your brand to stand out in a crowded marketplace. Consistent use of a distinctive logo reinforces brand identity and can create a lasting impression on your audience.
Logo dimensions and file format
Choosing the right dimensions and file format for your logo is important to maintain its quality across different mediums. For websites, use image files that are optimized for web use, like SVG for scalability or PNG for high quality with a transparent background. Always ensure your logo’s dimensions are balanced, keeping it clear and visible without dominating the web page.
Selecting the right theme
Before you start changing your site’s logo, ensure the WordPress theme you select supports such customization. A theme’s logo compatibility and customizer options determine how you’ll go about changing the logo.
Considering theme support for logos
Most modern themes provide a Site Identity section within the Customize menu. This is typically where logo management is handled. Themes that support logo changes should list this feature in their description or feature list.
If you’re in the process of choosing a theme, consider previewing themes to see how they handle logos in real time.
Steps to preview and activate a theme:
- From your WordPress dashboard, go to Appearance > Themes.
- Hover over your desired theme and click the Live Preview button to see how it manages the site logo.

- If the theme meets your requirements, click Activate to apply it to your site.
Each theme may have different logo capabilities, such as size restrictions or placement options, so previewing is crucial to ensure the theme aligns with your branding.
How to change the logo in WordPress
Depending on your theme and preferences, you can change the logo in WordPress using several methods. Whether you’re using the WordPress Customizer, Site Editor, a builder-based theme, or a custom theme, these steps provide a straightforward approach to updating your site’s logo.
Using the WordPress Customizer
- Navigate to your WordPress dashboard and go to Appearance > Customize.
- Within the Customizer, locate the Site Identity section.
- Click on Select logo to add a new logo or Change logo to replace the current one.

- Upload the logo image file from your computer.
- Once uploaded, you may be prompted to adjust the logo’s crop. After editing, click Publish to save the changes.

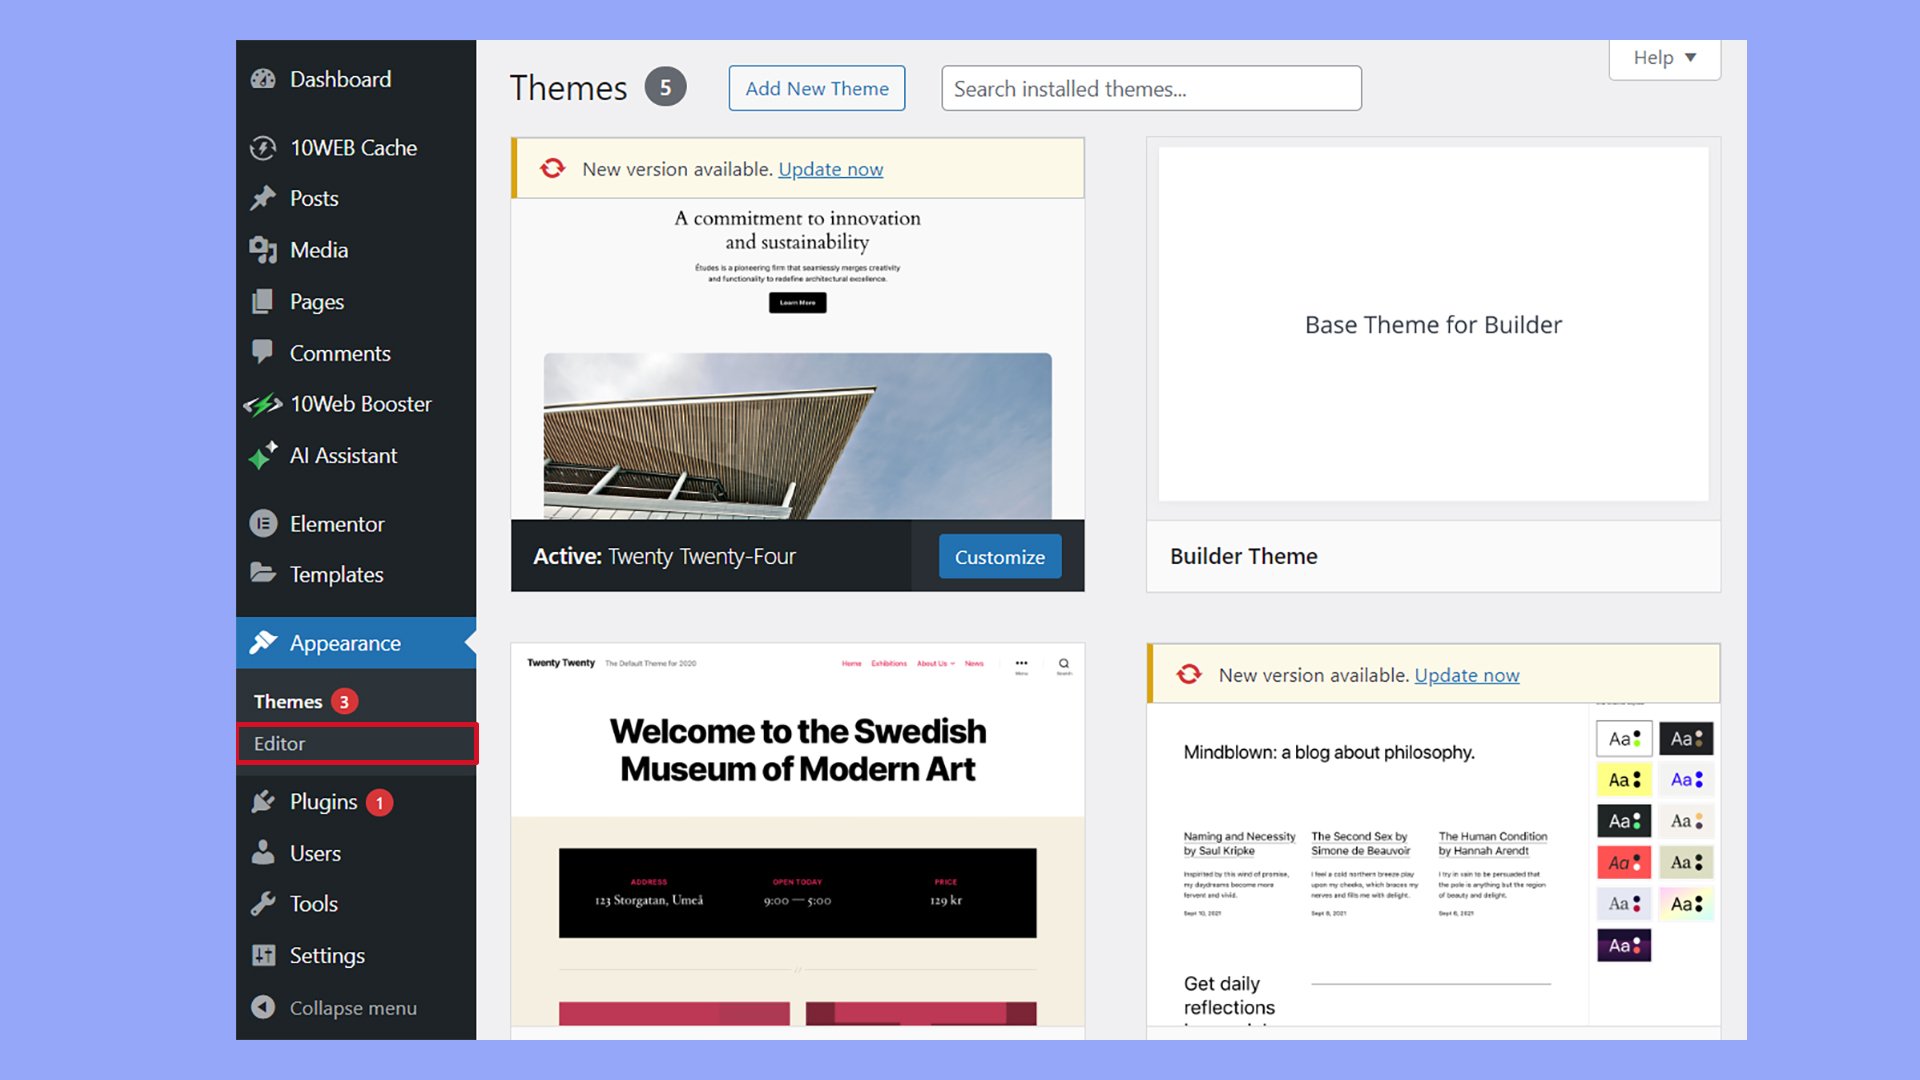
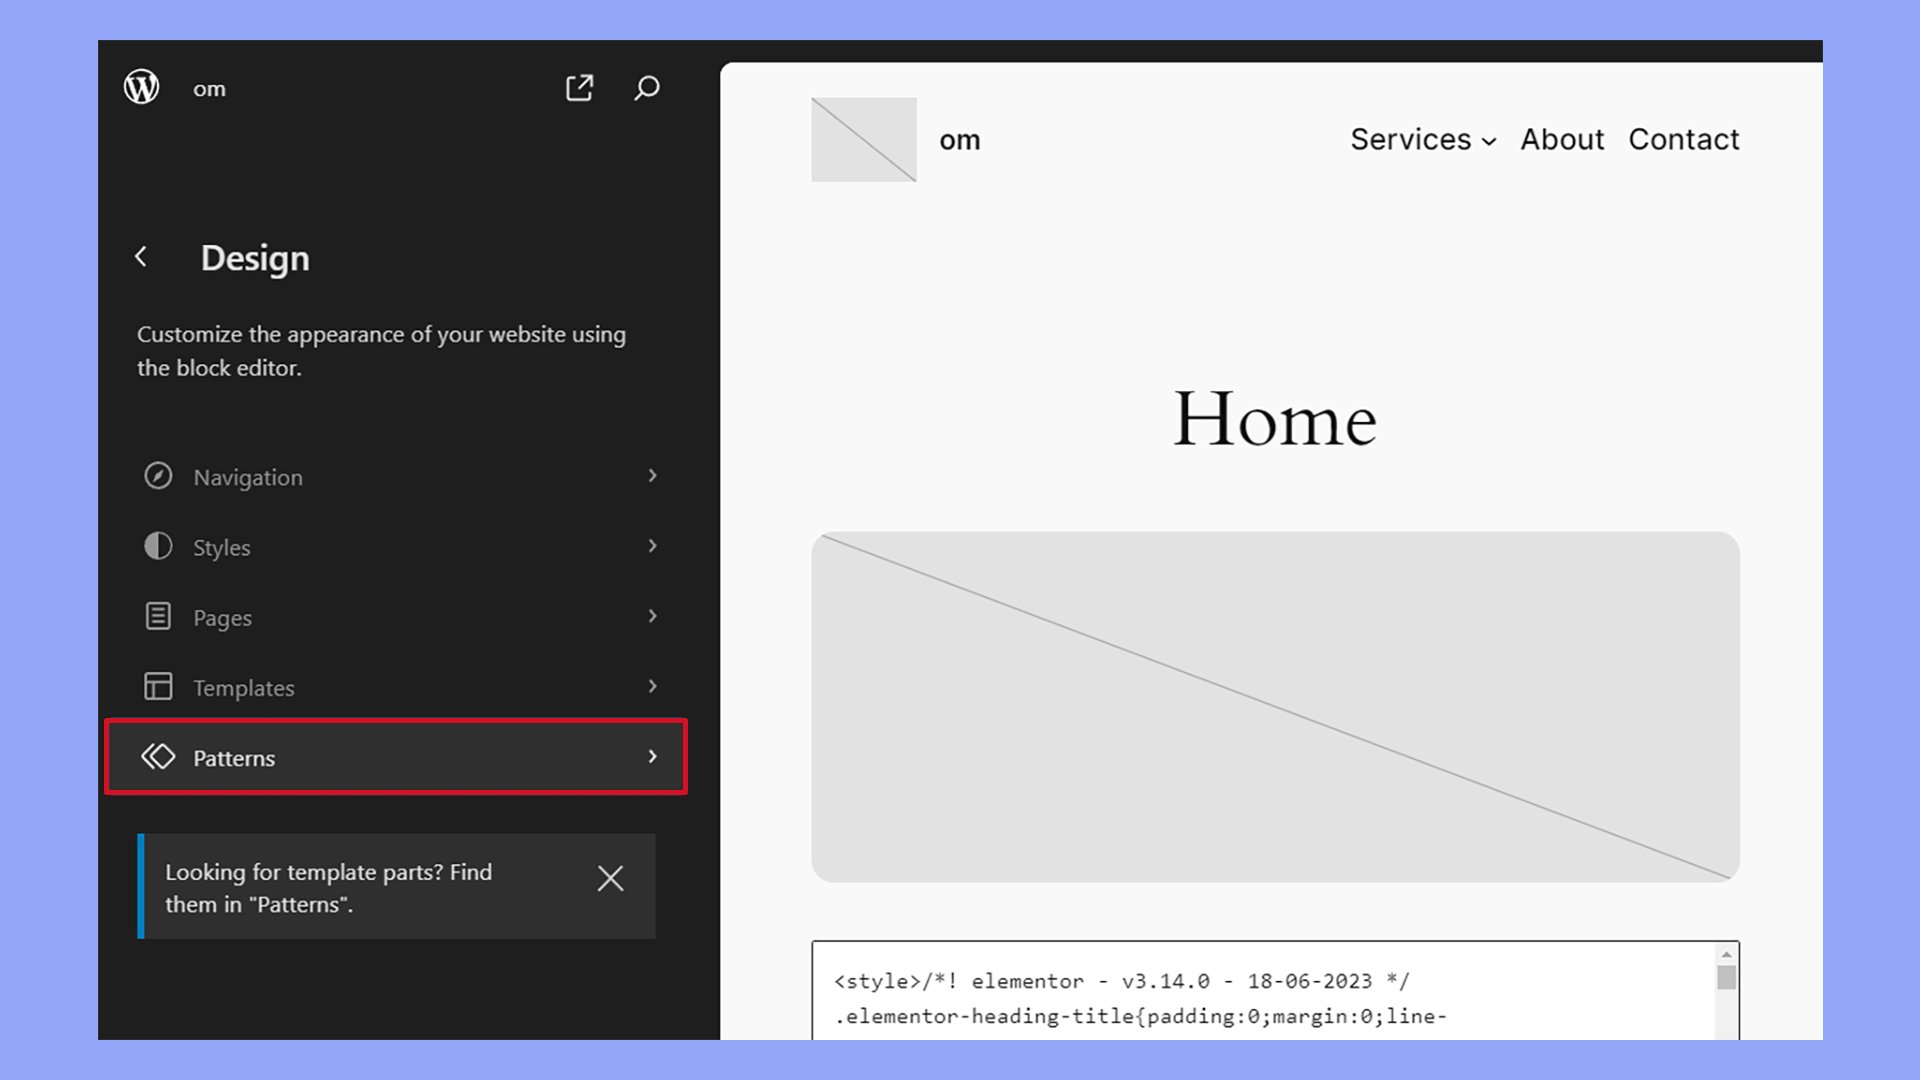
Using the site editor
- Go to Appearance > Editor to enter the full-site editing mode.
- Select Patterns
- Find the Template Parts and select the header area.
- Click on the logo and select or upload the new image from the media library.
- Crop and make any necessary adjustments.
- Hit Save to apply the new logo to your site.
Changing the logo on a builder-based theme
The process of changing the logo on a builder-based theme varies from builder to builder. Generally, you’ll need to edit the Header section.
Here’s an example of changing the logo using the 10Web Builder:
- Select Templates from the WordPress dashboard.
- Hover over the Header template and select Edit with Elementor.
- Click the logo in the editor and choose a new image in the Edit Image panel.
- Click Save & Publish.
Changing the logo on a custom theme
For custom themes without a user interface option, you might need to edit the header.php or functions.php files. Always backup your files before making direct changes to ensure you can revert back if necessary.
- Navigate to Appearance > Theme File Editor.
- Locate and select header.php to find the section where the logo is called.
- Replace the existing logo code with the path to your new logo file.
- After changes, ensure to Save the modifications and check your website to see the new logo in place.
Changing a logo with custom CSS
Customizing your WordPress logo with CSS provides precise control over the visual appearance and size of your website’s branding.
To begin altering your logo with CSS, identify the CSS class associated with your logo image.
Use browser developer tools by right-clicking on your logo and selecting Inspect.
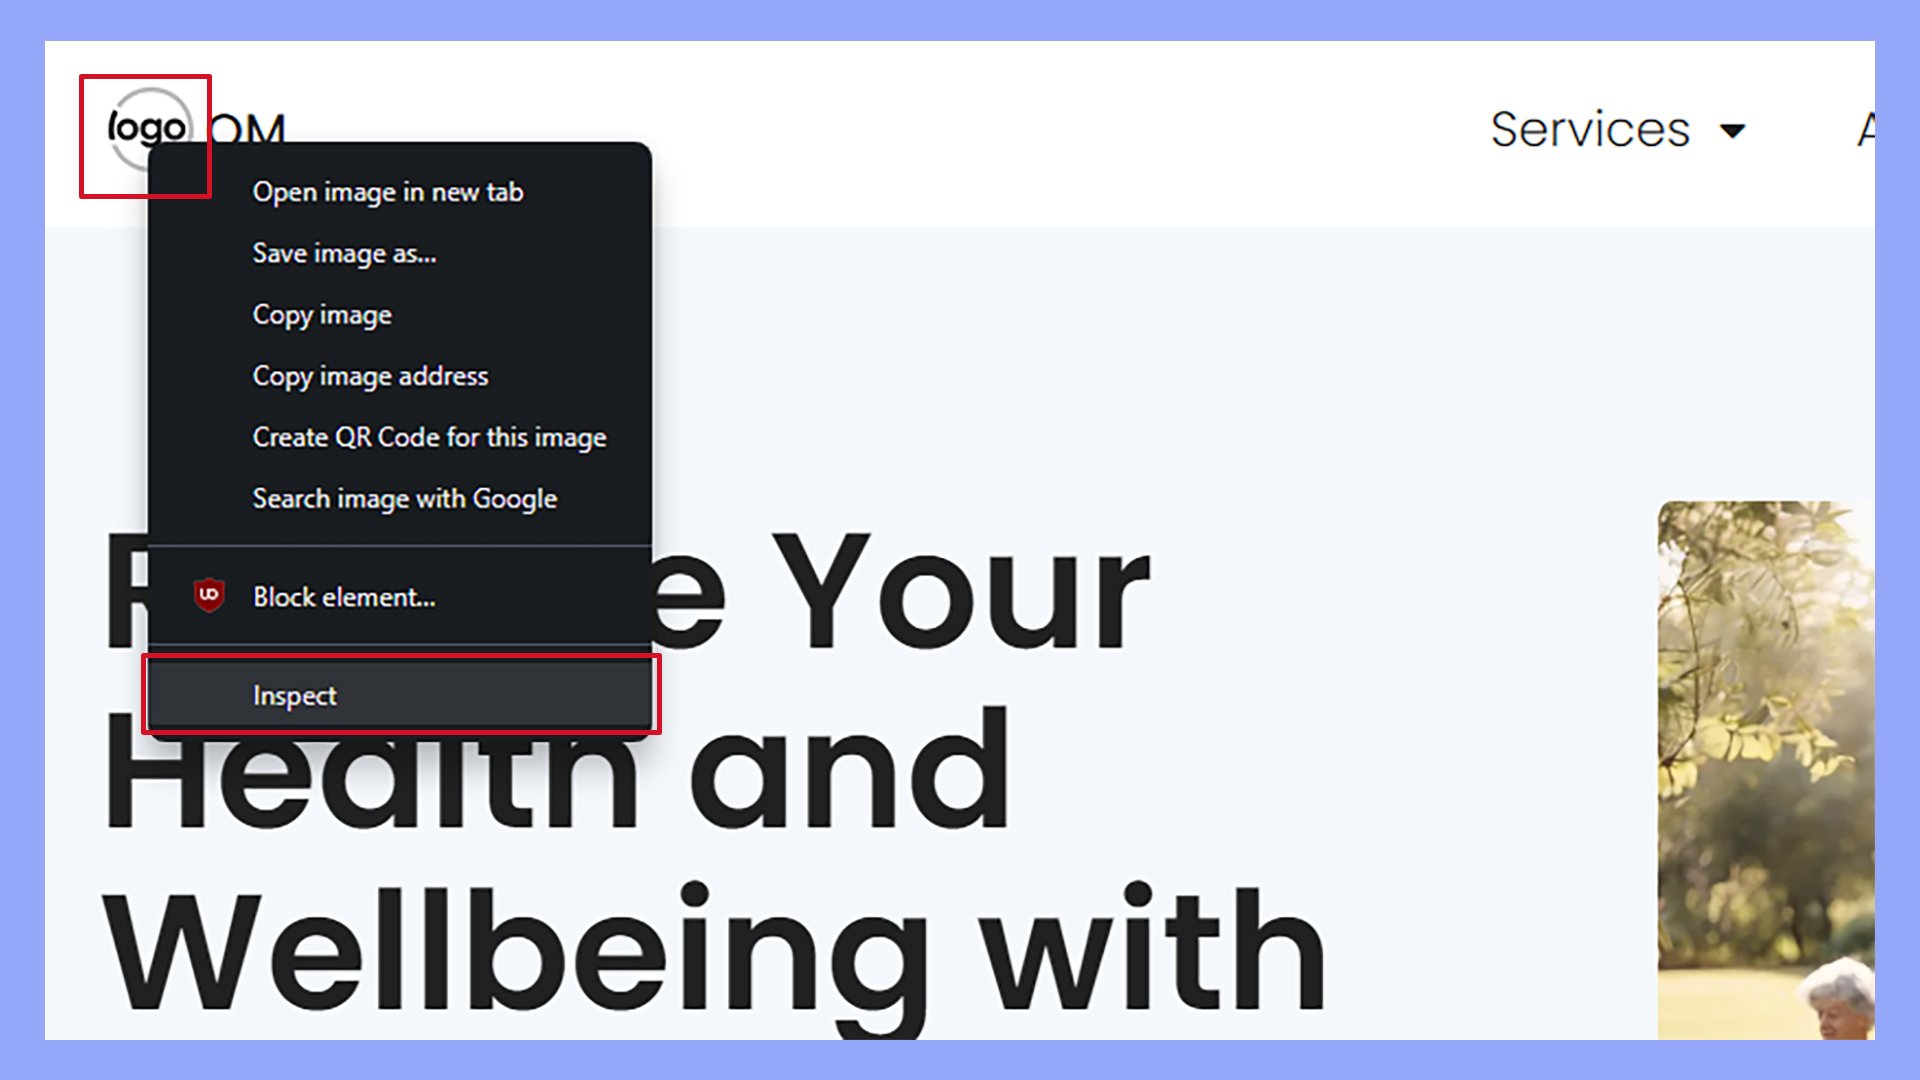
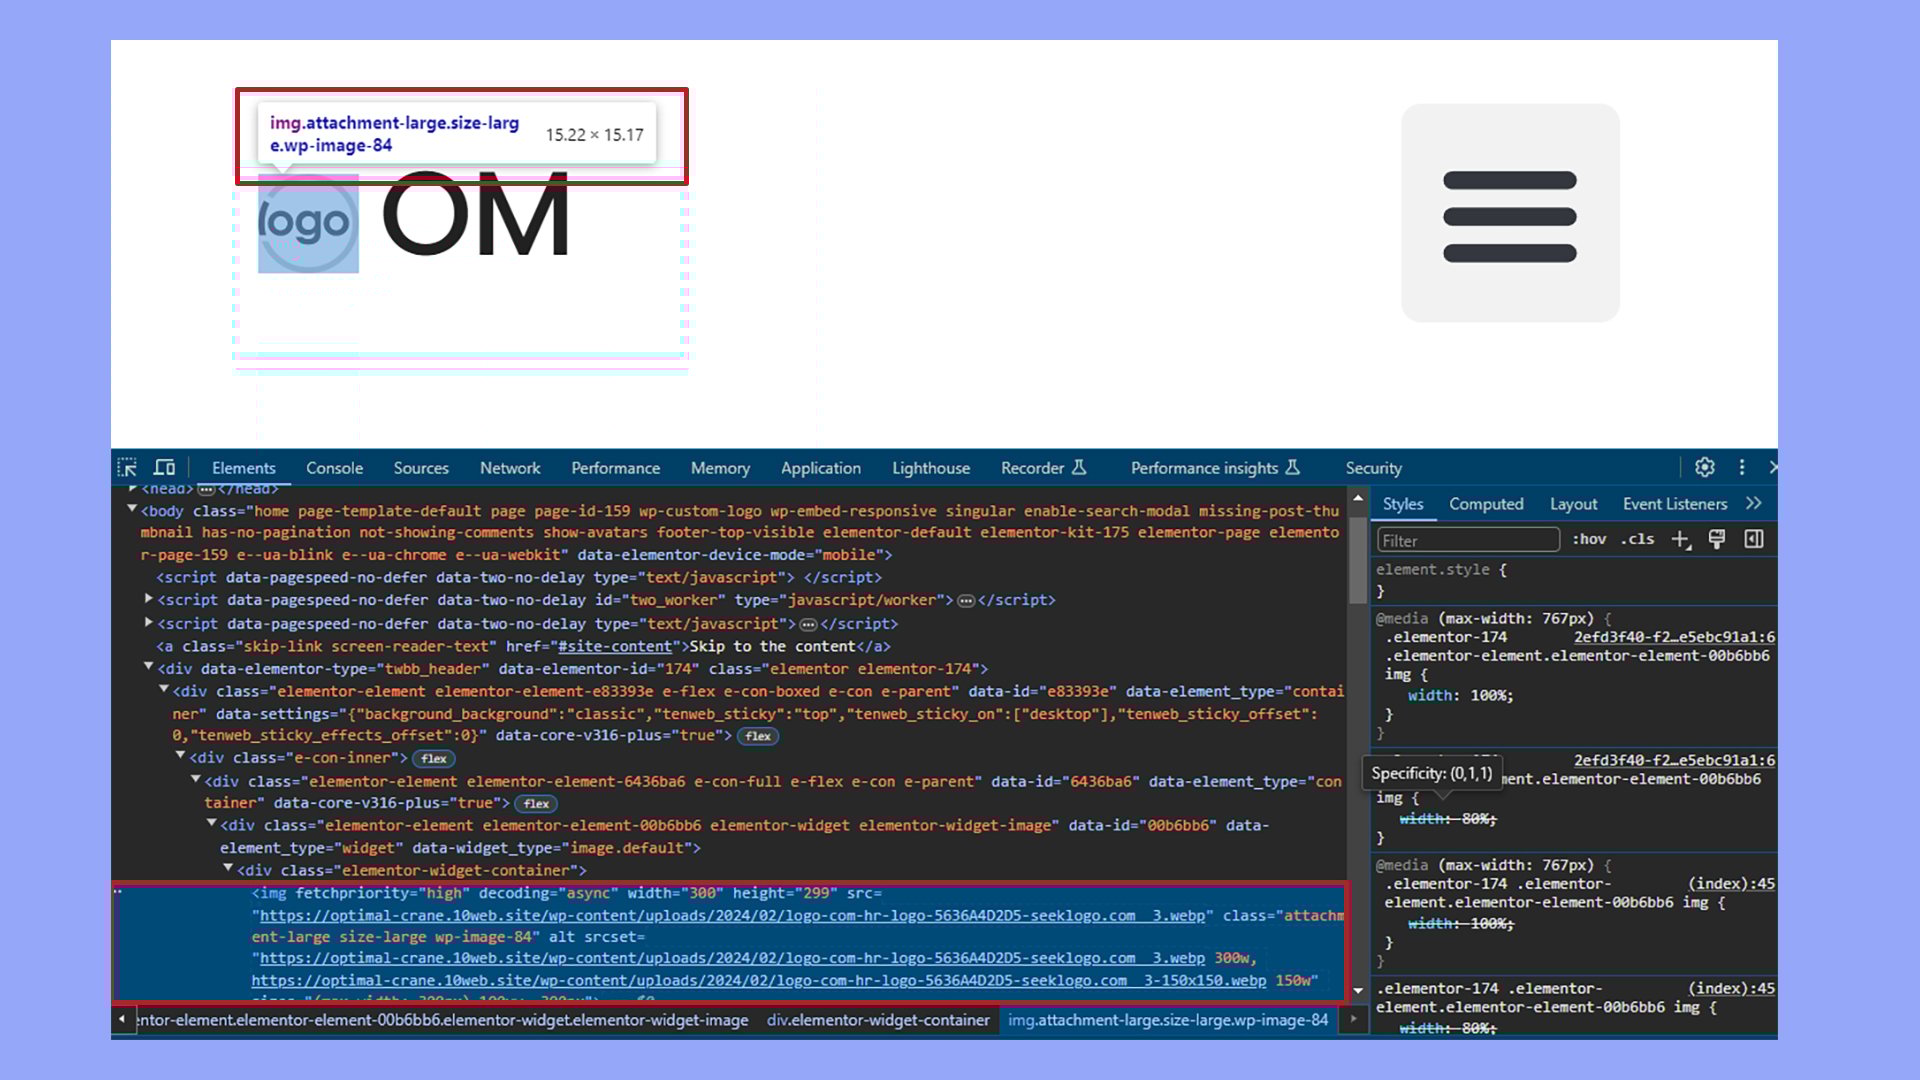
This action will open a panel highlighting the logo’s HTML and associated CSS. Within the highlighted section, look for a class attribute; this is your logo’s CSS class and may appear as .site-logo, .custom-logo, or something similar.
To find the class, hover over the highlighted area and note the class indicated.
Adding the custom CSS
After locating your logo’s CSS class, proceed to the Customize section in your WordPress dashboard. Scroll to the Additional CSS section, where you can input your custom styles. Here’s an example of a custom CSS snippet to change the logo’s appearance:
img.attachment-large.size-large.wp-image-84 {
	max-width: 200px;
        height: auto;
	border-style: solid;
	border-color: #999;
	border-radius: 5px;
	padding: 5px;
}
This code modifies the logo’s maximum width without altering its aspect ratio and adds a rounded border. To apply the changes, simply paste this snippet in the Additional CSS box and preview the changes live on your site.
![]()
For further customization, modify other properties such as height, border, or margin. Each change can be previewed in real time, allowing you to find the perfect balance for your logo’s design. Click Publish when you’re satisfied with your changes.
If you are not familiar with the specifics of editing CSS, this article on how to edit CSS in WordPress can provide you with easy steps to enhance your site’s aesthetics.
How to Change the WordPress Login Page Logo via WordPress Dashboard
Enhancing your website’s branding starts with customizing key touchpoints that your users interact with. The login page is a critical aspect of user experience, making it a perfect place to showcase your brand with a customized logo.
Changing the logo on your WordPress login page directly from the WordPress dashboard is a straightforward process that involves modifying your theme’s functions.php file. Here’s a step-by-step guide to doing it using the WordPress Theme File Editor:
Access Theme File Editor:
- Navigate to your WordPress dashboard.
- Go to Appearance and select Theme File Editor from the menu. This action opens the editor where you can modify the files of your currently active theme.
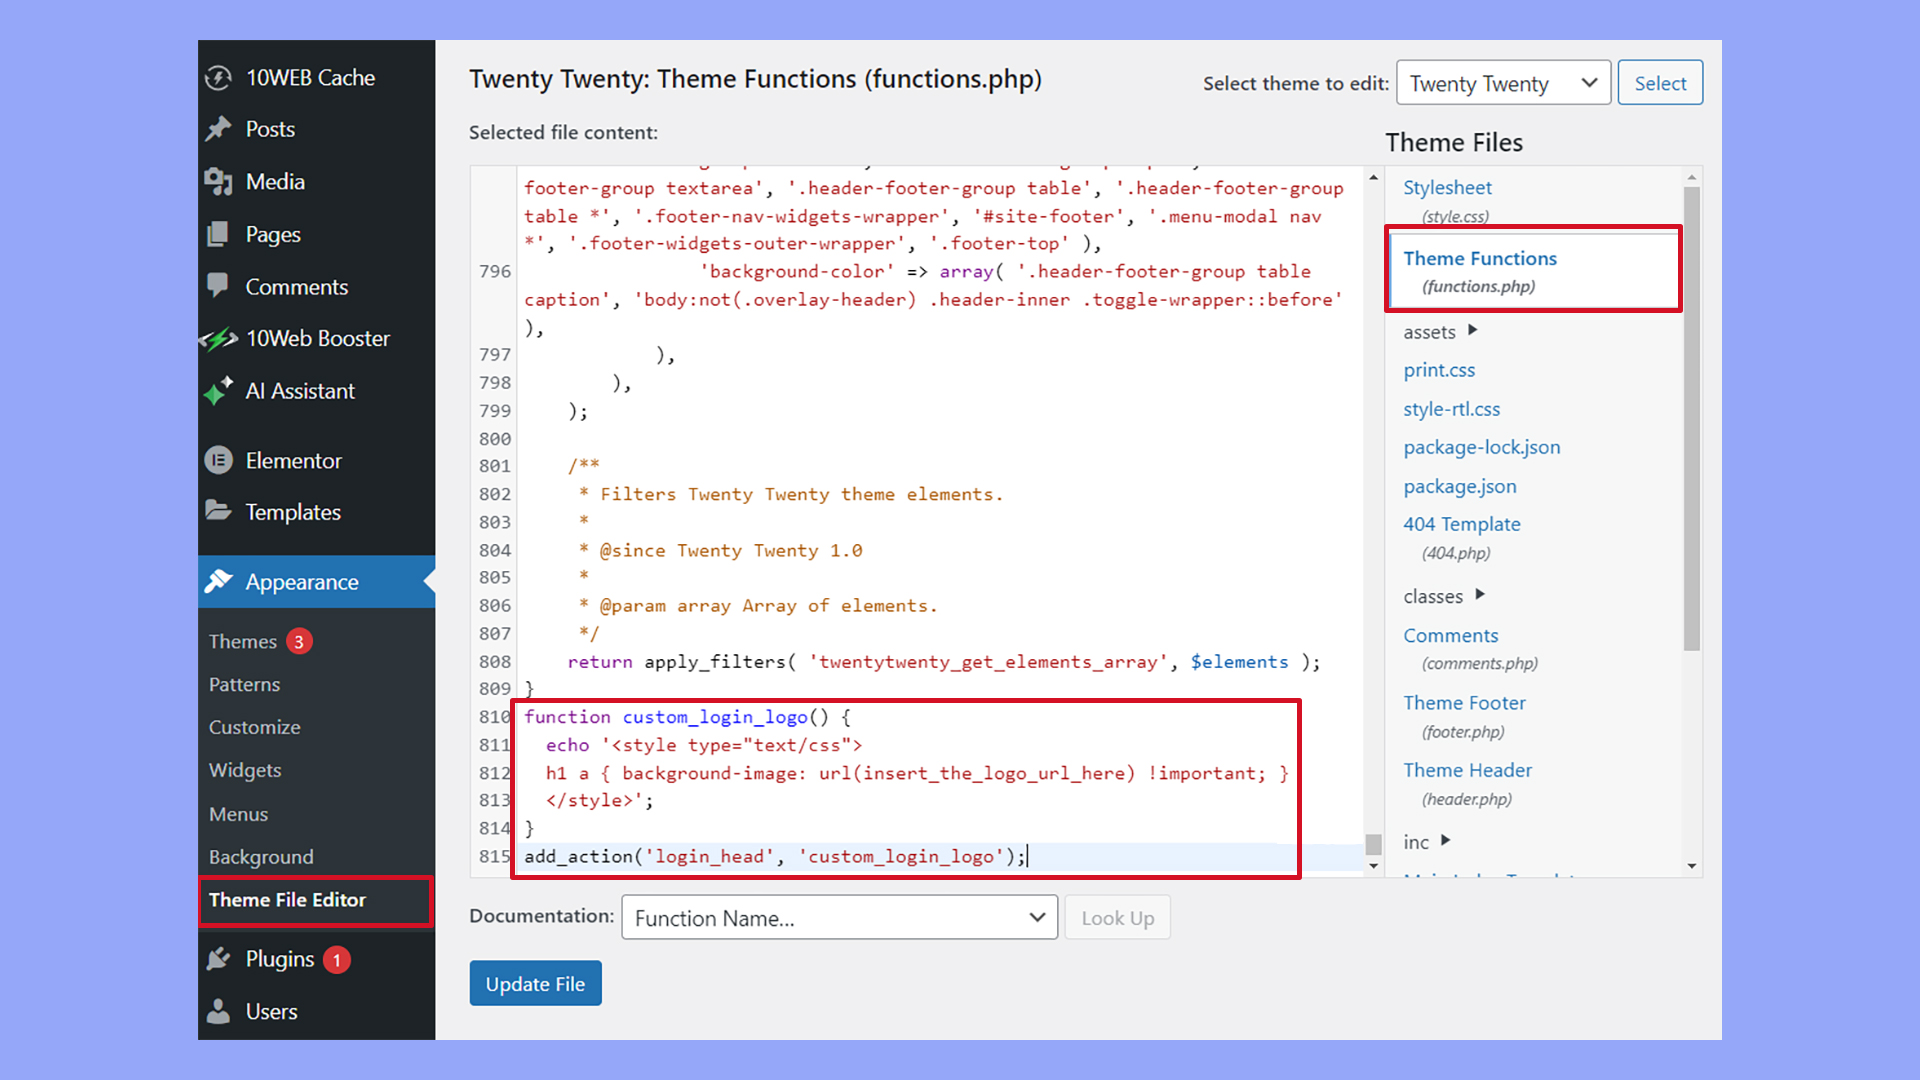
Select the functions.php file:
- In the right-hand panel of the Theme File Editor, you will see a list of theme files.
- Click on functions.php to open the file for editing. This file is where you will add the necessary code to change your login page logo.
Add custom code:
- Scroll to the bottom of the functions.php file to ensure your code does not interfere with other functions.
- Add the following code snippet:
function custom_login_logo() {
echo '<style type="text/css">
h1 a { background-image: url(insert_the_logo_url_here) !important; }
</style>';
}
add_action('login_head', 'custom_login_logo');
This code adds a CSS rule that changes the logo on the login page to an image of your choice.
Insert your logo URL:
- Find the URL of the logo image you want to use. You can get this from the Media section of your WordPress dashboard, where you upload images or view details of existing images.
- Replace insert_the_logo_url_here in the code snippet with the actual URL of your logo. Ensure it is placed between the quotation marks (url(‘https://yourwebsite.com/wp-content/uploads/year/month/logo-name.png’)).
Update File:
After inserting your logo URL, carefully review the code to ensure everything is correct.
Click on the Update File button at the bottom of the editor to save your changes.
After updating the file, it’s good practice to log out and visit your login page to see the new logo in action. This visual change will confirm that your update was successful.
Site icon and favicon
A site icon, or favicon, is a crucial visual element that enhances your website’s identity and aids in brand recognition. Within the customization options of WordPress, adding and managing a favicon is straightforward and can have a significant impact on how users remember and revisit your site.
Adding a favicon
To add a favicon to your WordPress site, navigate to the Customize section by clicking on Appearance, then Customize. Once in the customizer, find and select Site Identity to access the site icon settings.
![]()
Here, you can click Select Site Icon to select an image to represent your website in browser tabs, bookmarks, and on the home screen of mobile devices. The image should be at least 512×512 pixels, which WordPress will automatically scale to the appropriate favicon sizes. Once uploaded, you can crop and publish your new site icon.
Favicon best practices
When selecting your favicon, it’s important to ensure consistency with your brand. Use an image that is simple, recognizable, and visually distinct, even at a small size. The ideal favicon size is traditionally 16×16 pixels or 32×32 pixels, but uploading a larger image allows for more versatility across different devices.
Make sure that the favicon is in a web-friendly format like PNG or ICO. Transparency in design can be effective, particularly if your favicon needs to look good on different background colors. To enhance your brand’s presence across the web, consider refreshing your favicon promptly if you update your brand’s logo or color palette.
For detailed guidance on efficiently updating your favicon for better branding, you can refer to instructions on changing your favicon in WordPress. Following these guidelines will not only help solidify your online presence but also resolve common issues that may arise with favicon updates.
Conclusion
Your logo is a crucial part of your brand identity. It’s easy to learn how to change the logo in WordPress and refine it to reflect your brand’s evolution. Navigate to Appearance > Customize > Site Identity to upload and manage your logo. Remember to save your changes by clicking the Publish button.
Regularly revisit your logo to ensure it aligns with your branding, keeping your virtual presence polished and professional with WordPress.