Error 521 shows a specific Cloudflare network issue. It marks a failed Cloudflare attempt to reach your WordPress server. This scenario unfolds in two steps. First, your web browser connects to Cloudflare. But then, Cloudflare fails to connect to the origin server—your website’s host.
What is error 521
At the heart of Error 521 is a “connection refused” response that Cloudflare receives when it attempts to reach out to your server. The refusal can occur for many reasons. But, the essence is that the server outright denies Cloudflare’s request to access your website’s data. Diagnosing the reasons for this refusal is critical. They directly affect your site’s availability to visitors.
Cloudflare operates as a reverse proxy. It sits between your visitors and your site’s server. Any disruption in this chain stops your website from being served.
In this article, we’ll walk through some targeted actions you can take to restore the connection between Cloudflare and your WordPress site, ensuring that visitors can access your site without encountering the Error 521 message.
Variations of the issue
This error is commonly referred to as “Error 521” or “Web Server is Down.” Depending on the browser, the device, or even the specific setup of the web server, users will see a different message. Some variations include:
- Error 521: Web Server is Down
- HTTP Error 521
- Error 521: The web server is not responding
- Cloudflare Error 521
- Web Server Down – Error 521
- 521 Error – Server Unreachable
Say goodbye to website errors
Achieve peace of mind with 99.99% uptime on 10Web Managed
WordPress Hosting, powered by Google Cloud.
Reasons why this error occurs
The Error 521 message essentially boils down to an inability for Cloudflare to make a successful connection to your server. This loss of connectivity can come from two main scenarios. Both are crucial for anyone managing a website behind Cloudflare’s network.
Server downtime
The first case is simple: if your WordPress site’s server is offline for any reason—due to maintenance, an outage, or any downtime—Cloudflare can’t bridge the gap to an unresponsive server. It’s like knocking on a door that no one’s behind to open. Your server being the door, and Cloudflare, the person knocking. In such cases, the server’s downtime is the root cause of Error 521, as Cloudflare’s requests have nowhere to land.
Blocking Cloudflare’s requests
The second scenario involves a bit more complexity and is related to how Cloudflare interacts with your server. Even if your server is up and running smoothly, it might still return an Error 521 by blocking Cloudflare’s requests. This can happen because Cloudflare acts as a reverse proxy, channeling all visitor traffic through its network. To your server, this traffic appears to be coming from a small set of Cloudflare’s IP addresses rather than the actual visitors’ diverse IP addresses.
This aggregation of requests can sometimes trigger server-side security measures. If a security solution on your server doesn’t recognize Cloudflare’s IPs as legitimate, it might see this traffic as a potential DDoS attack and block those IPs. Consequently, Cloudflare’s attempts to access the server are denied, leading to the Error 521 message.
If your server is offline, the solution involves checking the server’s health and ensuring it’s properly online and accessible. On the other hand, if Cloudflare’s IPs are being blocked, you’ll need to adjust your server’s firewall or security settings to whitelist those IPs. This adjustment ensures Cloudflare’s requests are recognized as legitimate, allowing traffic to flow smoothly between Cloudflare and your server, thereby resolving the Error 521 issue.
Fixing error code 521
Let’s explore the detailed process of identifying and fixing this error, concentrating on the essential tasks involved.
Checking the status of the origin server
At the heart of Error 521 lies the potential reality that your origin server might be unreachable. This first step is critical, for it determines the very foundation upon which Cloudflare operates. Without an operational origin server, Cloudflare’s attempts to connect are ineffective.
Understanding the status of your origin server involves a meticulous check-up to ascertain whether the server is indeed offline, experiencing a temporary glitch, or perhaps undergoing scheduled maintenance. The outcome of this investigation directly influences the subsequent steps, guiding us on whether to engage in server revival efforts or to delve deeper into the nuances of Cloudflare’s connection attempts.
Direct access test
Try accessing your website directly using its IP address. This bypasses any DNS settings and Cloudflare’s network, targeting the server directly. If the site loads, the problem may lie with DNS or Cloudflare’s configuration rather than the server itself.
- Find your server’s IP address. This information is typically available in your hosting control panel or server documentation. It’s the numerical address that routes to your server over the internet.
- Enter the IP address into your browser’s address bar and press Enter. Note that accessing your site in this manner might not bring up the site as usual, especially if it’s configured to respond to a specific domain name or if there are multiple sites hosted on the same server (a common scenario in shared hosting environments).
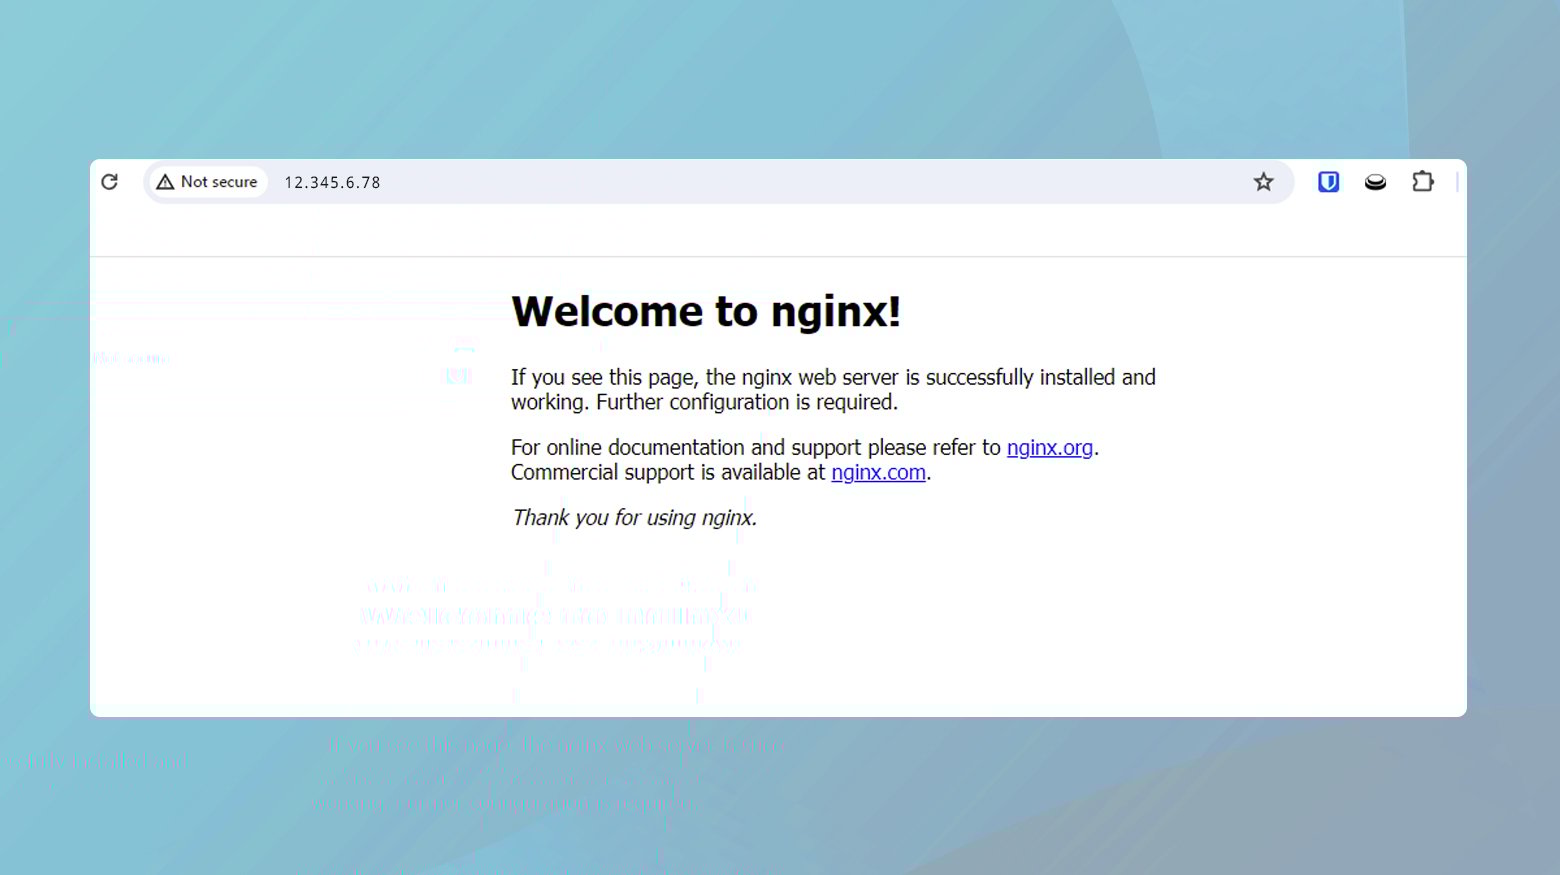
- If the site loads, albeit without its domain name, the server is operational. This suggests that the issue lies elsewhere, likely in the DNS configuration or within Cloudflare’s settings.
- If the site does not load, this points to a potential issue with the server itself or its network connectivity, requiring further investigation into its operational status and health.
Ping test
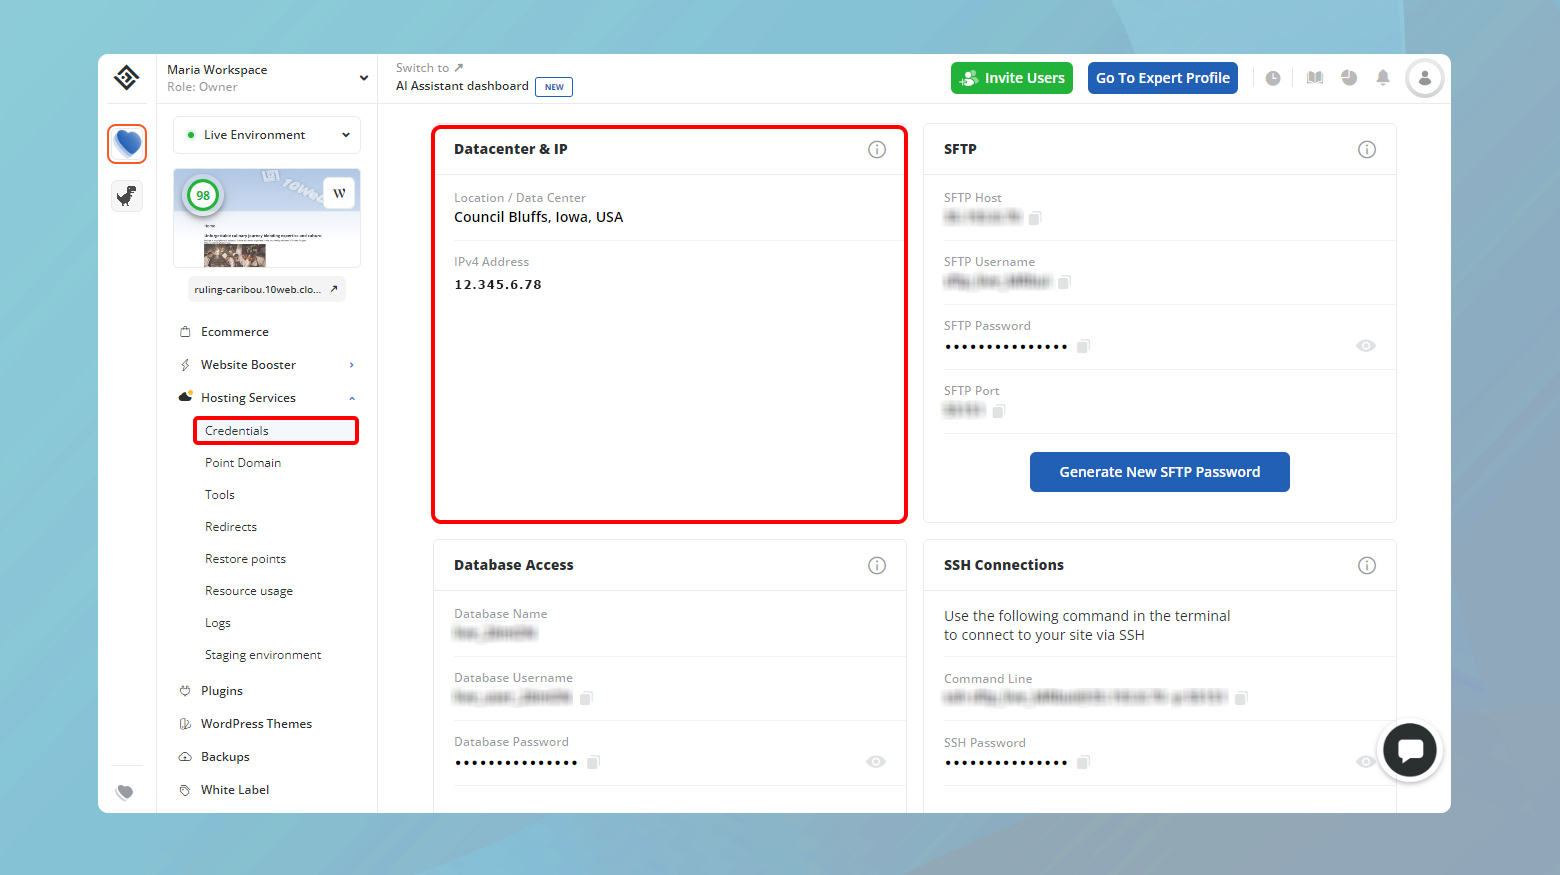
cURL is a versatile command-line tool used to transfer data to or from a server. It supports various protocols, including HTTP, HTTPS, FTP, and more, making it an invaluable utility for web developers and system administrators. When faced with a Cloudflare Error 521, cURL can directly test the connection to your server without going through Cloudflare, providing clear insights into the server’s response. To run a ping test, you will need your IP address.
If you are a 10Web customer, you can find your IP address under Hosting Services > Credentials.
How to run a cURL command Mac
- Open Terminal in Applications > Utilities.
- Type the following command, replacing `http://5.6.7.8` with your server’s actual IP address.
curl -I http://5.6.7.8
How to run a cURL command Linux
- Press `Ctrl + Alt + T` to access Terminal.
- Type the following command, replacing `http://5.6.7.8` with your server’s actual IP address.
curl -I http://5.6.7.8
The `-I` option tells cURL to fetch the headers only, which is sufficient to check the server’s response.
A successful connection typically returns HTTP status codes like 200 (OK), indicating the server is reachable. An error code or failure to connect suggests issues with the server itself or its network connectivity.
For Windows users
Windows users have a straightforward alternative that doesn’t require installing additional software: KeyCDN’s HTTP Header Check tool. This online utility performs a similar function to cURL, letting you check the response headers from your server.

- Go to the KeyCDN website and navigate to their HTTP Header Check tool.
- In the tool’s input field, replace `http://5.6.7.8` with the actual IP address of your server and initiate the check.
The tool will display the HTTP headers returned by your server. Like with the cURL command, look for a 200 status code or similar success indicators. Any error codes or failure messages point towards issues needing attention on the server or its network.
Use monitoring tools
Tools like Uptime Robot or Pingdom can monitor your server’s status over time and alert you to any downtimes, helping identify patterns or recurring issues.
Contact hosting provider
If you’re unable to determine the server status through these methods, your hosting provider can offer insights and help troubleshoot any issues they might be experiencing on their end.
Allowing all Cloudflare IP ranges in your server’s firewall
Once the server’s operational status is confirmed, or if it’s found to be online yet still cloaked from Cloudflare’s view, the spotlight shifts to the sophisticated security gates of your server’s firewall. This juncture in our troubleshooting journey addresses a common yet often overlooked scenario – the inadvertent blockade of Cloudflare’s IP ranges by your server’s defenses. It’s a tale of mistaken identity, where Cloudflare’s requests, despite their legitimate intent, are turned away, mistaken for unwanted visitors.
Whitelisting Cloudflare’s IP ranges in your server’s firewall settings is like providing a VIP pass to a trusted friend, ensuring they’re recognized and welcomed upon arrival. This step is crucial in fostering a smooth, uninterrupted dialogue between Cloudflare and your server. It involves adjusting the sentinels of your server’s network – the firewall settings – to recognize and allow passage to the spectrum of IP addresses from which Cloudflare routes traffic to your site. By doing so, you’re not only rectifying Error 521 but also reinforcing the bridge that facilitates the flow of visitor traffic through Cloudflare’s protective network, ensuring your site remains accessible, secure, and fast.
How to whitelist Cloudflare IP ranges
Visit Cloudflare’s official documentation to find the latest list of IP ranges used by their network. Cloudflare occasionally updates these ranges, so it’s important to check back regularly.
Configure firewall rules
Access your server’s firewall settings. This could be through a web hosting control panel like cPanel, Plesk, or directly via command line for more advanced setups.
Add rules to allow inbound traffic from Cloudflare’s IP ranges. The specifics of this process will depend on your firewall software. For iptables on Linux, the command might look something like:
sudo iptables -A INPUT -p tcp -s [CLOUDFLARE_IP_RANGE] --dport 80 -j ACCEPT
sudo iptables -A INPUT -p tcp -s [CLOUDFLARE_IP_RANGE] --dport 443 -j ACCEPT
Replace [CLOUDFLARE_IP_RANGE] with the actual IP ranges provided by Cloudflare. Repeat the command for each range.
After adding the rules, ensure they are saved and applied. Some firewall software requires a manual restart or reload of the configuration.
Once you’ve updated the firewall settings, test your website again through Cloudflare to ensure that the connectivity issue has been resolved.
Specific technical adjustments
Diving deeper into the troubleshooting of Error 521 with Cloudflare, it’s time to shift our focus towards more nuanced technical adjustments. These steps cater to specific configurations on your server and involve a bit more technical know-how. They are designed to address less obvious, yet common, pitfalls that might prevent Cloudflare from communicating effectively with your server, especially under HTTPS protocols or when certain security modules interfere with Cloudflare’s operations.
Configuring HTTPS access for Cloudflare’s IP addresses
When you switch to using Cloudflare’s HTTPS services, it’s crucial that your origin server is prepared to welcome traffic on port 443, the standard port for HTTPS traffic. Cloudflare, acting as a reverse proxy, directs secure HTTPS requests to your server via this port. If Cloudflare’s IP addresses are not allowed through your firewall to access port 443, it could result in Error 521.
Flexible SSL as a workaround
This setting on Cloudflare allows your site to use HTTPS without requiring an SSL certificate on your origin server. Cloudflare encrypts the connection between your visitors and Cloudflare, but not between Cloudflare and your server. While not as secure as Full SSL, which encrypts the connection end-to-end, Flexible SSL can be a temporary solution if you’re unable to configure port 443 access for Cloudflare’s IPs on your firewall.
Updating security modules
Security modules like Bad Behavior and mod_security are vital for protecting your site from various online threats. However, outdated versions of these modules can sometimes misinterpret legitimate requests from Cloudflare as malicious, especially if they’re not configured to recognize Cloudflare’s IP ranges or the particular patterns of Cloudflare’s request headers.
Ensuring you’re running the most recent versions of these modules can help mitigate issues with Cloudflare connectivity. Updated versions often include fixes and improvements that enhance compatibility with Cloudflare, reducing the likelihood of false positives that could lead to Error 521.
Disabling mod_antiloris and mod_reqtimeout
The mod_antiloris and mod_reqtimeout modules in Apache are designed to protect your server against certain types of denial-of-service (DoS) attacks. While these modules are effective for direct traffic, they can inadvertently disrupt the flow of legitimate requests from Cloudflare, especially if they’re configured with aggressive timeout settings.
If you’re experiencing Error 521 and using these Apache modules, consider disabling and unloading them to see if this resolves the issue. This can be done by commenting out their respective LoadModule lines in your Apache configuration file (usually `httpd.conf` or `apache2.conf`) and then restarting Apache. Be sure to monitor your server’s performance and security closely after making these changes, as it might be more exposed to the types of attacks these modules are designed to mitigate.
Conclusion
Throughout our discussion, we’ve embarked on a comprehensive journey to unravel the complexities behind Error 521 when using Cloudflare, touching upon a variety of troubleshooting steps designed to restore connectivity between Cloudflare and your website’s origin server. Starting from basic checks like confirming the operational status of the server and ensuring Cloudflare’s IP ranges are allowed through your firewall, we delved into more nuanced solutions catering to specific server configurations and security module updates. Each step aimed to shed light on common and less obvious issues that can lead to Error 521, offering targeted strategies to address them.
Say goodbye to website errors
Achieve peace of mind with 99.99% uptime on 10Web Managed
WordPress Hosting, powered by Google Cloud.
Say goodbye to website errors
Fix all the website errors in one click
Migrate your website to the world's best Managed WordPress Hosting.