There are dozens of ways to move a site, and most of them can work, but choosing the right one for your setup can save hours of confusion, plugin errors, security, or even downtime. You’ve probably heard the horror stories: blank pages, broken images, lost SEO rankings. Let’s avoid all that.
In this guide, you’ll get two clear paths on how to migrate a WordPress site:
- A quick, plugin-based migration (great for most users)
- A detailed manual method (ideal for full control and tricky setups)
Should you migrate?
Migrating your WordPress site isn’t something you do for fun. It usually starts with a problem, or a bunch of little annoyances that add up. Here are some real reasons users on forums gave for making the switch:
- Hosting prices keep going up every year. iPage keeps raising prices, time to move.
- Your site is so slow, even after optimization.
- You’re worried about security. Your host doesn’t offer any real protection.
- The support is a nightmare. It takes days to get a reply.
If any of these sound familiar, it might be time to move your site. Some people move for better support or security. Others want faster loading, especially if their current host can’t keep up.
If you’re looking for better speed and optimization out of the box, managed hosting platforms like 10Web offer 1-click automated migration and a built-in performance boost. We’ll explore this option as well.
Pre-migration checklist
Before you hit “migrate,” take 10 minutes to prep your site. This quick checklist can save you hours of debugging later.
1. Back up everything
Even if you’re using a plugin to migrate, always make a full backup first. That means both:
- Your files (themes, plugins, media)
- Your database (posts, pages, users, settings)
Use a trusted plugin like UpdraftPlus or BackWPup, and store your backups offsite, somewhere on Dropbox, Google Drive, or Amazon S3.
2. Deactivate non-essential plugins
Caching plugins (like WP Super Cache, W3 Total Cache), security plugins, and performance boosters can interfere with the migration process. Multiple users reported broken links or blank pages until they deactivated these. Turn them off before migrating, and re-enable them once everything’s live and tested.
3. Put the site in maintenance mode
If your site gets frequent traffic or transactions (e.g. WooCommerce), activate a simple maintenance mode plugin. This prevents new changes during migration that might get lost in the move.
4. Check hosting compatibility
Some hosts block migration tools, limit file size, or have aggressive security settings. If you’re migrating manually, make sure:
- Your new host supports the latest PHP and MySQL versions
- File upload limits (like upload_max_filesize) are high enough
- You have access to FTP and phpMyAdmin
A risk-free way to test
You might be worried about breaking your site, but modern solutions can help with that. If you’re using 10Web, its 1-click migration tool creates a full copy of your site on their servers, without touching your live version. You can test everything safely before pointing your domain.
Next up, we’ll walk through 3 methods on how to migrate a WordPress site, so you can choose the one that fits best.
1. How to manually migrate a WordPress site (step-by-step)
Manual migration gives you full control over your WordPress site move, and it’s often the fallback when plugins fail. If your site is large, complex, or uses custom configurations, this is your safest route. That said, take it step by step. This is the one point where people break things, so take it slow here.
Step 1: Choose your new host
Choose a host that supports WordPress and matches your performance needs. Check for:
- PHP 7.4 or higher
- MySQL 5.7 or higher
- FTP and phpMyAdmin access
- SSL support
Step 2: Backup your files via FTP
Use an FTP client like FileZilla to connect to your site and download everything from the /public_html/ or /www/ directory. Always ZIP the entire wp-content folder, it saves time and keeps my uploads, themes, and plugins intact.
Step 3: Export your database
Log in to phpMyAdmin, select your WordPress database, and hit Export > Quick > SQL > Go. This creates a file with all your content, settings, and structure.
Common mistake: Exporting the wrong database. Double-check the name in your wp-config.php file before exporting. This .sql file is what brings your content and settings over. Don’t lose it.
Step 4: Create a MySQL Database on Your New Host
Use your host’s control panel (like cPanel or the 10Web dashboard) to create a fresh MySQL database for your site. Here’s how:
- Log in to your hosting account
- Go to Databases > MySQL Databases

- Enter a name for your new database and create it
- Add a user and set a strong password
- Assign the user to your new database with all privileges
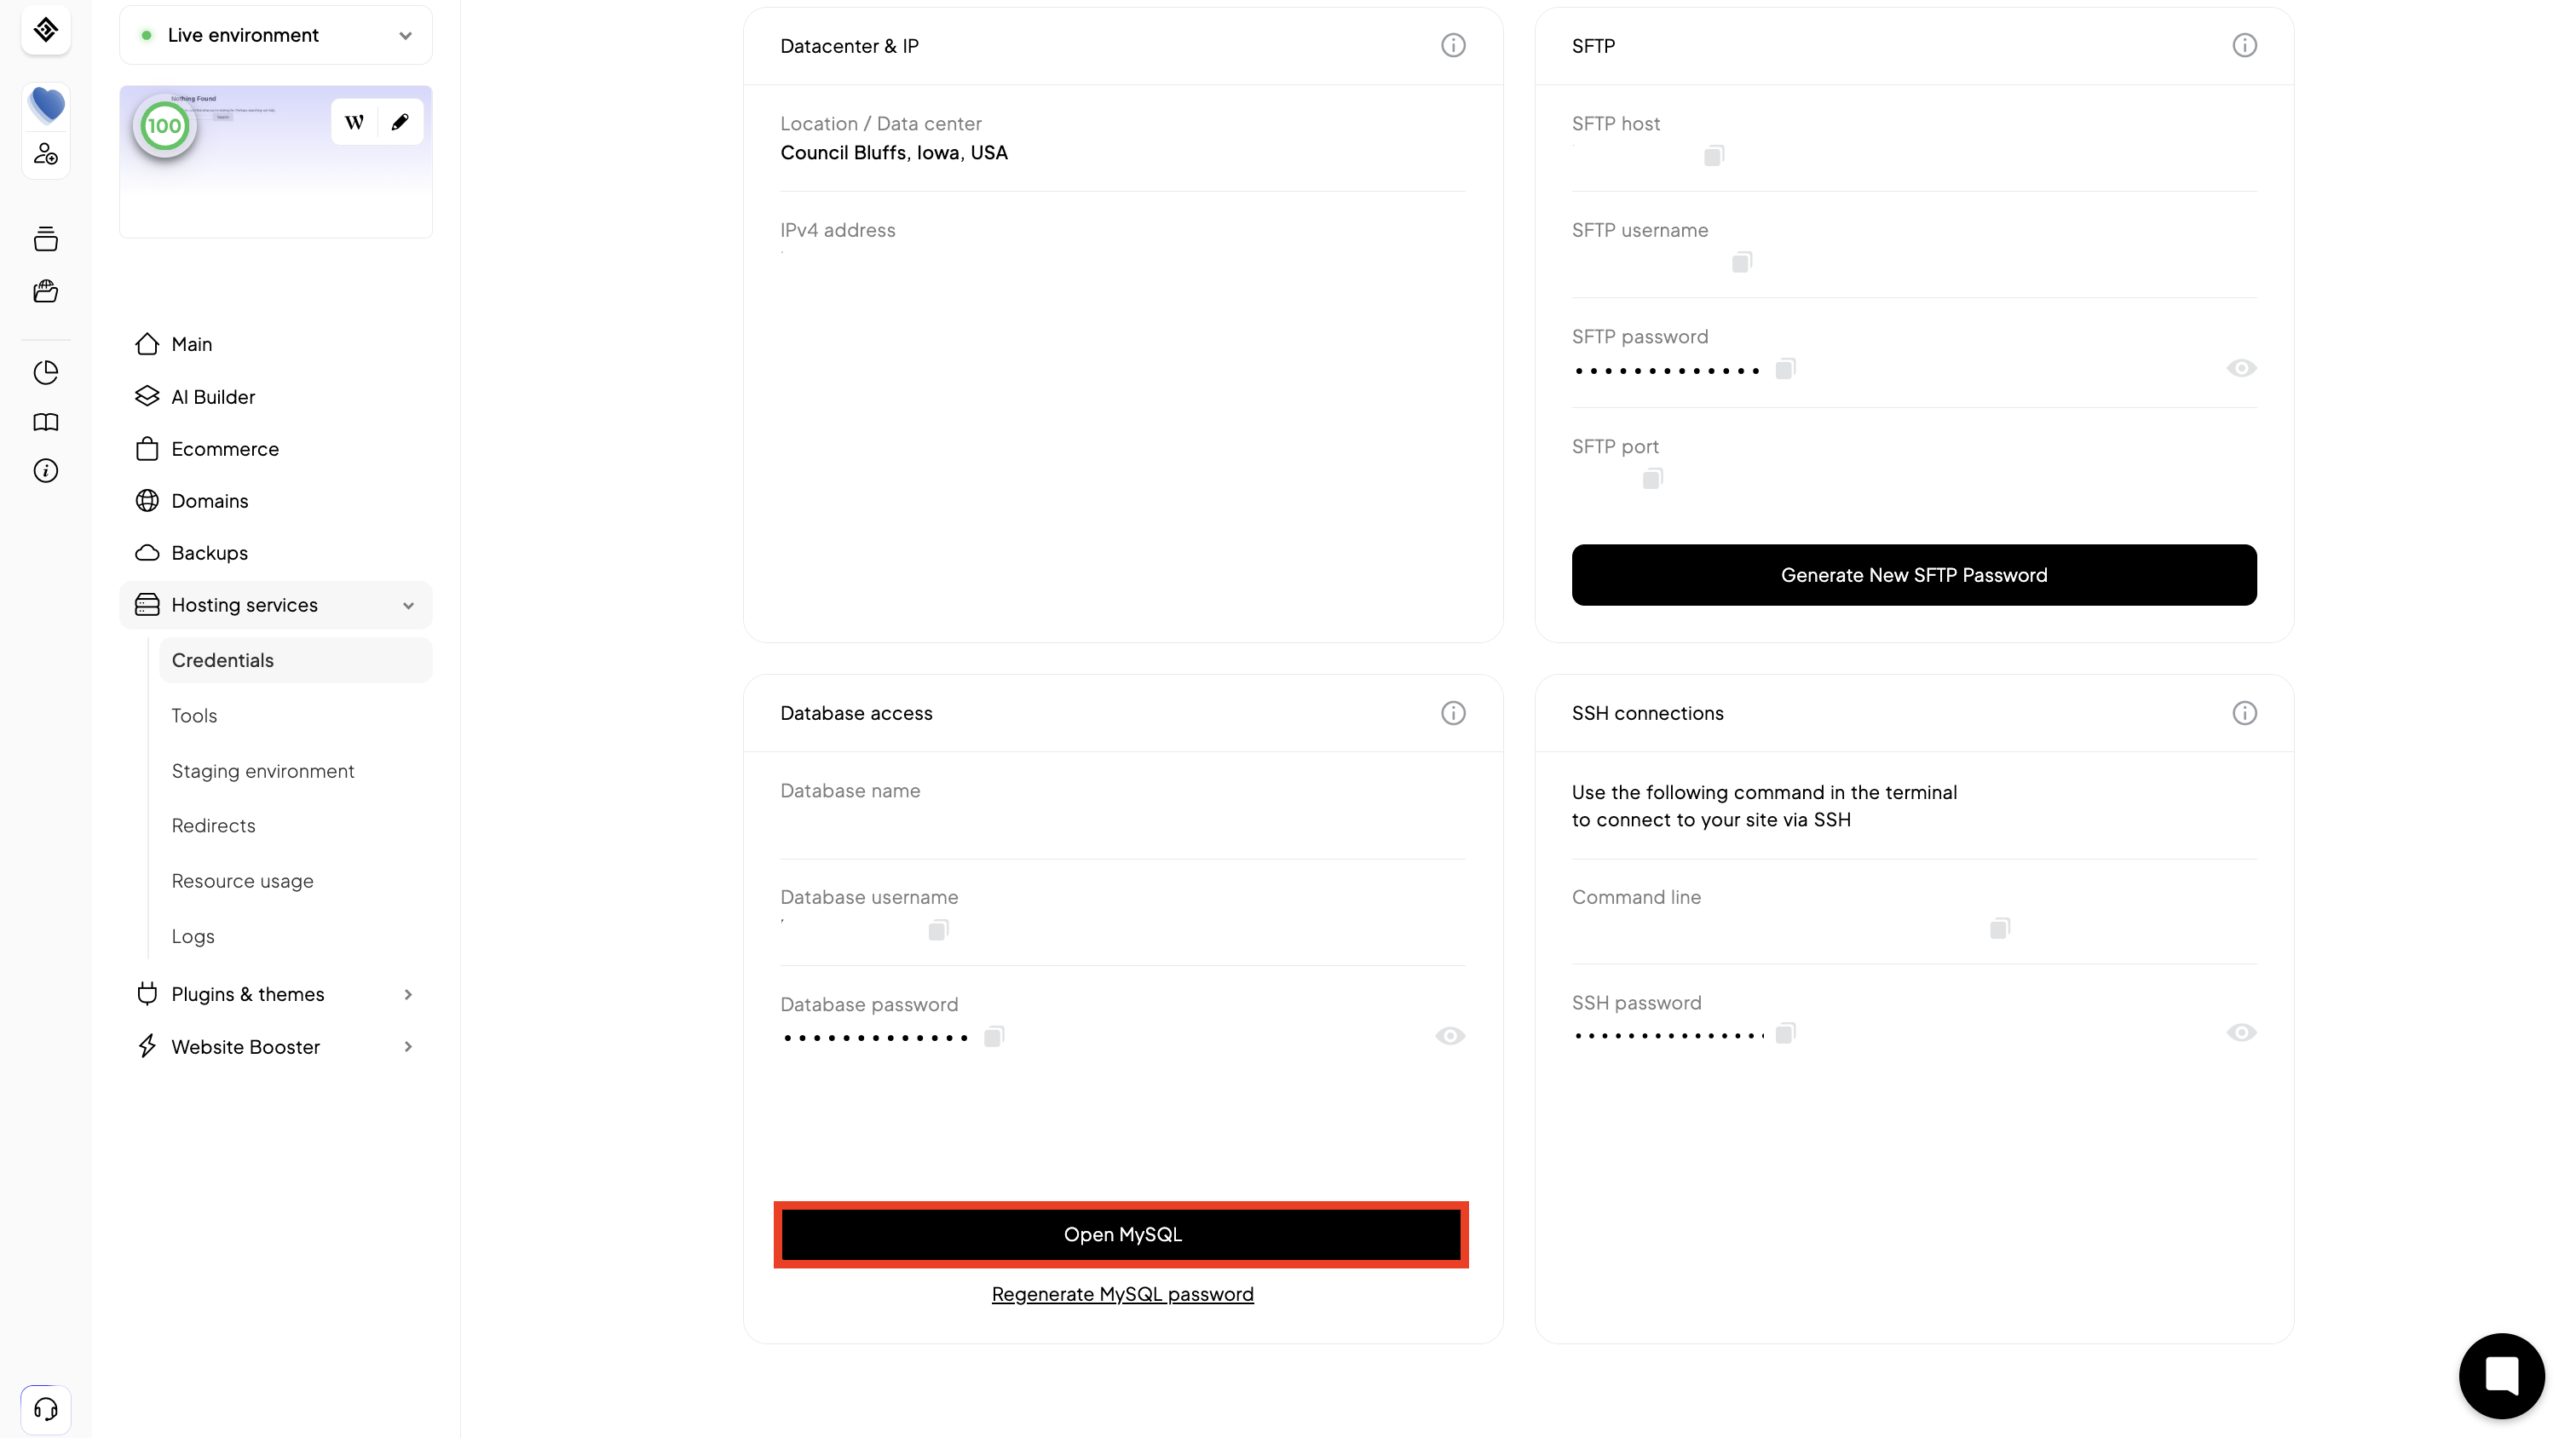
Save the database name, username, password, and host (usually localhost but check your host’s settings) somewhere secure, you’ll need them in Step 7 when editing wp-config.php.
Step 5: Upload your files
With your database ready, now move your site files (this includes your WordPress core, themes, plugins, media, etc.) to the new host. Here’s how:
- Open your FTP client (like FileZilla)
- Connect to your new host using your FTP credentials
- Upload your full WordPress directory to the root folder—usually /public_html/ or /www/
- If you zipped your wp-content folder earlier, upload and extract it directly on the server (some panels like cPanel let you do this easily)
Your files power your site’s look and functionality. If you miss one plugin or theme file, the site may break or look wrong.
Common mistake: Uploading files into the wrong directory. Make sure you’re uploading to the root of the new site, not a subfolder, unless that’s intentional.
Step 6: Import the database
Now that your new MySQL database is ready and the files are in place, it’s time to fill it with your old site’s data.
- In your new host’s control panel, open phpMyAdmin
- Select the database you just created (on the left panel)
- Click the Import tab at the top
- Click Choose File and upload the .sql file you exported earlier
- Click Go to run the import
It may take a minute. Don’t refresh or click away until you see a success message.
Step 7: Edit wp-config.php
In your new site’s files, locate wp-config.php. You’ll need to update the following lines:
define( 'DB_NAME', 'your_db_name' );

define( 'DB_USER', 'your_db_user' );

define( 'DB_PASSWORD', 'your_password' );

define( 'DB_HOST', 'localhost' ); // or your host's DB server
One typo here, and your site won’t load. Double-check every line, and don’t leave extra spaces.
Step 8: Update DNS
Log in to your domain registrar (like GoDaddy, Namecheap, etc.) and change your domain’s nameservers or IP address to point to your new host. DNS changes can take up to 48 hours to fully update worldwide. While you wait, your old site may still be visible, this is normal.
Step 9: Post-migration testing
Before telling the world, double-check:
- Are all your pages and posts loading?
- Do forms, login, and checkout work?
- Is SSL active? (use a plugin like Really Simple SSL if needed)
- Test performance with PageSpeed Insights
2. How to migrate a WordPress site: The simplest way
If the previous method felt like a lot, it is. For a zero-stress alternative, the 10Web Manager Plugin offers 1-click automated migration that copies your site to 10Web hosting without touching the live version. It’s perfect if:
- You want to test a new host risk-free
- Your current site is too big for most free plugins
- You want PageSpeed improvements without extra tools
Here’s how it works:
- Install the 10Web Manager plugin
- Upload it via your WP admin > Plugins > Add New
- Click Migrate and choose a datacenter
- Done: your site is copied, and performance is auto-tested
Once migrated, you’ll get a report comparing your old vs. new site speed. You can explore the copy, test changes, and only go live once you’re ready. Your live site stays untouched until you update your DNS, so you can try everything safely first.
3. Plugin-based migration
Finally, you can use other plugins to migrate your site. These tools are especially helpful for smaller sites or if you’re staying within WordPress-to-WordPress environments. The right plugin depends on your site size, hosting setup, and how comfortable you are troubleshooting when things don’t go perfectly.
First of all, use these plugins if:
- You want a fast, no-code migration
- Your site is under 1–2 GB
- You’re moving from one WordPress host to another
- You’re okay doing basic setup and clicking through options
Avoid these plugins if:
- Your site is very large or includes lots of custom server configurations
- Your host restricts certain file operations or large uploads
- You’ve tried and failed with plugin migration before (then go manual or managed)
Popular migration plugins compared
| Plugin | Free version limitations | Ideal for | Not ideal for | Pros | Cons |
| Duplicator | Free version doesn’t support large/multisite sites | Developers who want control | Beginners needing simplicity | Full site backup + installer | Setup can be tricky for beginners |
| WPvivid | Free up to ~2GB; remote storage in free version | Sites with lots of media | Hosts with tight file permissions | Easy to use, supports offsite backups | UI isn’t the cleanest |
| UpdraftPlus | Focused on backup; migration requires premium | Regular backups + basic migration | Moving to a new domain (extra config needed) | Reliable backups | Migration feature not fully free |
| All-in-One WP Migration | Free version caps at 512MB (source of many Reddit complaints) | Very small websites | Medium to large sites | Simple, beginner-friendly | File size limit unless you pay |
| Migrate Guru | No size limits | Large websites (especially over 2GB) | Sites on unsupported hosts | Fast, cloud-based, no storage needed | Can’t migrate from localhost setups |
Real user tip: This worked great until I hit a size limit. Found out the free version of AIO WP Migration stops at 512MB, which wasn’t even half my site.
Troubleshooting common errors
Even if you follow every step of how to migrate a WordPress site to a new host, things can still go sideways. Here are the most common post-migration problems, and how to fix them, based on real-world user reports and forum advice.
1. Blank page after login
This is usually caused by corrupt wp-config.php or functions.php,plugin conflicts, or missing PHP version support on the new host. Here’s how to fix:
- Check wp-config.php for typos (check DB_USER and DB_NAME)
- Rename the /plugins/ folder via FTP to deactivate all plugins
- Enable WP_DEBUG in wp-config.php to surface the actual error
2. Database connection errors
Those types of errors are pretty common and are a result of wrong database credentials in wp-config.php,user not being assigned to the database, or database not being imported correctly. To fix this, you should:
- Recheck:
define( 'DB_NAME', 'your_db_name' );

define( 'DB_USER', 'your_username' );

define( 'DB_PASSWORD', 'your_password' );

define( 'DB_HOST', 'localhost' );
- Make sure your MySQL user has ALL privileges
- Re-import the .sql file into the correct database
3. Images not showing or broken
Migration can work, but half of your media could be gone or not load properly. The reason for this can be wrong media paths or missing uploads/ files, uncleared cache, or permissions errors on uploaded files. Here are ways to correct this:
- Verify that your /wp-content/uploads/ folder was fully transferred
- Use Better Search Replace plugin to update media URLs
- Clear browser and server cache
- Double-check that images have proper permissions (usually 644)
4. URLs not updating
If your domain changed (e.g., dev.site.com → yoursite.com), internal links may still point to the old one. So, let’s fix it this way:
- Again, use Better Search Replace to update all mentions of the old URL in your database
- Regenerate permalinks: Settings > Permalinks > Save
5. Emails not sending
When dealing with contact forms on your website, you might find that it works but no emails are coming through. This is often due to the new host blocking wp_mail() , or missing SMTP configuration. To correct this:
- Install a plugin like WP Mail SMTP
- Set up mail sending using your host’s SMTP or a service like Gmail, Mailgun, etc.
SEO & email considerations
Migration doesn’t only deal with your internal files. It’s also what your users (and Google) see after the move. So, here are important SEO tips to keep in mind:
- Set up 301 redirects if your URLs change
- Re-submit your sitemap in Google Search Console
- Use Better Search Replace to fix old internal links
- Keep your permalink structure the same to preserve rankings
Don’t panic, Google won’t penalize you for a move if you set it up right. As for emails, if it’s hosted with your old provider, you’ll need to migrate it too, or set up new DNS records. Use your new host’s mail service, or connect to Gmail or Zoho via DNS settings (MX records, SPF, DKIM).
Final thoughts: Migration made easy
Migrating a WordPress site can feel overwhelming, but with the right method and a bit of prep, it’s totally doable. Now you know how to migrate a WordPress site manually, use a plugin, or choose a managed solution like 10Web. The key is choosing what works best for your site’s size, setup, and goals.
Take your time, double-check the details, and don’t forget to test everything before going live. A smooth migration today means less stress and better performance tomorrow.
So, you want to skip the hassle? 10Web offers free, one-click migration plus automatic speed optimization. Test a better host without touching your live site!
FAQ
Will my SEO rankings drop after migration? How long does a migration take? Will I lose my email? Is plugin migration safe? What’s the easiest way to migrate a WordPress site? Can you export an entire WordPress site? How much does it cost to migrate a WordPress site? Can I transfer a WordPress site to another account or host? Do I need to change URLs manually? What if the plugin crashes mid-way? Can I test my site on a new host without taking the old one down?