Encountering the NET::ERR_CLEARTEXT_NOT_PERMITTED error on your Android device can be a real speed bump, especially when all you’re trying to do is access a website or web app. This error essentially acts as a gatekeeper, preventing access to sites that transmit unencrypted, or “cleartext,” information. But there are ways around this blockade, whether you’re a regular user, an app developer, or handling the website.
Say goodbye to website errors
Achieve peace of mind with 99.99% uptime on 10Web Managed
WordPress Hosting, powered by Google Cloud.
Diving into Android’s Webview
Android Webview is a nifty feature that lets apps display web content without the need for a full-fledged browser. It’s particularly handy for web apps, which are essentially websites packaged to run like native apps on your phone. However, Webview doesn’t offer the full suite of browser functionalities, which is why using Chrome or another browser might give you a better web-surfing experience.
The NET::ERR_CLEARTEXT_NOT_PERMITTED error is unique to Webview within Android apps.

You won’t see this error when using browsers like Chrome, even if you’re trying to access an HTTP website, which might only give you a “Not Secure” warning instead.
Understanding the NET::ERR_CLEARTEXT_NOT_PERMITTED error
This error pops up when Webview tries to load a page that uses HTTP or has unencrypted data. It’s Android’s way of saying, “Hey, this isn’t safe.” While the website itself isn’t broken or inaccessible (you could access it via a regular browser without issue), Android apps will block access to keep user data secure.
Root causes of the error
Android’s default setting prevents apps from sending or receiving cleartext data to avoid accidental security breaches. This has been the standard since Android 9.0 and applies to apps utilizing Webview, explaining why this error won’t appear when you’re browsing with standard browsers on Android.
Say goodbye to website errors
Achieve peace of mind with 99.99% uptime on 10Web Managed
WordPress Hosting, powered by Google Cloud.
Fixing the NET::ERR_CLEARTEXT_NOT_PERMITTED error
If you’re a regular user, there’s nothing you can do to get rid of the ERR_CLEARTEXT_NOT_PERMITTED error. In that case, the best thing to do is try accessing the website using a full-fledged web browser like Chrome or your device’s default browser.
However, if you’re on the development side or are otherwise handling the website yourself, there are generally three strategies to tackle this error:
1. Modify AndroidManifest.xml
Every Android app comes with an AndroidManifest.xml file, which holds crucial app information. By editing this file to allow or disallow cleartext traffic, developers can provide a temporary fix. However, remember that Google recommends against allowing cleartext due to security concerns.
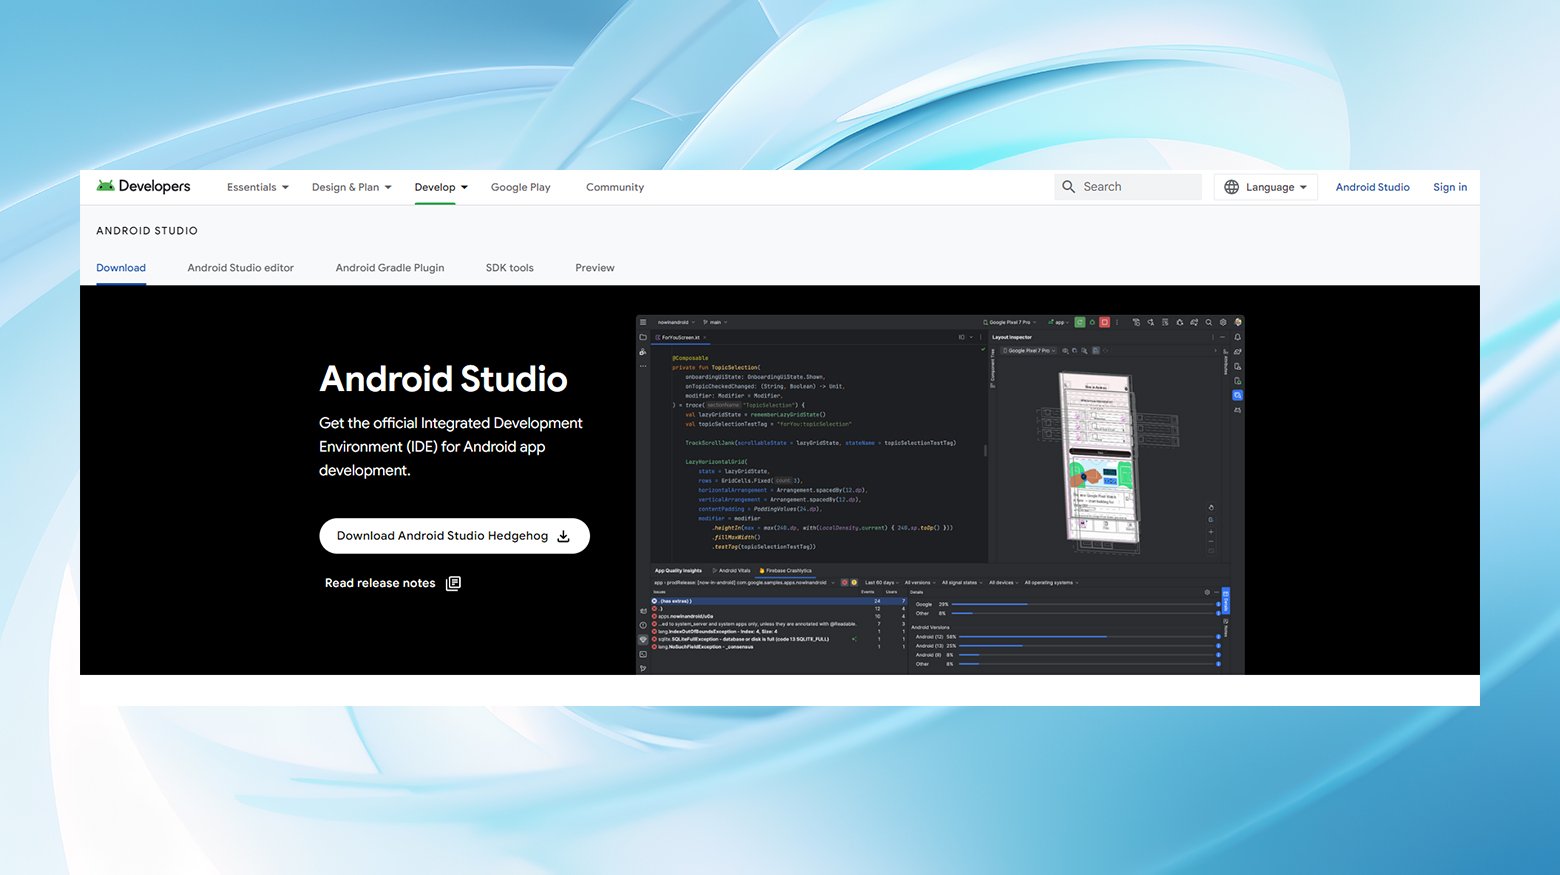
You can access and edit the file using Android Studio.
Steps to allow cleartext traffic in your app:
-
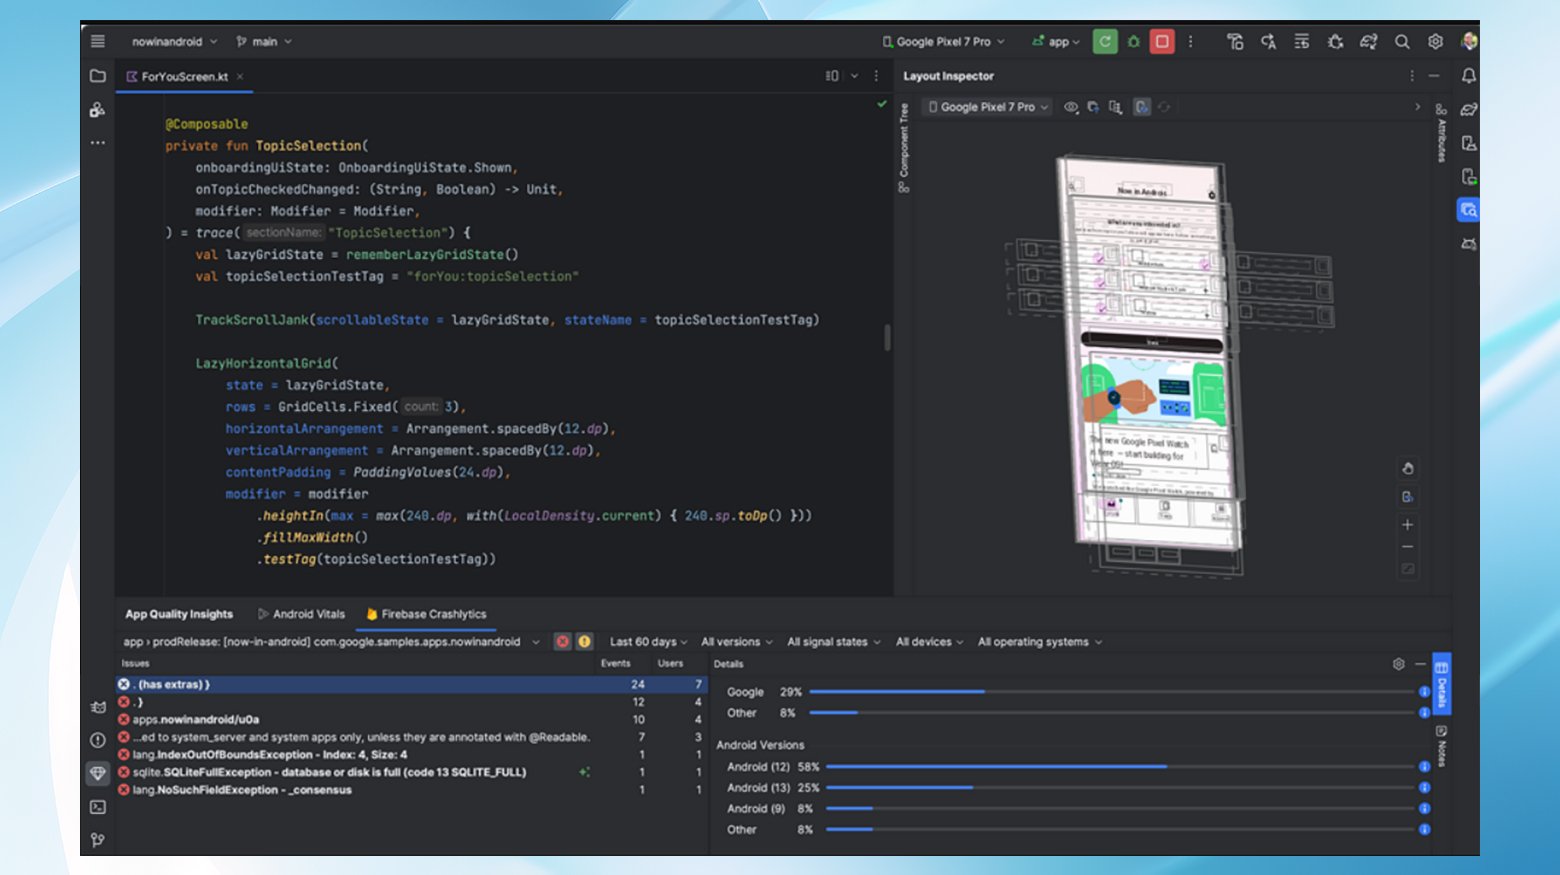
- Start Android Studio and open your app project.
- In the Project view, expand the `app` folder and then the `manifests` folder to find `AndroidManifest.xml`.

- Double-click `AndroidManifest.xml` to open it in the editor.
- Find the `<application>` tag and add the `android:usesCleartextTraffic=”true”` attribute to it. If the attribute already exists and is set to `false`, change it to `true`.
 <application

       ...

       android:usesCleartextTraffic="true">

       ...

   </application>
- After editing, save your changes and close the file.
- Run your app to ensure the error has been resolved.
2. Allowlist the domain using network_security_config.xml
For a more targeted approach, developers can specify which domains can use cleartext in their app by adding them to a network security configuration file. This method offers more security than blanketly allowing cleartext across the app. Steps to specify cleartext traffic for specific domains:
- Create network_security_config.xml: In Android Studio, navigate to the `res` directory, right-click it, select `New` > `Android Resource File`, name it `network_security_config`, and select `XML` as the Resource type.
- Define cleartext permissions: Edit `network_security_config.xml` to specify domains that are permitted to use cleartext traffic.
 <?xml version="1.0" encoding="utf-8"?>

 <network-security-config>

 <domain-config cleartextTrafficPermitted="true">

 <domain includeSubdomains="true">example.com</domain>

 </domain-config>

 </network-security-config>
Replace `example.com` with your actual domain.
- Link the configuration to your app: Open `AndroidManifest.xml` and add a reference to the network security configuration within the `<application>` tag.
 <application

 ...

 android:networkSecurityConfig="@xml/network_security_config">

 ...

 </application>
- Save all changes, close the files, and run your app to check if the issue is resolved.
3. Force your website to use HTTPS
The most foolproof way to avoid this error is to ensure your website uses HTTPS, encrypting all data in transit. Modern web standards virtually demand HTTPS usage for security and SEO benefits. If you’re using a hosting service like Kinsta, setting up an SSL certificate and forcing HTTPS can be a breeze.
Steps to secure your website with HTTPS:
If you’re a 10Web customer, you can automatically secure your website with HTTPS in the dashboard.
- Log in to your 10Web dashboard.
- Click on the website where you want to use HTTPS.
- Go to Hosting Services > Tools.
- Select Generate Free SSL Certificate from the drop-down menu.
- Click Apply.
Other platforms or hosting providers may also offer a way to add an SSL certificate and redirect traffic to HTTPS via your account control panel or admin. If not, here are general instructions to set it up yourself:
- Use Let’s Encrypt or another provider to get a free SSL certificate for your website.
- Follow your hosting provider’s documentation to install the SSL certificate on your server.
- Ensure your website redirects all HTTP traffic to HTTPS. This can be done via the `.htaccess` file for Apache servers, the Nginx configuration file for Nginx servers, or through your hosting dashboard.
For Apache, add the following to your `.htaccess` file:
 RewriteEngine On

 RewriteCond %{HTTPS} off

 RewriteRule ^(.*)$ https://%{HTTP_HOST}%{REQUEST_URI} [L,R=301]
For Nginx, add the following to your server block:
 server {

 listen 80;

 server_name example.com www.example.com;

 return 301 https://$server_name$request_uri;

 }
- Use online tools like SSL Labs’ SSL Test to check your site’s SSL configuration and ensure HTTPS is correctly enforced.
By implementing these steps, you can resolve the “NET::ERR_CLEARTEXT_NOT_PERMITTED” error, enhancing the security and reliability of your Android app and website.
Wrapping Up
For the average user, encountering the NET::ERR_CLEARTEXT_NOT_PERMITTED error means it’s time to try accessing the site with a mobile browser like Chrome. However, developers and website owners have several avenues to bypass or eliminate this error, ensuring a smooth and secure user experience. Whether adjusting app settings or upgrading website security protocols, addressing this error not only resolves access issues but also aligns with best practices for digital security.
Say goodbye to website errors
Achieve peace of mind with 99.99% uptime on 10Web Managed
WordPress Hosting, powered by Google Cloud.
Say goodbye to website errors
Fix all the website errors in one click
Migrate your website to the world's best Managed WordPress Hosting.