Enhancing customer engagement and boosting sales are key objectives for any WooCommerce store. This guide explores how to change related products in WooCommerce to optimize product recommendations.
By strategically configuring these elements, store owners can create a more dynamic and personalized shopping experience, ultimately increasing purchase value and customer satisfaction.

Looking to sell online?
Create your custom online store in minutes with 10Web AI Ecommerce Website Builder and take your business online.
FAQ
How do I edit WooCommerce related products?
How does WooCommerce choose related products?
How do I stop WooCommerce from showing related products?
remove_action( 'woocommerce_after_single_product_summary', 'woocommerce_output_related_products', 20 );
Alternatively, you can use a plugin like “WooCommerce Customizer” to disable related products without coding.
What are the default related products in WooCommerce?
Understanding related products in WooCommerce
Enhancing the shopping experience and increasing sales are often priorities when running an ecommerce store with WooCommerce.
One way to do this is by strategically showcasing related products, upsells, and cross-sells.
These are product recommendations that encourage customers to consider additional items, potentially increasing the value of their purchase.
Related products are similar items that your customer might be interested in. These products are typically chosen based on the current product’s category or tags.
Upsells are items that you promote in the hopes that the customer will buy a more expensive version of the product they are viewing.
Cross-sells are products suggested on the cart page, often complementing the items the customer is already purchasing.
These elements appear by default in certain areas of your site:
- Related products show up at the bottom of the product description page.
- Upsells are found on the product page, usually beneath the product’s description.
- Cross-sells pop up on the cart page as customers review their current selections.
In WooCommerce, Linked products refer to related products in the form of cross-sells and upsells. They are found under the Product data section, where you can manually set these recommendations.
By selecting and linking the right products, you can guide your customers through a curated shopping experience. This could lead to increased sales and a more dynamic store environment.
How to change related products in WooCommerce
Changing related products in WooCommerce is a smart way to enhance your customer’s shopping experience and can potentially increase your sales.
You can change what’s shown in the related products section, personalize your online store, and add upsells and cross-sells using the WooCommerce settings within your WordPress dashboard. First, organize your products with categories and tags.
Customization basics: changing related products
WooCommerce automatically generates related products based on shared categories and tags. Strategically categorizing and tagging products can help maximize sales potential by recommending relevant products at various places in the shopping flow.
How to change related products with categories and tags:
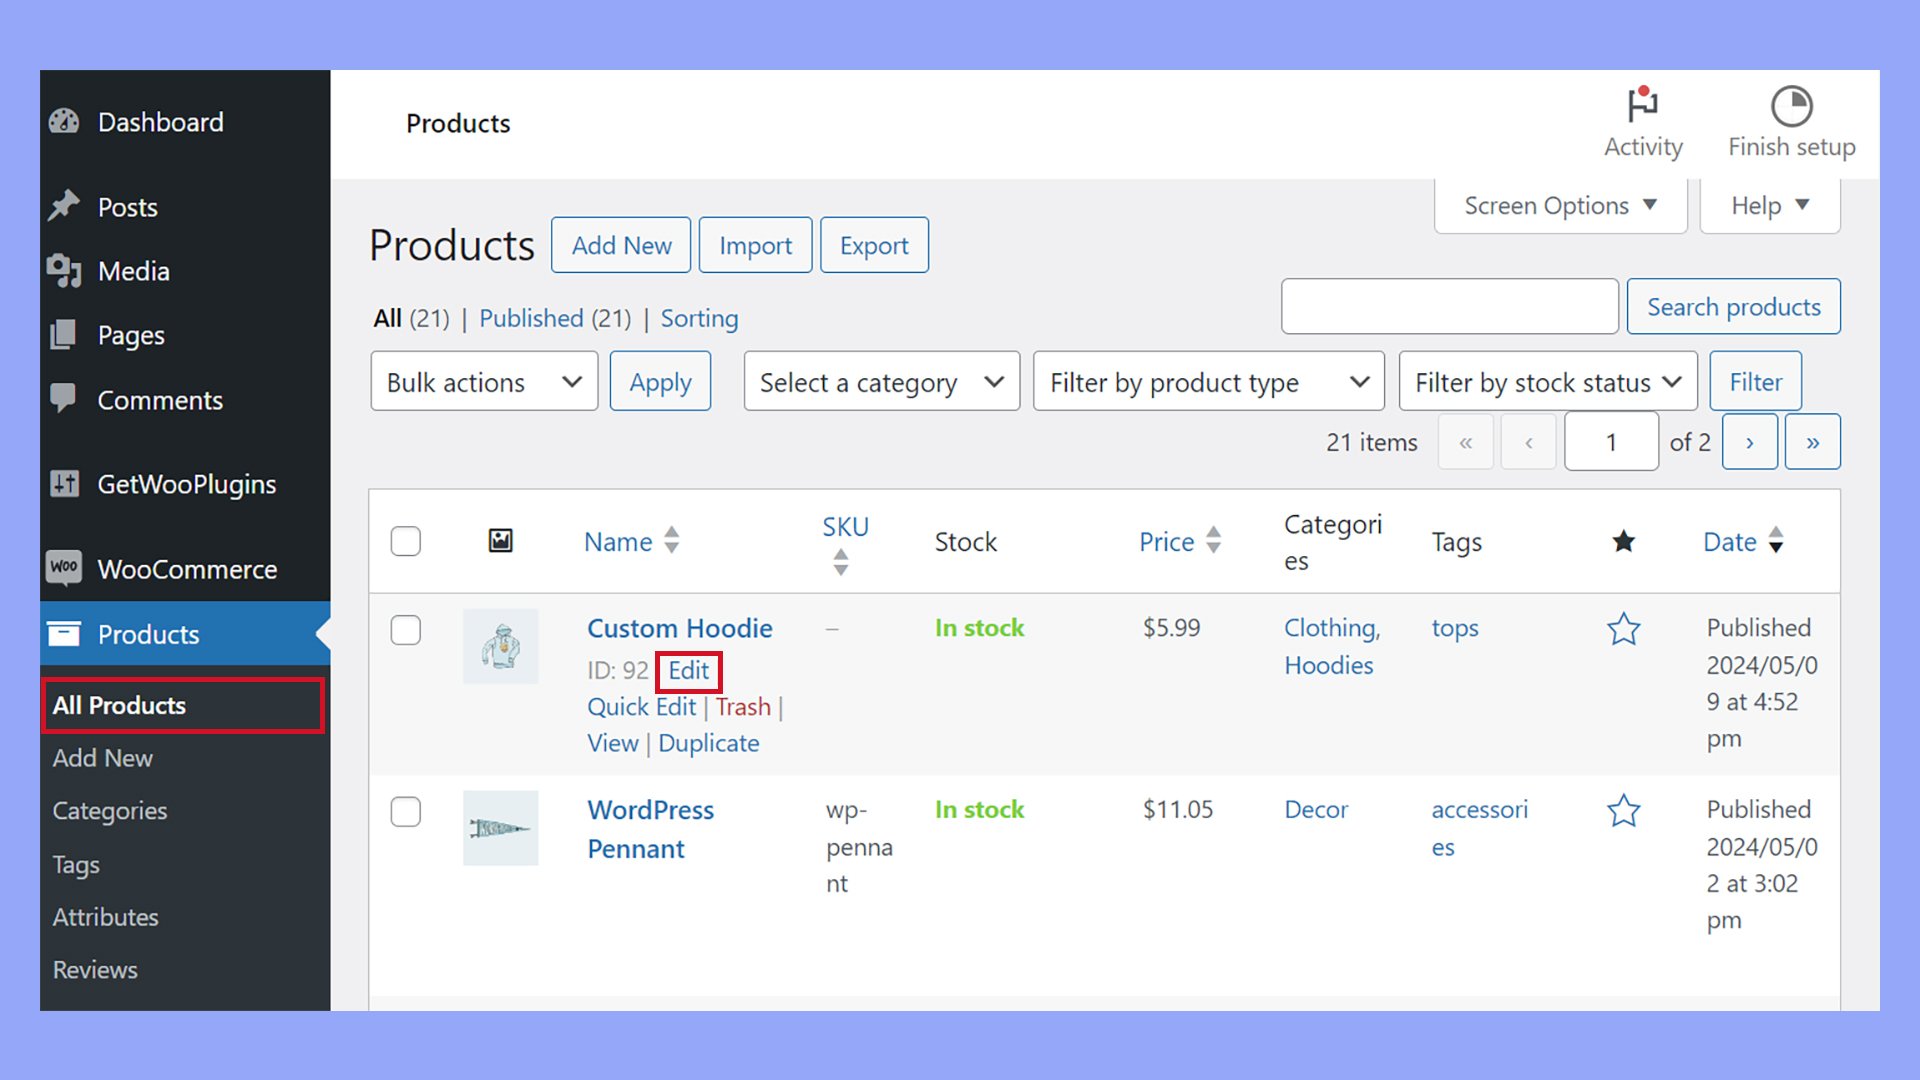
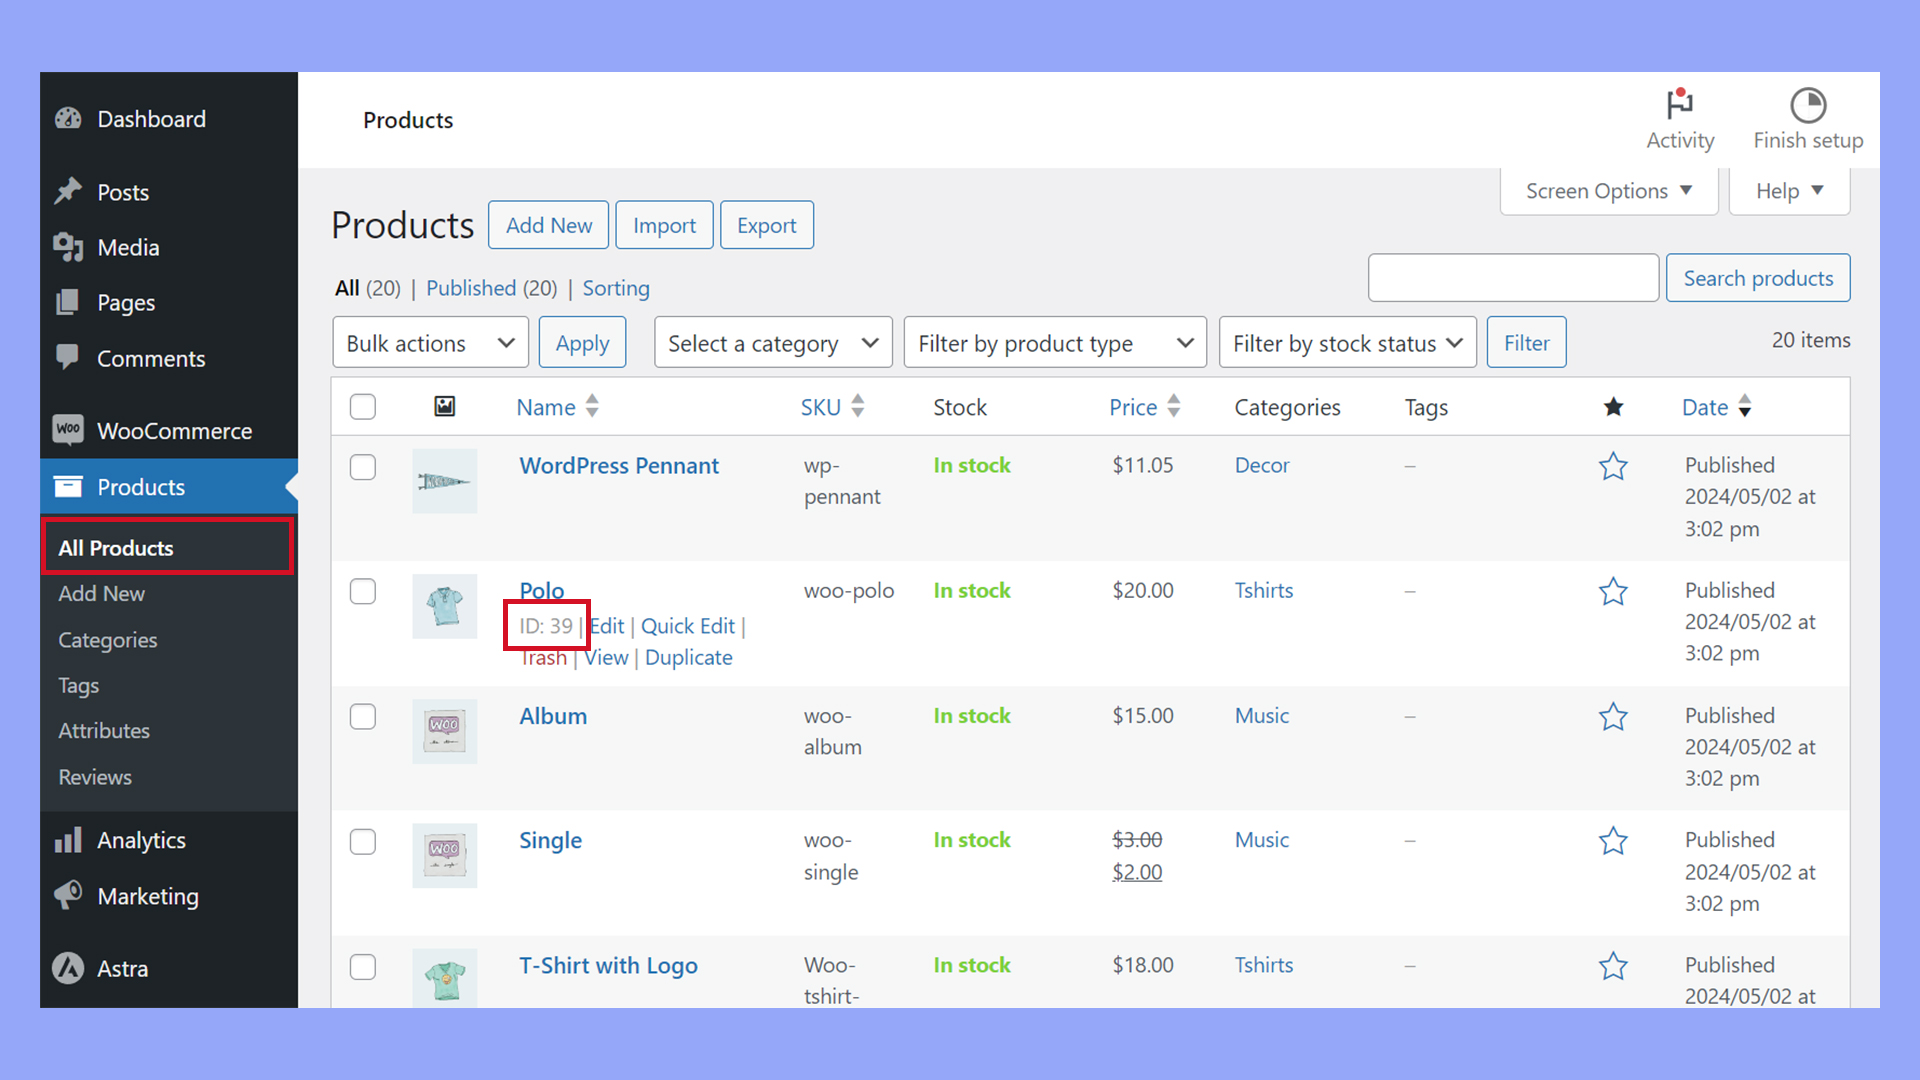
- Go to Products in your dashboard and click Edit on the product you want to categorize.

- Scroll down to the Product categories section on the right side.
- Check the boxes next to the categories you wish to assign, or create a new category by clicking Add new category.
- To add tags, type them into the Product Tags field, separated by commas.
- Save your changes by clicking Update or Publish.
Strategic use of categories and tags
Thinking from a customer’s perspective helps identify the right terms to describe your store inventory and determine the best structure for categories and tags. Not only do these taxonomies control what WooCommerce sees as related products, but they also influence search engines and help customers find the right products quickly and easily.

Organize categories by product type and:
- Define clear categories: Create categories based on product types, such as “Men’s Clothing,” “Women’s Footwear,” or “Kitchen Appliances.”
- Usage-based categories: Include categories that reflect how products are used, like “Outdoor Gear,” “Office Supplies,” or “Travel Essentials.”
Use specific and descriptive tags:
- Complement categories: Tags should complement categories by adding more specific details, such as “Cotton,” “Eco-friendly,” “Bluetooth,” or “Waterproof.”
- Highlight features: Use tags to highlight product features that customers might look for, like “Adjustable,” “Portable,” or “Rechargeable.”
Create tags for customer interests:
- Lifestyle tags: Tags like “Fitness,” “Gourmet,” or “Pet Lovers” can attract customers with specific interests.
- Event-based tags: Use tags such as “Holiday Gifts,” “Back to School,” or “Summer Collection” to align with seasonal trends or events.
Implementing categories and tags:
- Consistent tagging: Ensure consistency in tagging by using a predefined list of tags to avoid duplicates and confusion.
- Category overlap: Products can belong to multiple categories if they fit various segments, enhancing their visibility across different sections of the store.
Analyze product relationships:
- Review best sellers: Identify best-selling products and ensure they are properly categorized and tagged to appear as related products to more items.
- Customer journey mapping: Consider the customer’s journey and how products relate to each other in that context. For instance, a customer looking at hiking boots might also be interested in outdoor backpacks and moisture-wicking socks.
Regularly update categories and tags:
- Seasonal adjustments: Update categories and tags to reflect seasonal changes or new product lines.
- Monitor trends: Keep an eye on market trends and adjust tags to capture emerging interests or popular features.
Optimize for SEO:
- Keyword-rich tags: Use SEO-friendly keywords in tags to improve search engine visibility.
- Category descriptions: Add descriptive text to categories to help search engines understand the context and improve ranking.
Leverage analytics and feedback:
- Track performance: Use analytics tools to track which related products are performing well and adjust categories and tags accordingly.
- Customer feedback: Gather customer feedback to understand how they navigate categories and change related products to ones they find helpful.
Example strategy for a clothing store
By strategically categorizing and tagging products, store owners can leverage WooCommerce’s default related products feature to enhance product visibility, improve customer experience, and boost sales.
Example categories:
- “Men’s Clothing,” “Women’s Clothing,” “Kids’ Clothing”
- “Summer Collection,” “Winter Collection”
Example tags:
- Material-based: “Cotton,” “Wool,” “Polyester”
- Occasion-based: “Casual,” “Formal,” “Sportswear”
- Feature-based: “Waterproof,” “Breathable,” “Stretch”
Regular updates and a deep understanding of customer behavior and market trends are key to maximizing the effectiveness of this strategy.
Changing related products: cross-sells and upsells
The Product Data section is pivotal for setting up related upsells and cross-sells, which show up at various points in the customer journey:
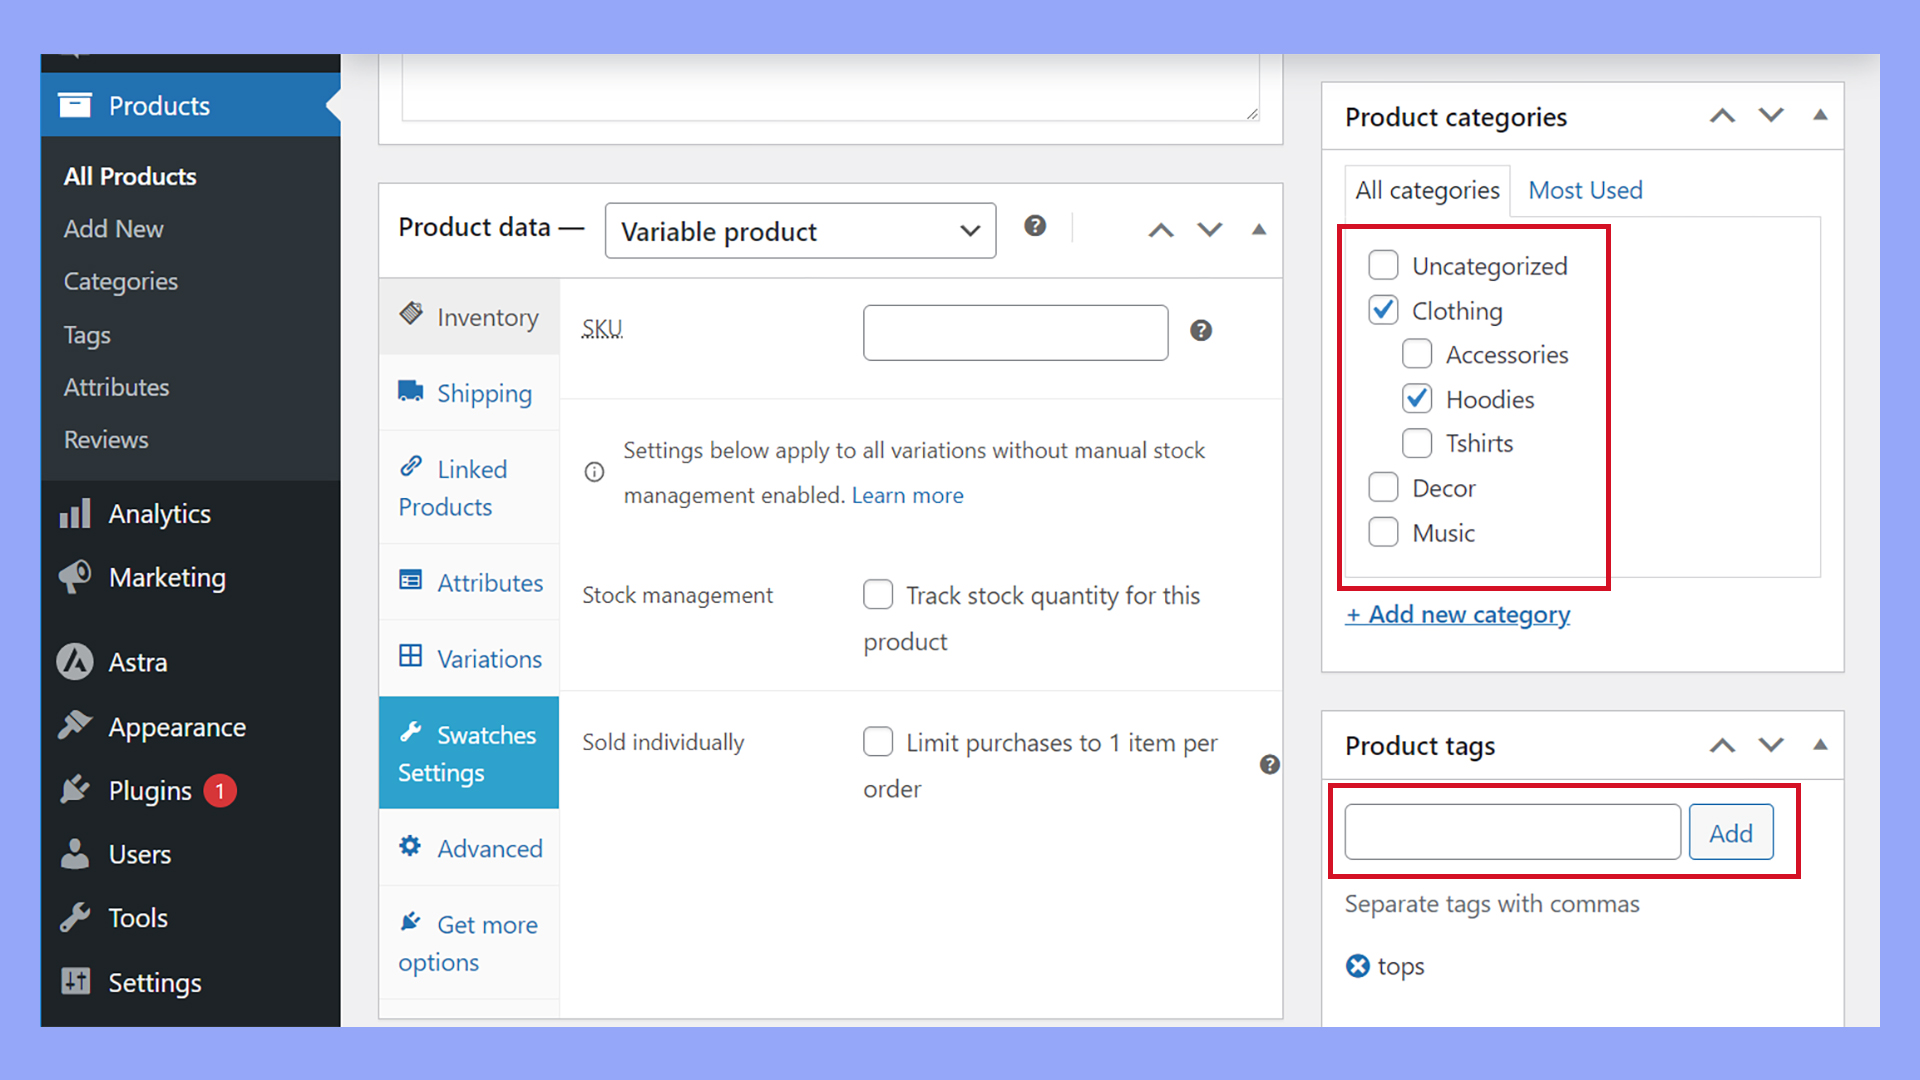
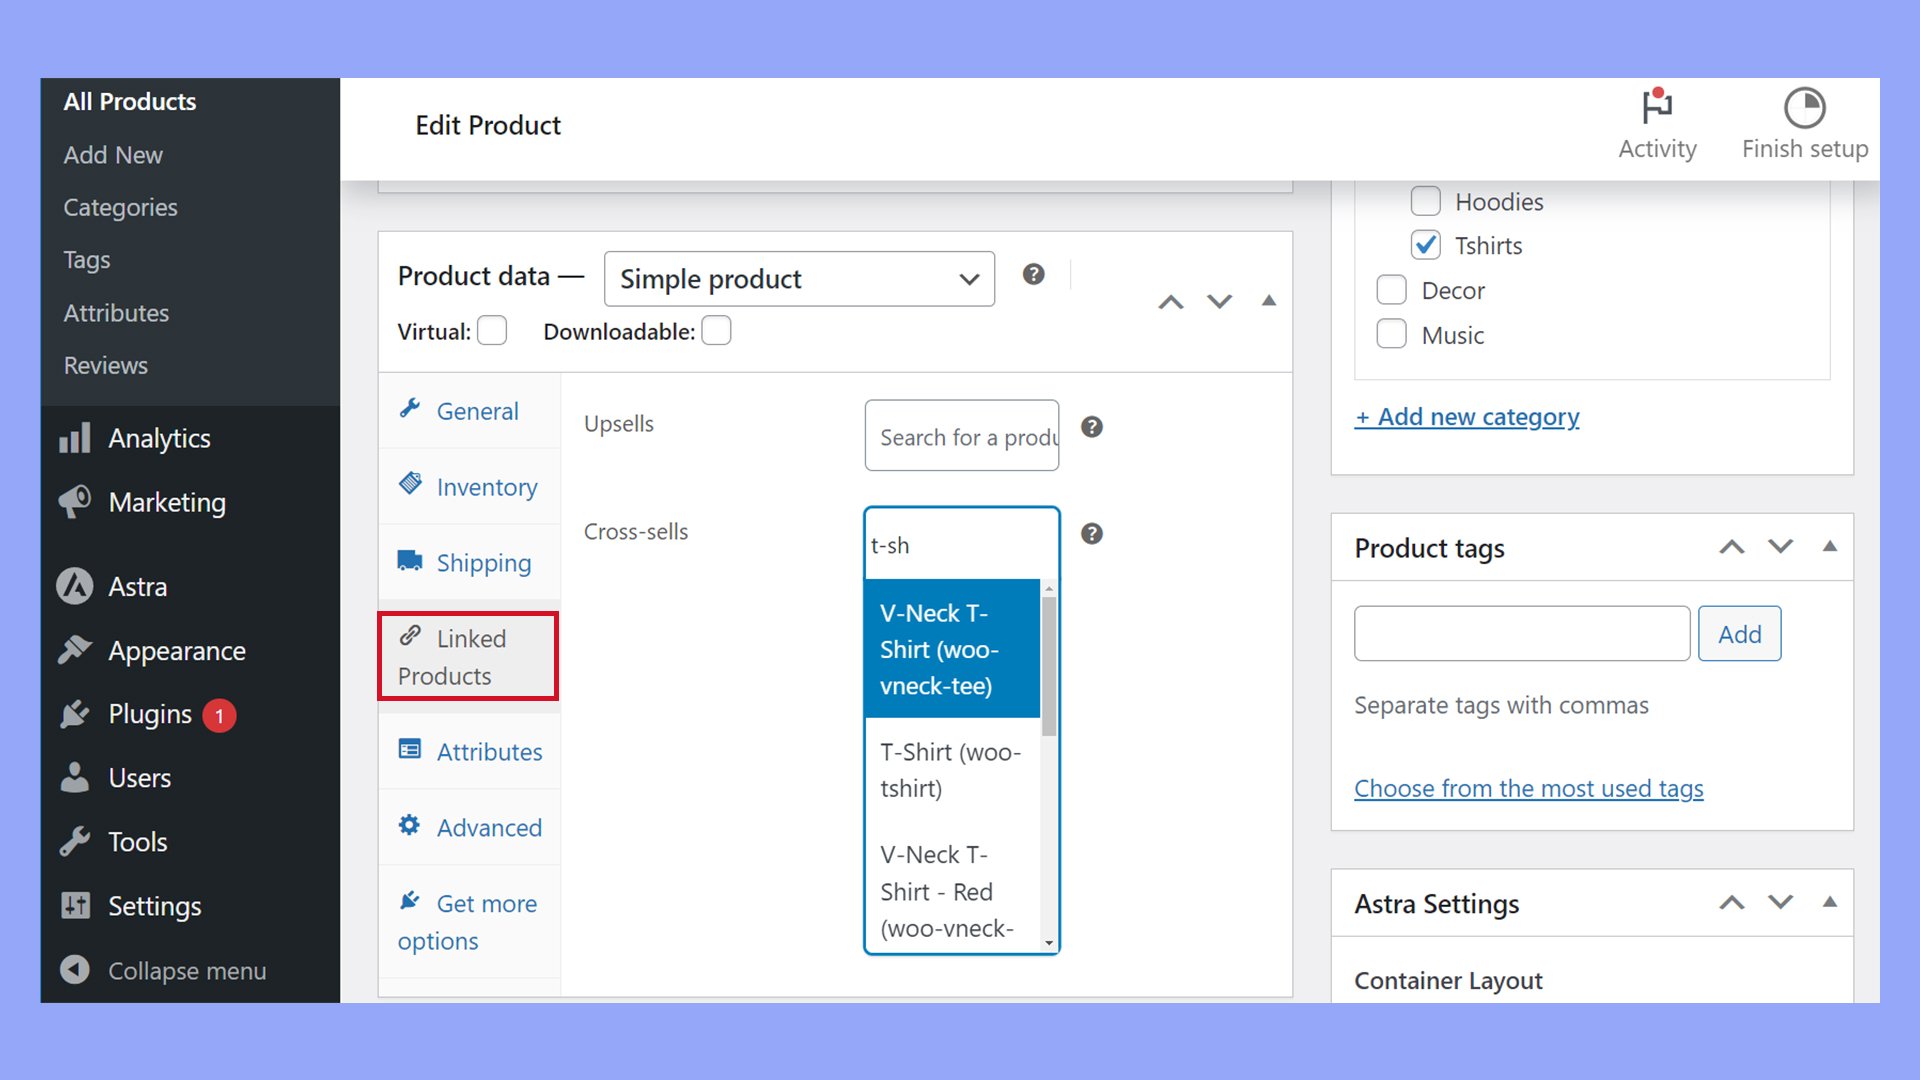
- Go to Products and select the product you want to set up.
- Scroll down to the Product Data panel and select the Linked Products tab.
- Under Upsells, type in the names of the products you want to suggest as higher-end alternatives to the current product.
- Similarly, add products to Cross-sells that you would like to appear alongside the product in the cart as complementary items.
By carefully choosing upsells and cross-sells, you can guide your customers toward products that complement their purchase. This will improve the shopping experience and potentially your revenue. In both cases, you can link multiple products to maximize exposure and effectiveness.
Plugins to enhance and edit related products
Optimizing the related products feature in your WooCommerce store can significantly improve customer engagement and sales conversions. While WooCommerce’s default related products functionality offers limited customization options, a wealth of plugins and extensions can assist you to edit related product recommendations to better suit your customers’ needs.
WooCommerce extension market
WooCommerce provides a versatile platform where extensions flesh out the capabilities of your ecommerce site. The extension market is an arsenal of tools designed to help you tailor your store, including various tools specifically for changing related products.
Top related products plugins
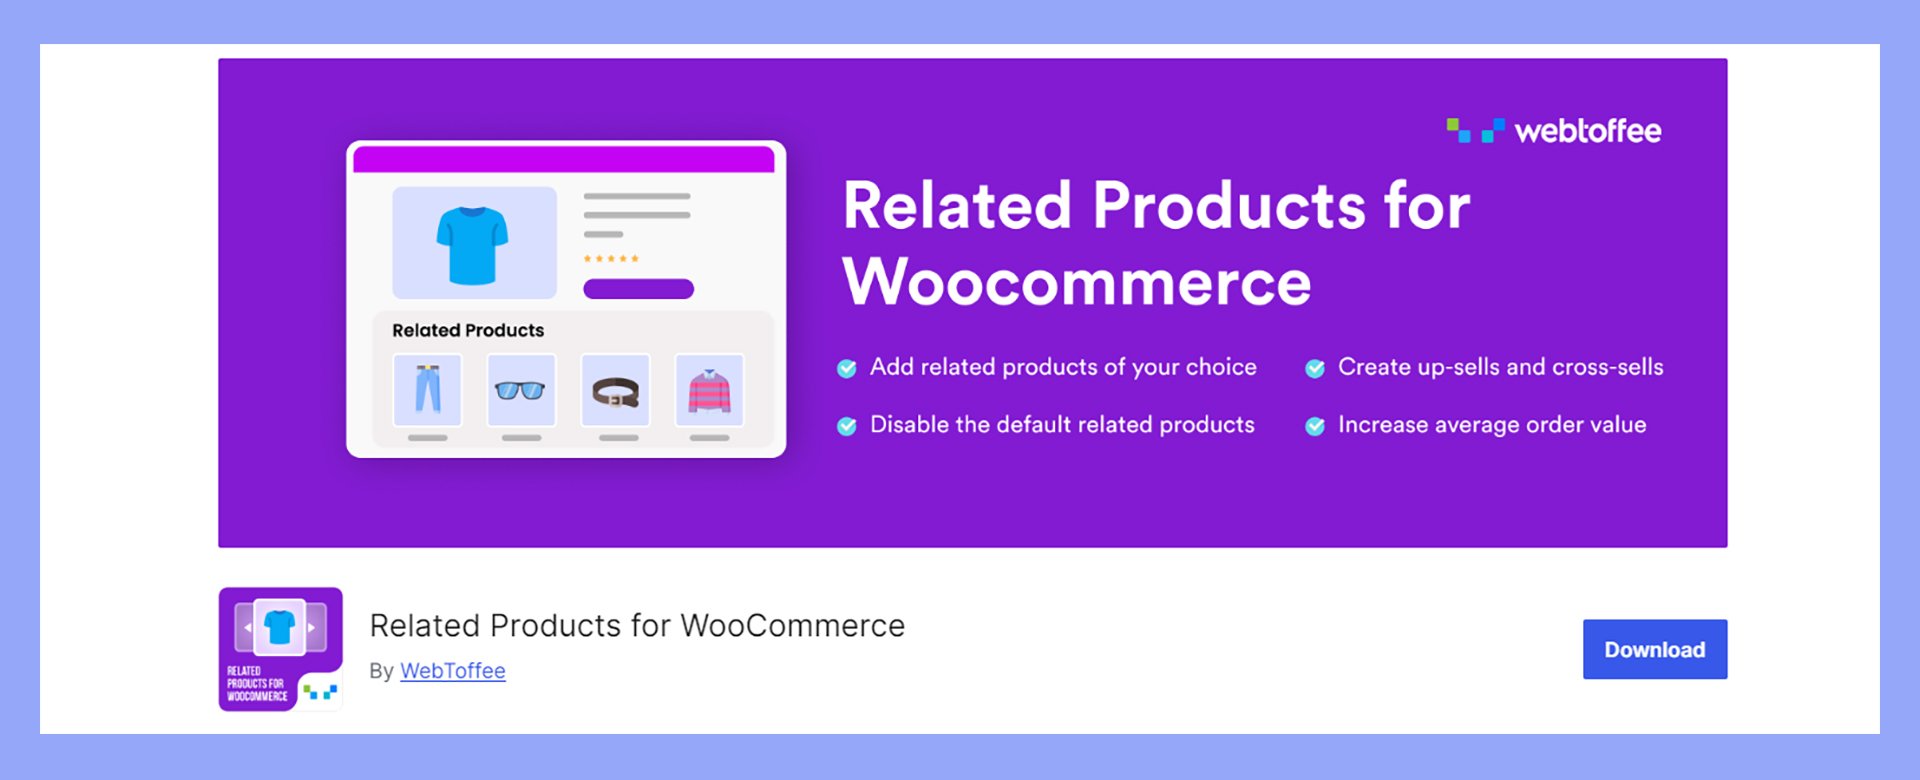
Related Products for WooCommerce by WebToffee: This plugin lets you take control by editing related products based on tags, categories, or custom selections. You can even exclude out-of-stock items or certain taxonomies to ensure that your customers see the most relevant items.
Key Features
- Disable the default related products functionality.
- Manually change related products or base them on tags and categories.
- Create a dedicated slider for your related products.
- Exclude specific products or categories from appearing as related.
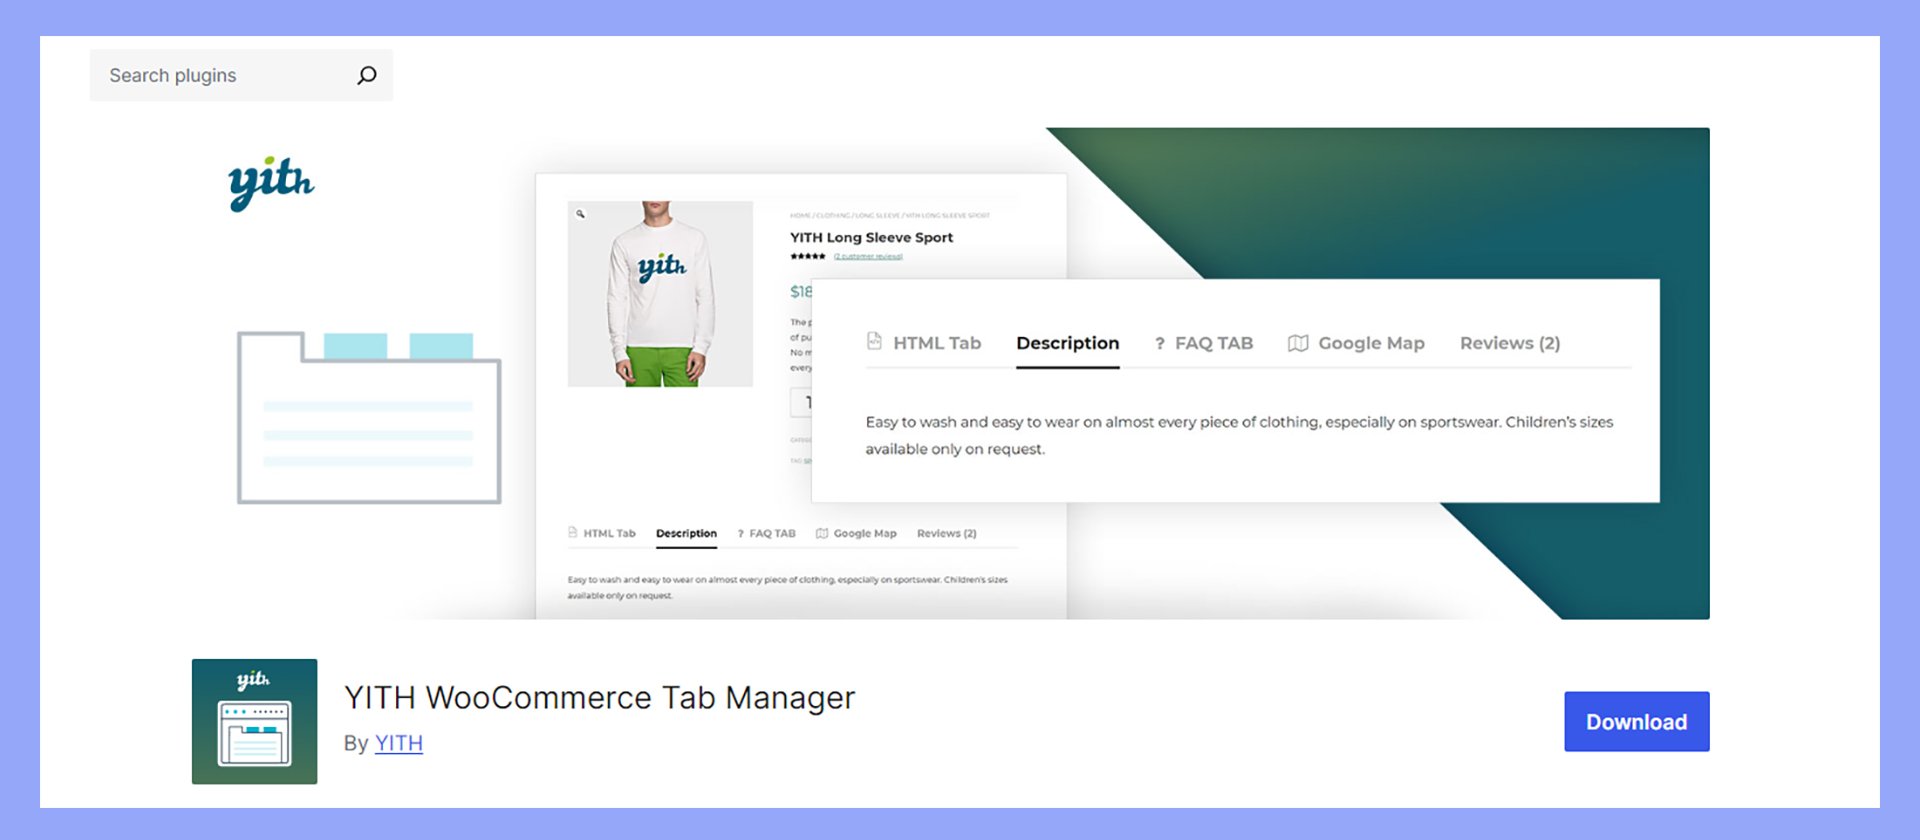
YITH WooCommerce Tab Manager: This plugin is useful for more than just editing related products. It allows you to create custom tabs, which can be an alternative method of presenting related items or additional product information.
Key Features
- Customize and manage product tabs.
- Use tabs to display related products or additional product information.
Installing and setting up plugins
This guide walks through an example of using Related Products for WooCommerce to change the related products.
Start by installing and activating the plugin:
- Navigate to the Plugins > Add New section in your WordPress dashboard.
- Use the search bar to find your chosen plugin. For example, you could search for “Related Products for WooCommerce by WebToffee.”
- When you find the plugin, click the Install Now button.
- Once installed, press the Activate button to get the plugin ready for setup.

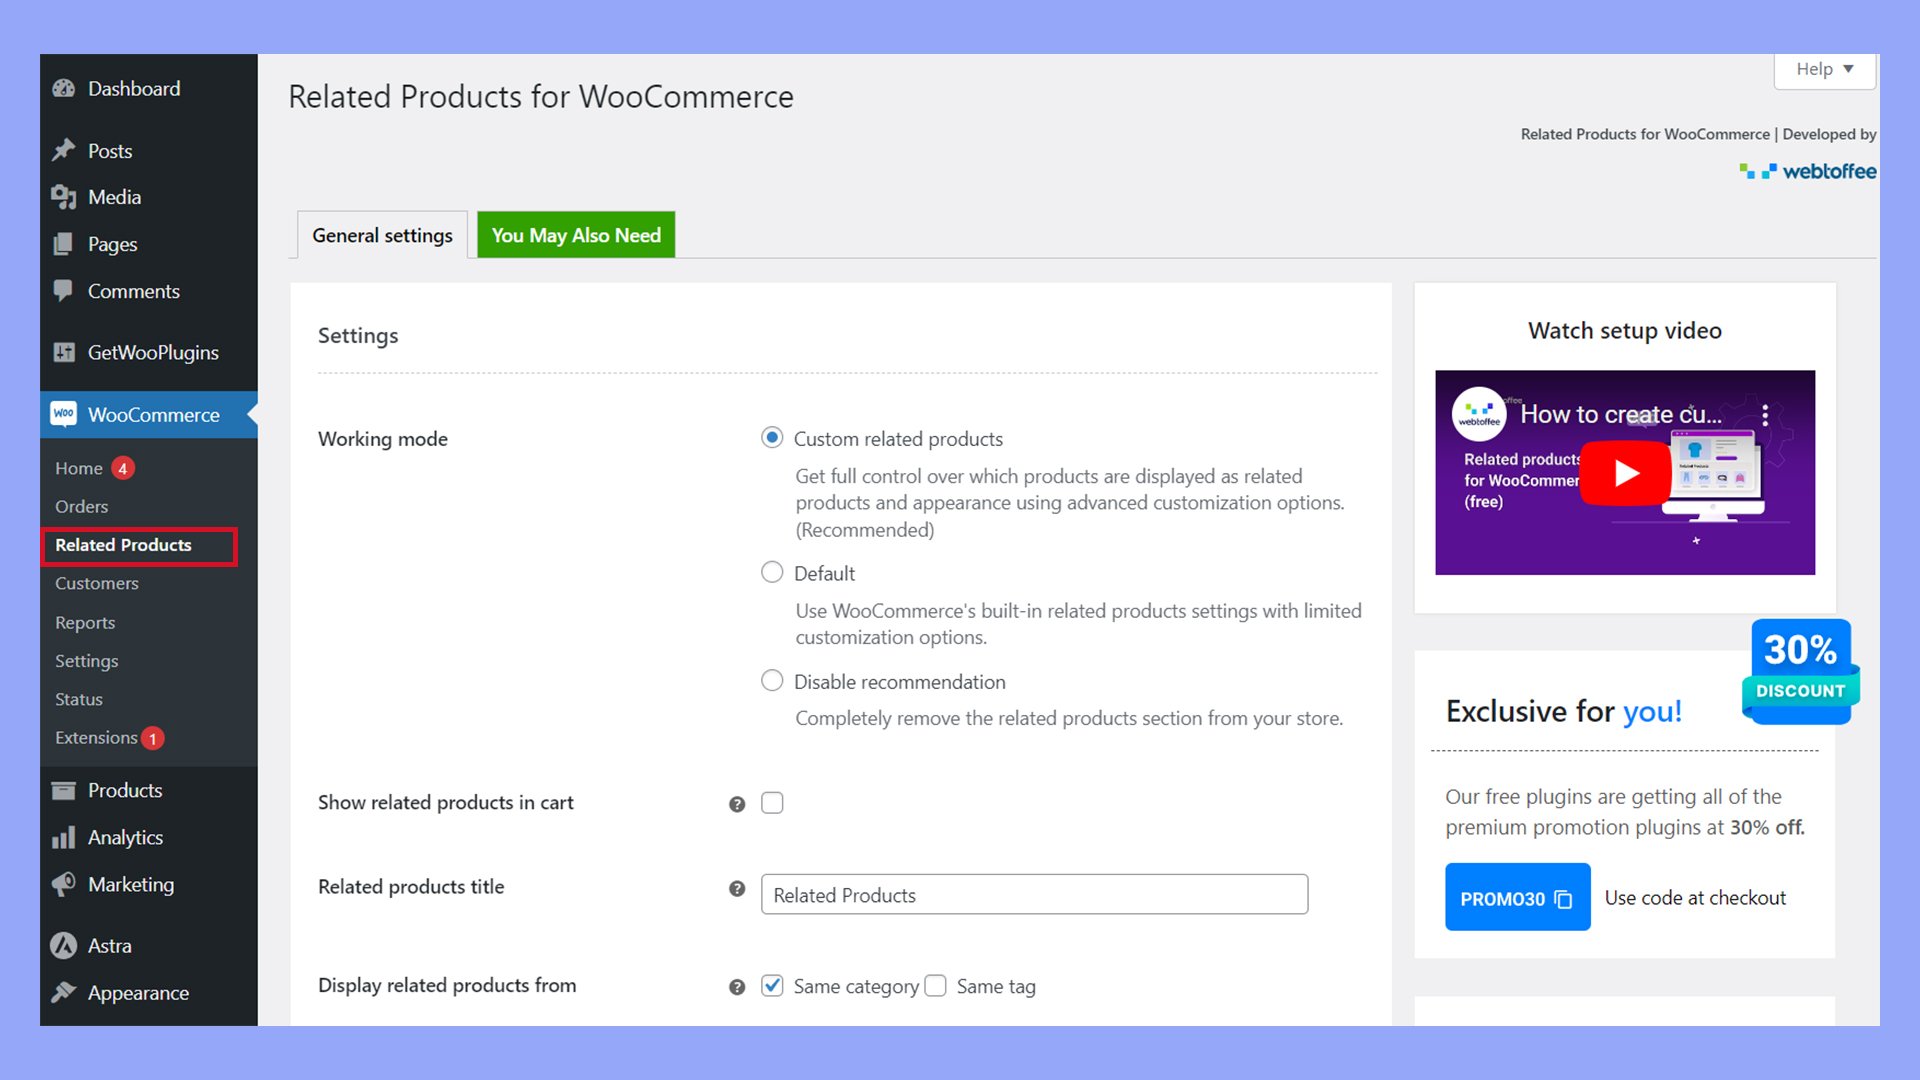
To configure the plugin:
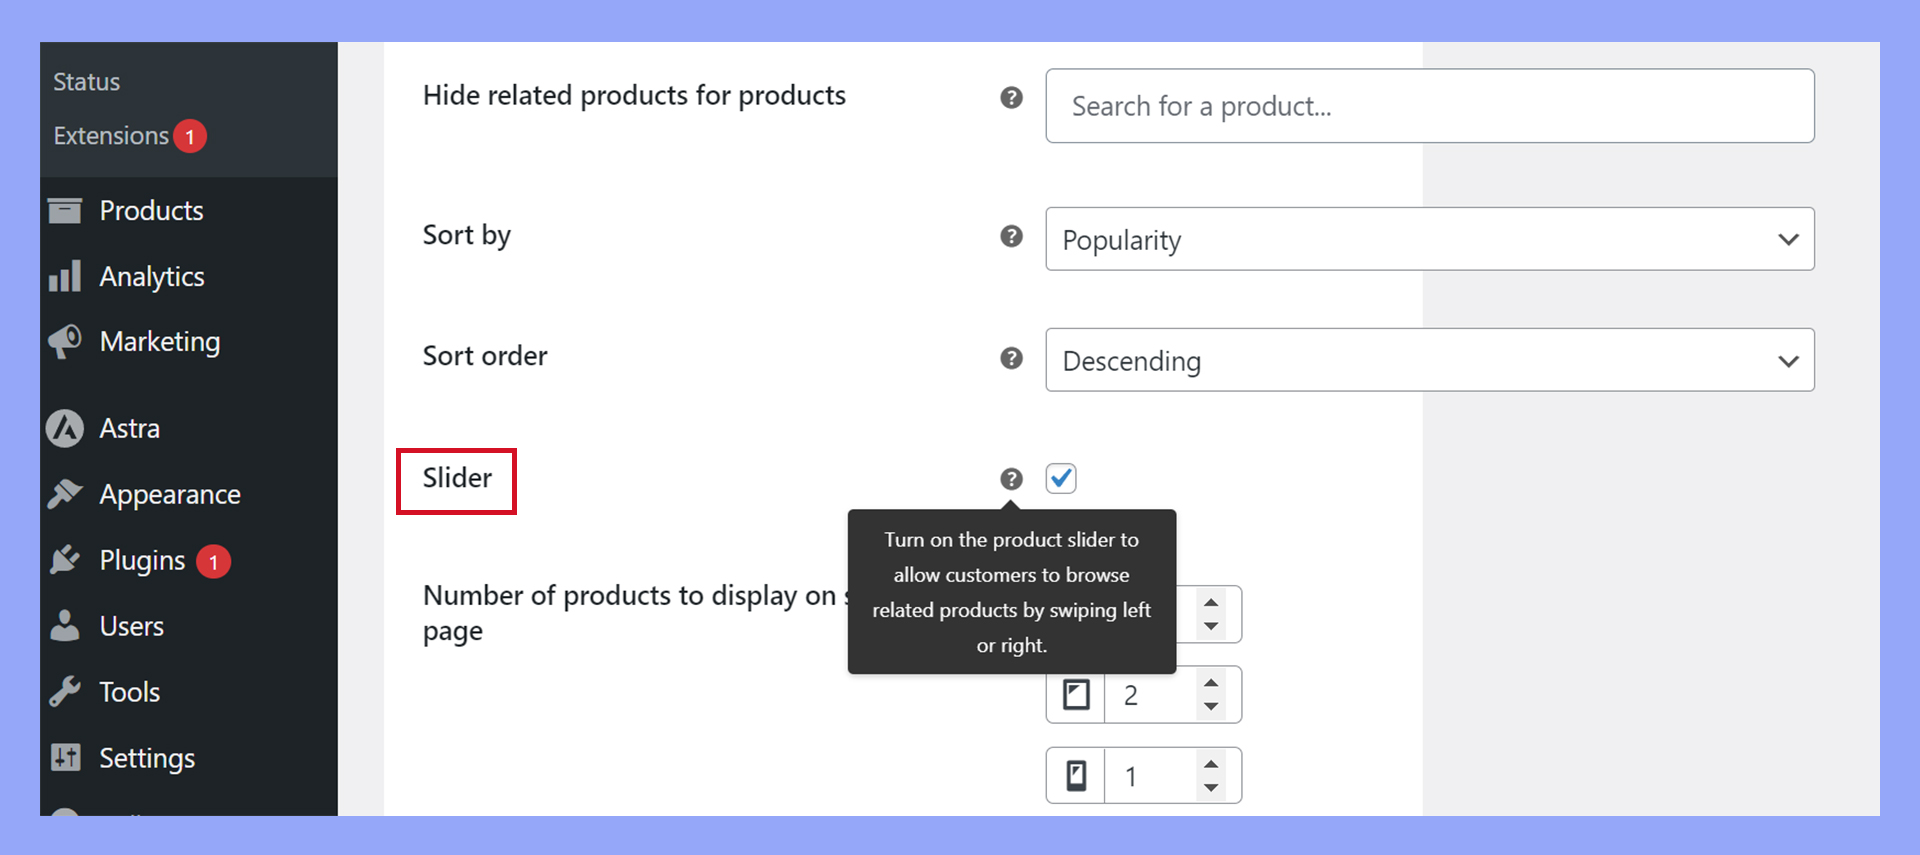
- Once activated, go to WooCommerce > Related Products.
- Here, you have options like disabling the default related products behavior or setting up a related products slider.
- Customize your settings, such as defining whether related products are shown by tags, categories, or specific items.
- Be sure to save your changes by clicking the Save Changes button at the end.
Looking to sell online?
Create your custom online store in minutes with 10Web AI Ecommerce Website Builder and take your business online.
Changing how related products display
Integrating the related products functionality with themes and widgets creates a more personalized shopping experience which can lead to better engagement and increased sales. Let’s explore how you can integrate this functionality, incorporate it using shortcodes, and customize its appearance in terms of columns and sliders.
Editing with shortcodes
You can change the way related products in WooCommerce posts, pages, or widget areas appear by using the dedicated shortcodes provided by plugins and WooCommerce.
For example, here’s a step-by-step to using Related Products for WooCommerce shortcodes:
- Ensure that Related Products for WooCommerce is active.
- Using a shortcode block, insert the following shortcode into any post or page area where you want the related products to appear:
[wt-related-products product_id=”xx”]
Although WooCommerce doesn’t include related product shortcodes by default, you can creatively use the basic [products] shortcode to show a selection of related products.
For example, [products limit="4" columns="4"] displays a customizable selection of products. You can use additional attributes to filter for specific products.
limit– Number of products to display.columns– Number of columns.category– Display products from specific categories.tag– Display products with specific tags.ids– Display specific products by ID.
Use the category attribute to edit the related products to show products from the same categories as the current product.
[products limit="4" columns="4" category="category-slug"]
How to change related products with PHP
To change related products in WooCommerce with PHP, you’ll add custom code snippets to your theme’s files. It’s best to do this using a child theme so future updates don’t interfere with your custom code.
This method is more advanced, so we recommend beginners use methods like built-in shortcodes and plugins to avoid complications when editing WordPress files.
Make sure to back up your site before adding any code snippet to your child theme’s functions.php file or a custom plugin.
Adding a custom shortcode
You can create a custom shortcode in your theme’s functions.php file to change the related products on the product page. Start by navigating to Appearance > Theme file editor, then select functions.php from the right-hand list.
Paste the following code snippet at the end of the file.
function custom_related_products_shortcode() {
global $product;

if ( ! is_a( $product, 'WC_Product' ) ) {
return '';
}

$related_products = wc_get_related_products( $product->get_id(), 4 );

if ( sizeof( $related_products ) === 0 ) return '';

ob_start();

$args = array(
'post_type' => 'product',
'post__in' => $related_products,
'posts_per_page' => 4,
'columns' => 4,
);

$products = new WP_Query( $args );

if ( $products->have_posts() ) : ?>

<div class="woocommerce columns-4">
<h2><?php esc_html_e( 'Related Products', 'woocommerce' ); ?></h2>
<?php woocommerce_product_loop_start(); ?>
<?php while ( $products->have_posts() ) : $products->the_post(); ?>
<?php wc_get_template_part( 'content', 'product' ); ?>
<?php endwhile; ?>
<?php woocommerce_product_loop_end(); ?>
</div>

<?php endif;

wp_reset_postdata();

return ob_get_clean();
}
add_shortcode( 'custom_related_products', 'custom_related_products_shortcode' );
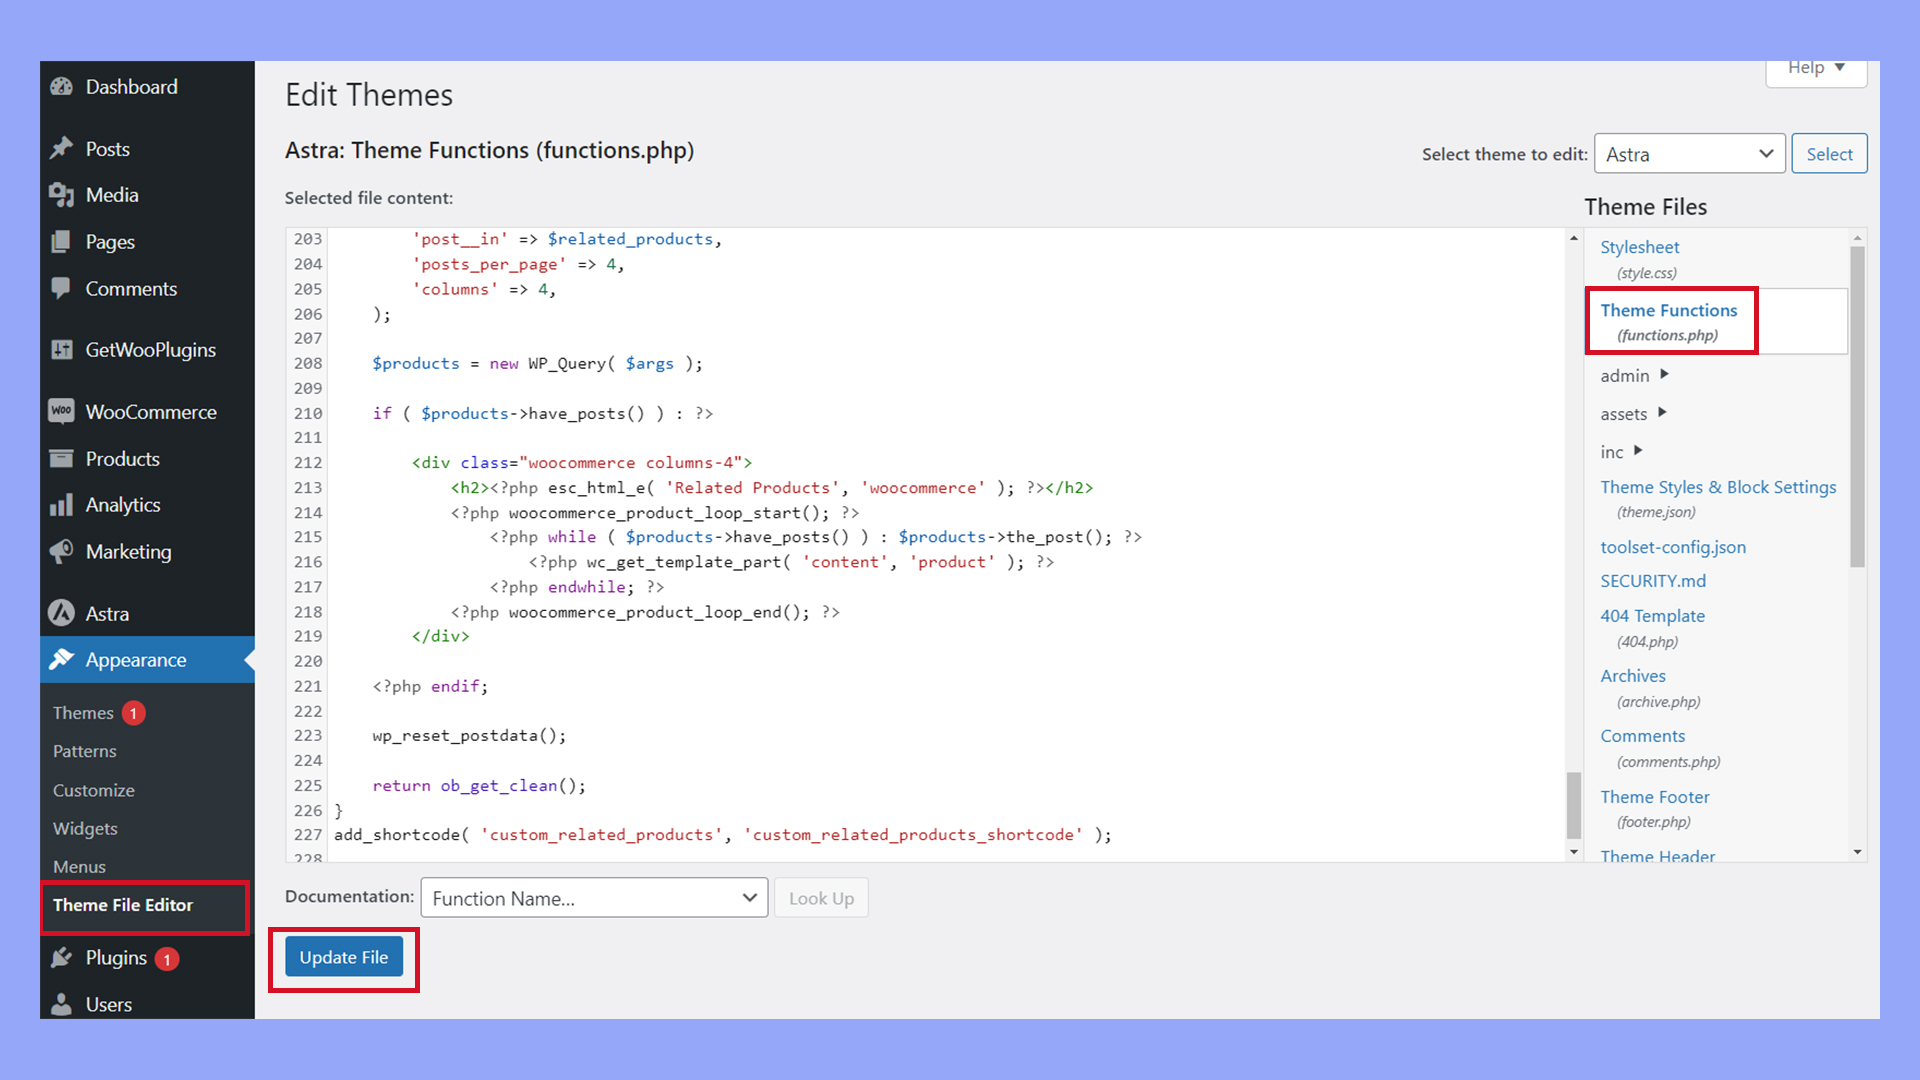
Click Update to save the changes.
Now you can insert the [custom_related_products] shortcode on product pages to display customized related products.
Changing related products programmatically
If you prefer not to use a plugin and have some programming skills, you can customize the related products section with a bit of code. This approach offers more control but requires caution and a basic understanding of PHP and WordPress hooks.
To do this, navigate to Appearance > Theme file editor and select functions.php from the list of theme files.
Here, you can add custom snippets to this file to edit related products in WooCommerce. Use the woocommerce_output_related_products_args hook, which accepts parameters like $related_posts, $product_id, and $args.
Example 1: Limit the number of related products
Here’s an example code snippet to limit the number of related products to 4 per page, displayed in 2 columns:
/**
* Change the number of related products
*/
function woo_related_products_limit() {
global $product;

$args['posts_per_page'] = 6;
return $args;
}

add_filter( 'woocommerce_output_related_products_args', 'jk_related_products_args', 20 );
function jk_related_products_args( $args ) {
$args['posts_per_page'] = 4; // 4 related products
$args['columns'] = 2; // arranged in 2 columns
return $args;
}
Paste the code snippet into the functions.php file and click Update to save the changes.
Example 2: Show related products from specific product ID
To display related products from a specific product ID, use the following script:
add_filter('woocommerce_related_products', 'add_related_products');
function add_related_products($related_product_ids) {
// WC source code stores IDs as string in this array, so we do that too
$related_product_ids[] = 'your-product-ID'; // Replace 'your-product-ID' with your product ID
return $related_product_ids;
}
Replace your-product-ID with the actual product ID you want to include.
Improving shopping experience on product pages
Optimizing product pages is crucial for keeping customers engaged and helping them make informed purchase decisions. Let’s enhance your WooCommerce product pages with a focus on visual appeal, detail richness, and responsive design.
Creating a responsive product slider
A responsive product slider can make browsing products on any device an easy and enjoyable experience.
- Install a slider plugin: Look for plugins like Related Products for WooCommerce by WebToffee to add a product slider functionality.

- Customize the slider: Configure the slider settings to display related products and complement the overall design of your product pages.
- Test slider responsiveness: Ensure that the slider looks and works well on desktop, tablet, and mobile devices for a seamless shopping experience on the front-end.
Enhancing visual appeal
Your product page should visually captivate customers from the moment it loads.
- Set image sizes: Navigate to Appearance > Customize, choose WooCommerce, and adjust the main product image and thumbnail dimensions under Product & category display.
- Add high-quality images: Upload clear, high-resolution images of your products to give customers a better view of the related products section.
- Use a consistent style: Maintain a uniform image style and background to create a cohesive look across your product catalog.
Providing detailed product information
Detailed product descriptions and specifications can significantly influence buyers’ decisions.
- Use custom fields: Add detailed information through custom fields in the Product Data metabox under the Custom Fields tab.
- Highlight features: Clearly list product features in a bullet-point format to make them easy to scan.
- Include customer reviews: Implement a review system to provide social proof and help build trust with potential buyers.
In summary
By leveraging related products, upsells, and cross-sells in WooCommerce, ecommerce store owners can significantly enhance the shopping experience and boost sales.
Through thoughtful product categorization, tagging, and the use of specialized plugins, a well-curated and engaging online store environment can be achieved, driving higher customer satisfaction and revenue growth.
Looking to sell online?
Create your online store in minutes
Create your online store in minutes with 10Web AI Ecommerce Website Builder.