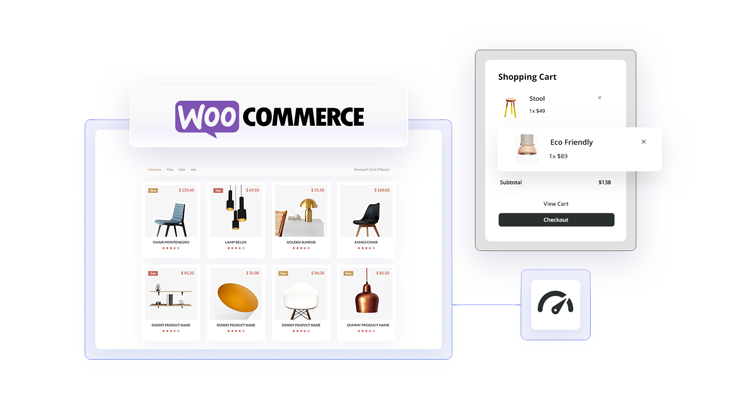
Establishing an online store with WooCommerce and Elementor offers a seamless integration for crafting a tailored shopping experience.
This guide will walk you through the essential steps of setting up WooCommerce, integrating it with Elementor, and leveraging both the free and Pro versions of Elementor to customize your shop page. From installation to design customization, we’ll cover everything you need to edit your WooCommerce shop page with Elementor.
FAQ
Can I edit the WooCommerce shop page with Elementor?
How do I change my WooCommerce shop page?
How do I customize my WooCommerce cart page with Elementor?
How do I edit WooCommerce product page in WordPress?
Getting started with Elementor and WooCommerce
When setting up your online store using WooCommerce, Elementor empowers you to create a unique shopping experience. As a builder plugin for WordPress, Elementor allows you to visually edit your Woo Commerce shop page and many other aspects of your site.
Understanding Elementor versions for WooCommerce customization
Elementor offers two versions— free and Pro. The Pro version has WooCommerce widgets and Theme Builder functionality, directly allowing you to edit your shop page.
How to edit a WooCommerce shop page with Elementor’s free version
If you don’t have the pro version of Elementor, this guide offers several tips for working around the free version’s lack of WooCommerce integration. For example, one way to edit a WooCommerce shop page with Elementor free is to create a new page and use basic widgets or shortcodes to display your products.

Looking to sell online?
Create your custom online store in minutes with 10Web AI Ecommerce Website Builder and take your business online.
Editing a shop page with the help of AI
For those familiar with Elementor but seeking more automated and AI-driven capabilities in building and managing an ecommerce store, 10Web’s AI Ecommerce Website Builder simplifies the customization of your WooCommerce shop page
With a drag-and-drop interface familiar to Elementor users, premium widgets, and AI help, you can efficiently edit your WooCommerce shop page, enhancing user experiences and potentially increasing conversions.
Setting up Elementor for WooCommerce
Before editing your WooCommerce shop page with Elementor, it helps to have Elementor Pro installed since the free version of Elementor has some limitations for working with WooCommerce. No matter which you choose, you’ll first need to install Elementor and WooCommerce.
Installing Elementor
To get started, you’ll first need to Install the Elementor plugin.
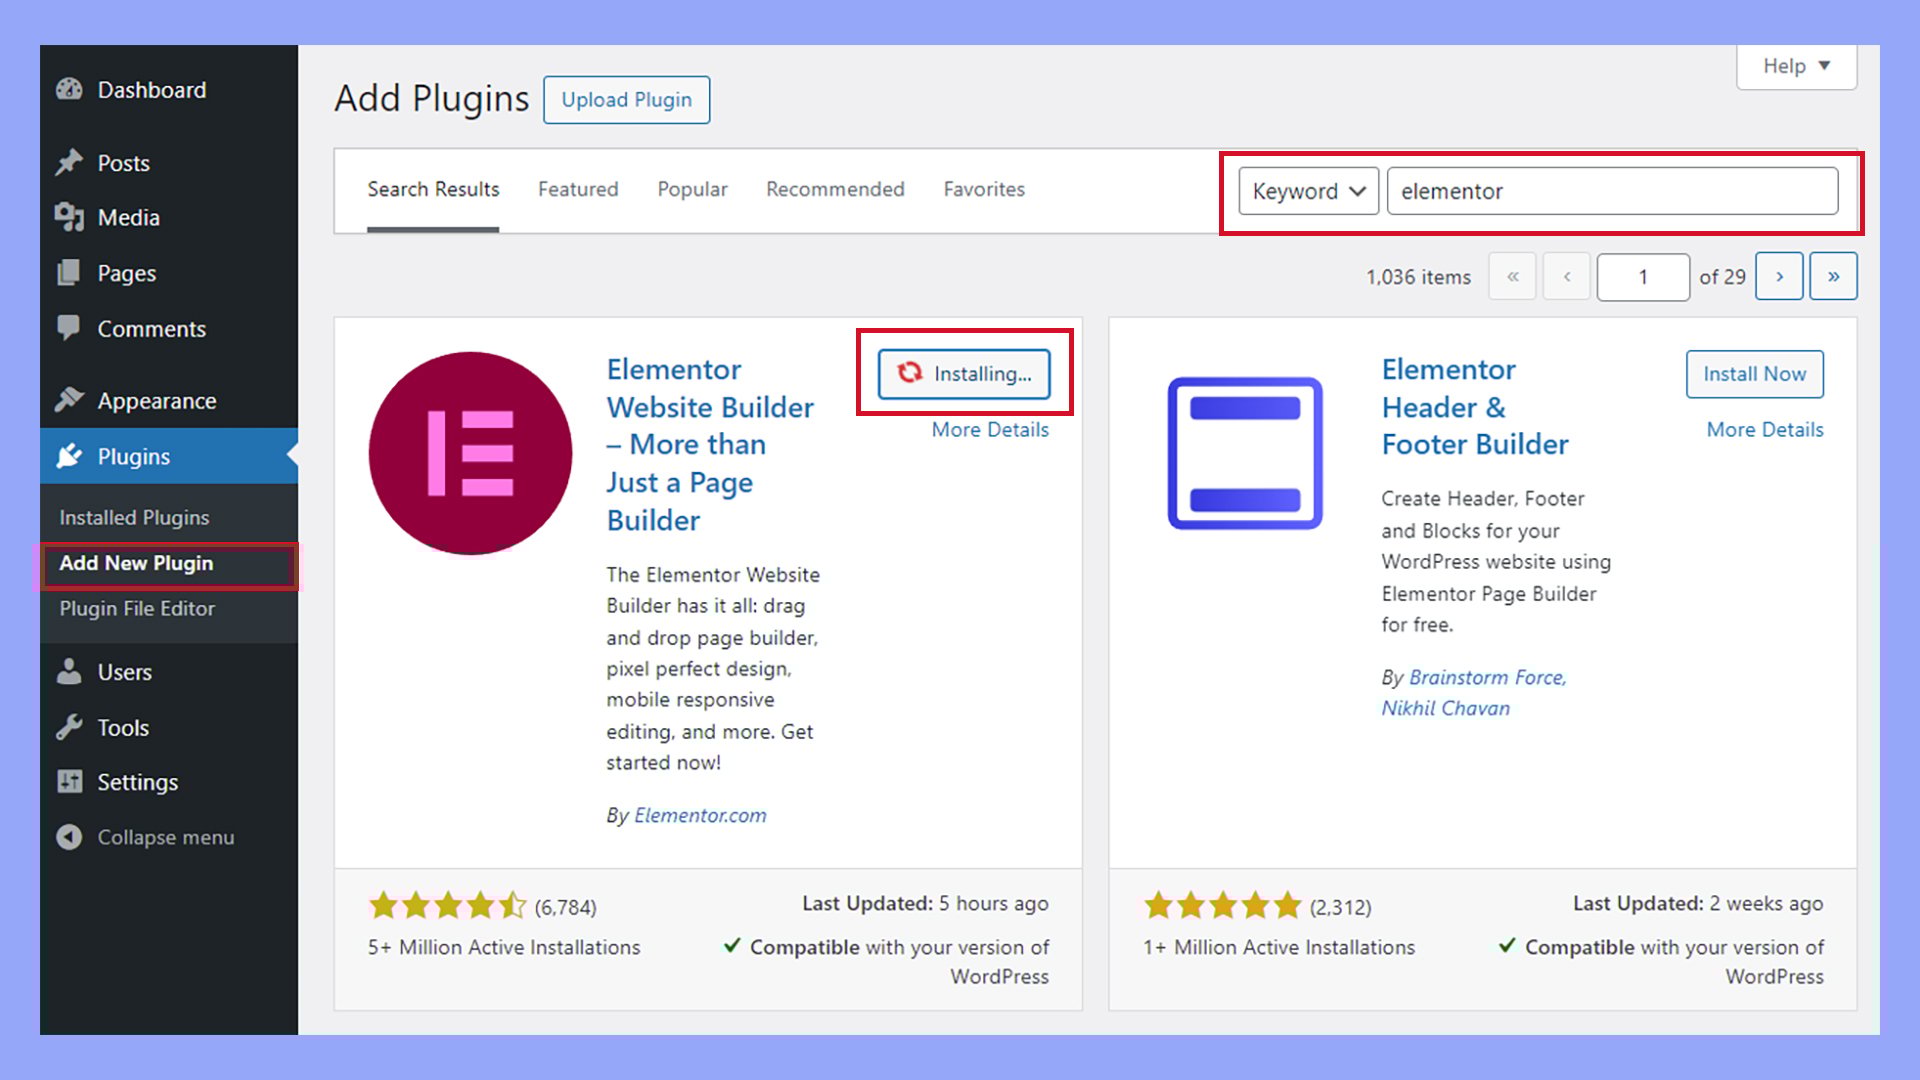
Once activated, you can purchase an Elementor Pro plan via Elementor > Upgrade or continue with the free version.
If you upgrade to the paid version, download the Elementor Pro ZIP file from your Elementor account. Then, navigate to your WordPress dashboard, click on the Plugins section, and choose Add New.
Next, Upload the downloaded Elementor Pro ZIP file and Activate the plugin.
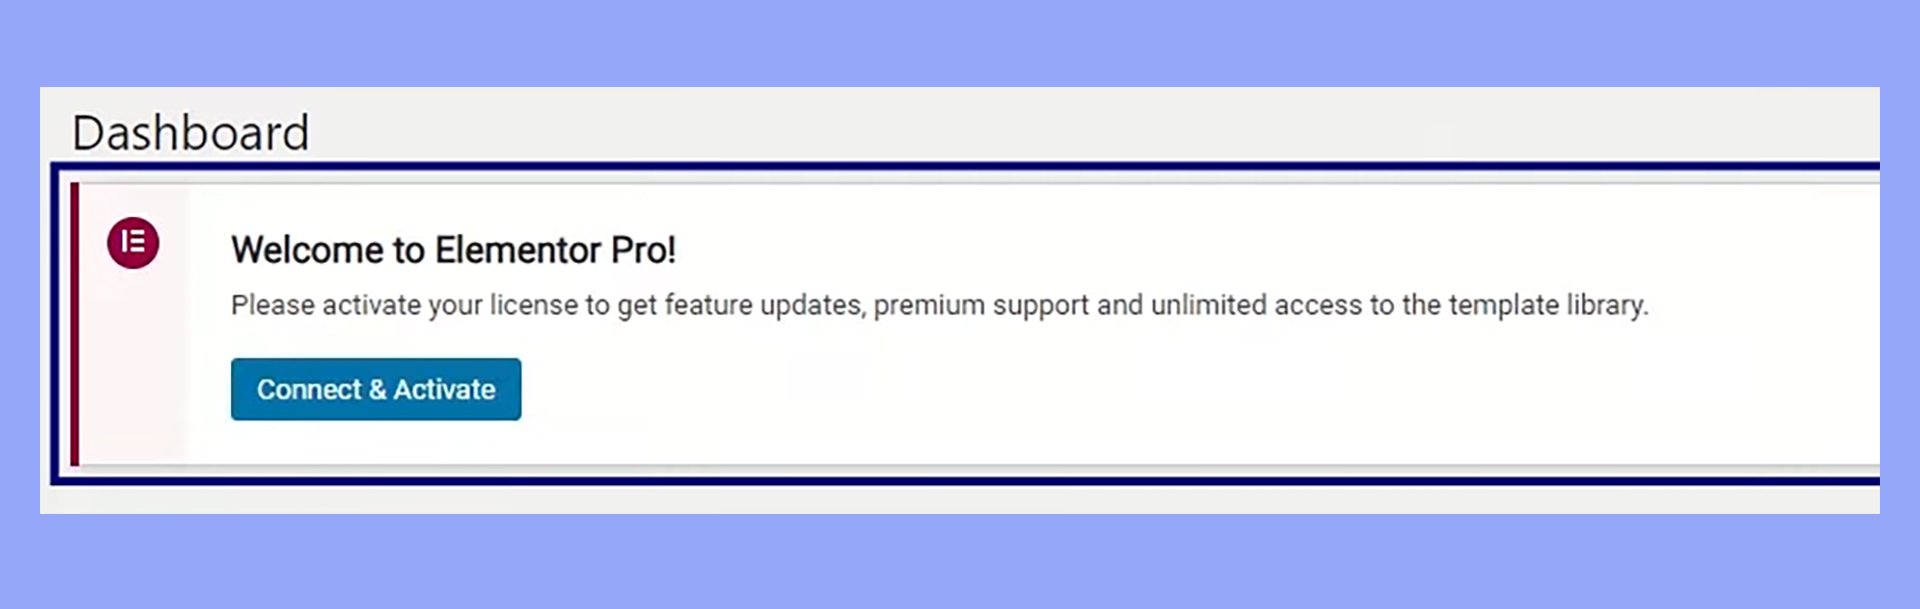
After installation, you’ll notice a message from Elementor in the WordPress dashboard to Connect & Activate.
How to edit a WooCommerce shop page with Elementor Pro
Editing your WooCommerce shop page with Elementor means breathing new life into your online store’s appearance and user experience. With Elementor’s design flexibility and visual drag-and-drop interface, you can customize your shop to reflect your brand and enhance your customers’ shopping experience.
Note that you cannot directly edit the default WooCommerce shop page with Elementor using the standard page editing tools because it is automatically generated by WooCommerce. However, you can use Elementor Pro to create custom product archive pages that can replace the default shop page.
Choosing a shop page template
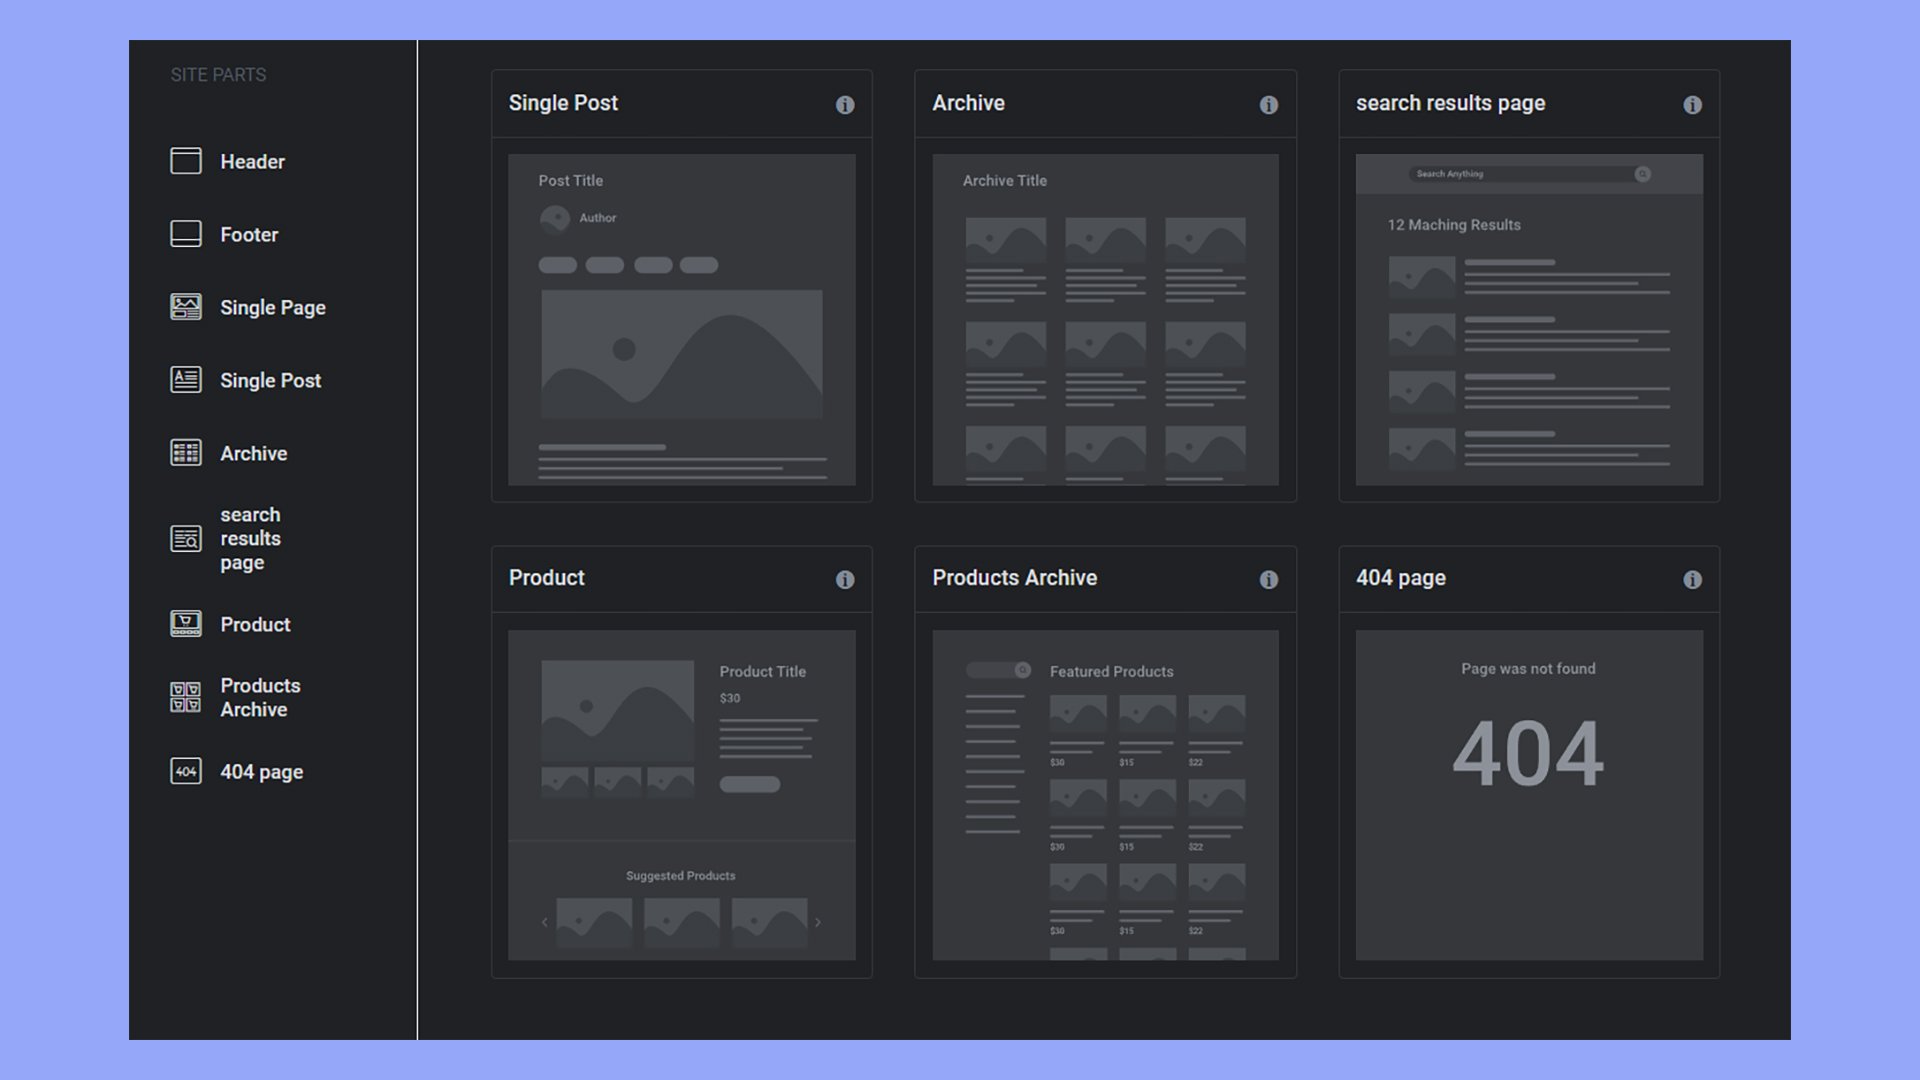
To begin, navigate to Templates in your WordPress dashboard and click on Theme Builder.
Here, select Product Archive to start designing your shop page. You have the option to either modify a premade template or create a unique one from scratch.
Using a premade template often simplifies the process, allowing you to quickly adjust an existing design to suit your needs.
Working with WooCommerce widgets
Elementor Pro offers a range of specific WooCommerce widgets to enhance your shop page.
You can find options like Products, Product Categories, and Custom Add to Cart in the Elementor sidebar.
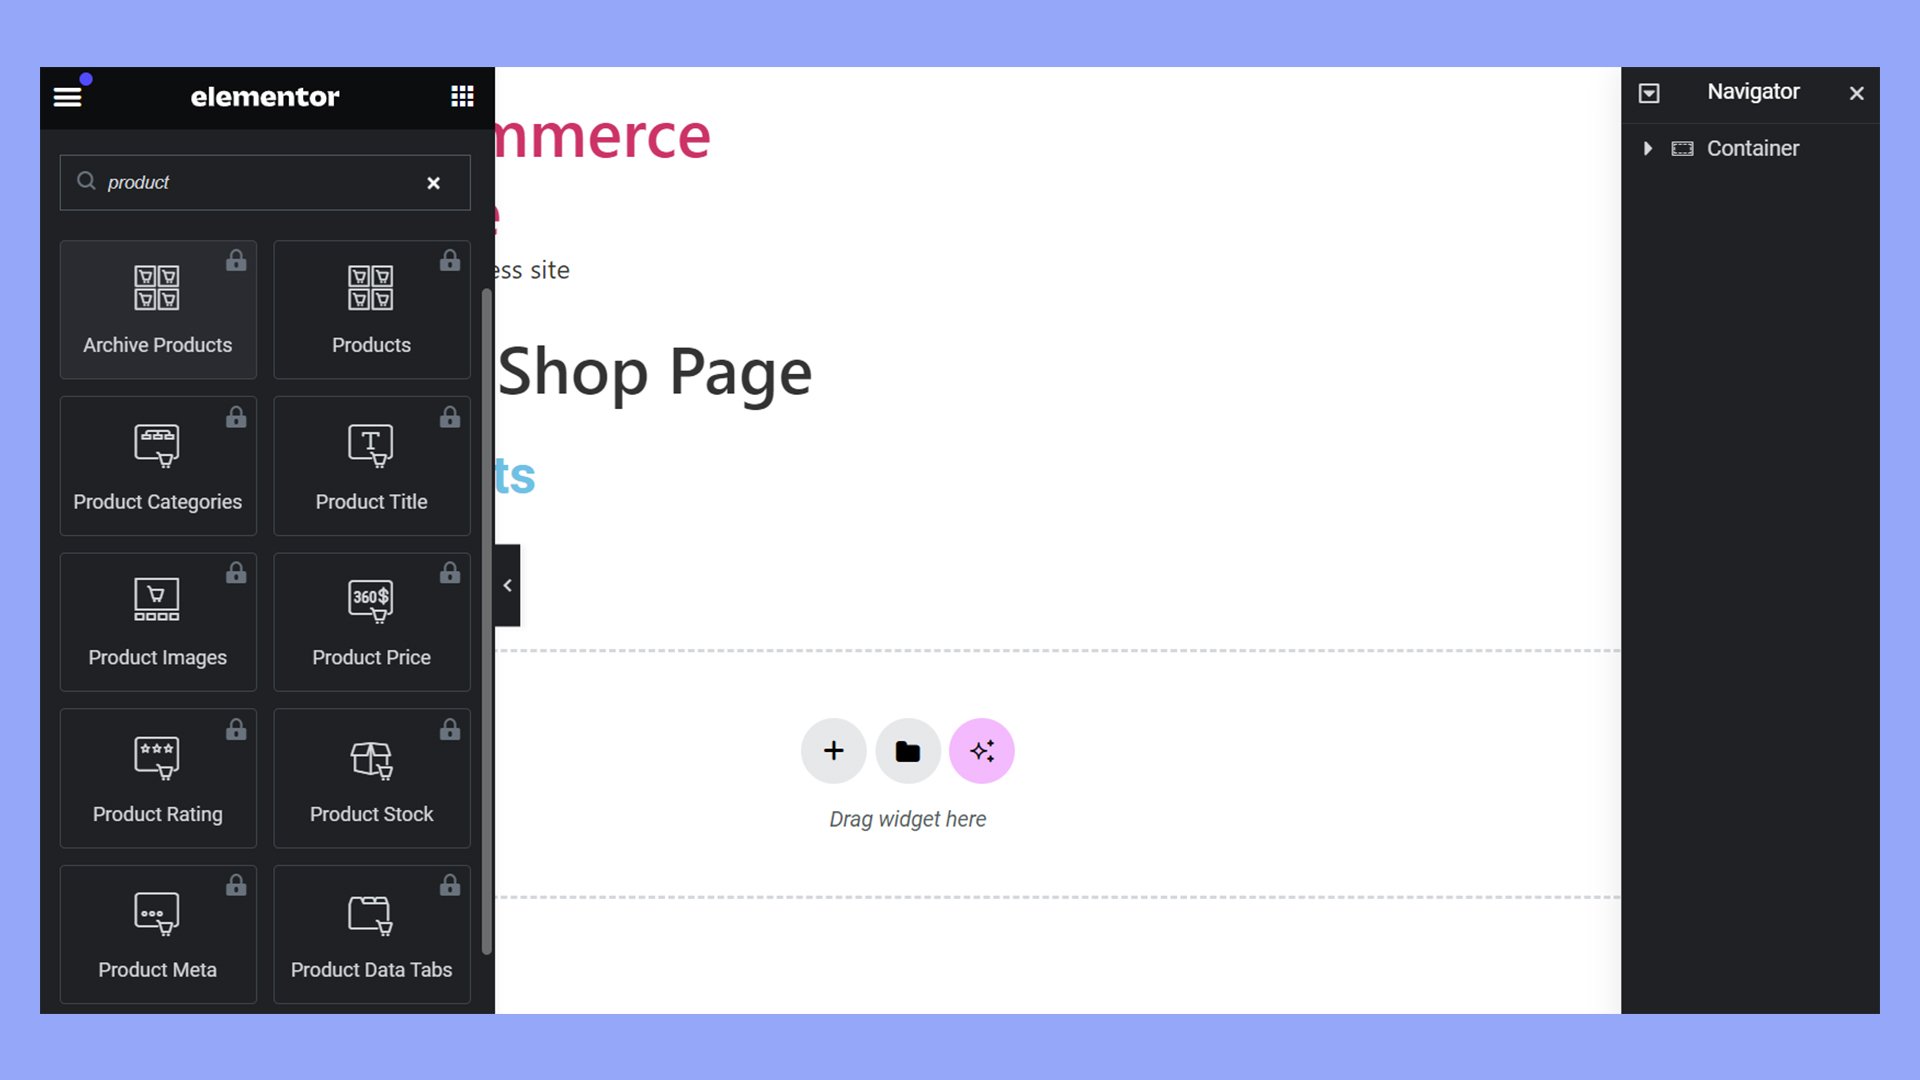
These widgets allow you to add and organize product elements on your shop page efficiently. Drag and drop them into your layout to start editing your WooCommerce shop page with Elementor.
Customizing product archive layout
After selecting your template, it’s time to tailor the product archive layout.
Pay attention to how products are showcased; your layout should enable customers to easily find what they’re looking for.
Use Elementor’s handlebars to resize and reposition widgets, ensuring your products are displayed neatly and clearly.
Styling elements
In Elementor, every aspect of your shop page’s style can be customized, from font choices to color schemes.
Click on an element you wish to style, such as the Custom Add to Cart button.
Use the styling options to align this element with your brand identity, making it visually appealing and noticeable to shoppers.
Saving and publishing templates
After meticulously crafting your shop page, press Publish to apply the changes.
Set the conditions to specify where your template will appear; choose All Product Archive to apply it across your site or target specific categories.
To confirm your customizations, click on Save & Close. Your crafted design is now live, transforming customers’ interactions with your products.
How to edit the WooCommerce shop page with Elementor free
Unfortunately, the free version of Elementor does not allow direct editing of the WooCommerce shop page. The lack of the Pro version’s Theme Builder and Product Archive templates also presents a challenge for free version users. However, you can still creatively use the free version of Elementor to create a custom layout that features WooCommerce products, albeit with more manual effort and less automation.
Use shortcodes
WooCommerce provides several shortcodes for displaying products. While Elementor Free doesn’t have dedicated WooCommerce widgets, you can still use the Text Editor or Shortcode widgets to insert WooCommerce shortcodes.
How to use shortcodes to display WooCommerce products with Elementor:
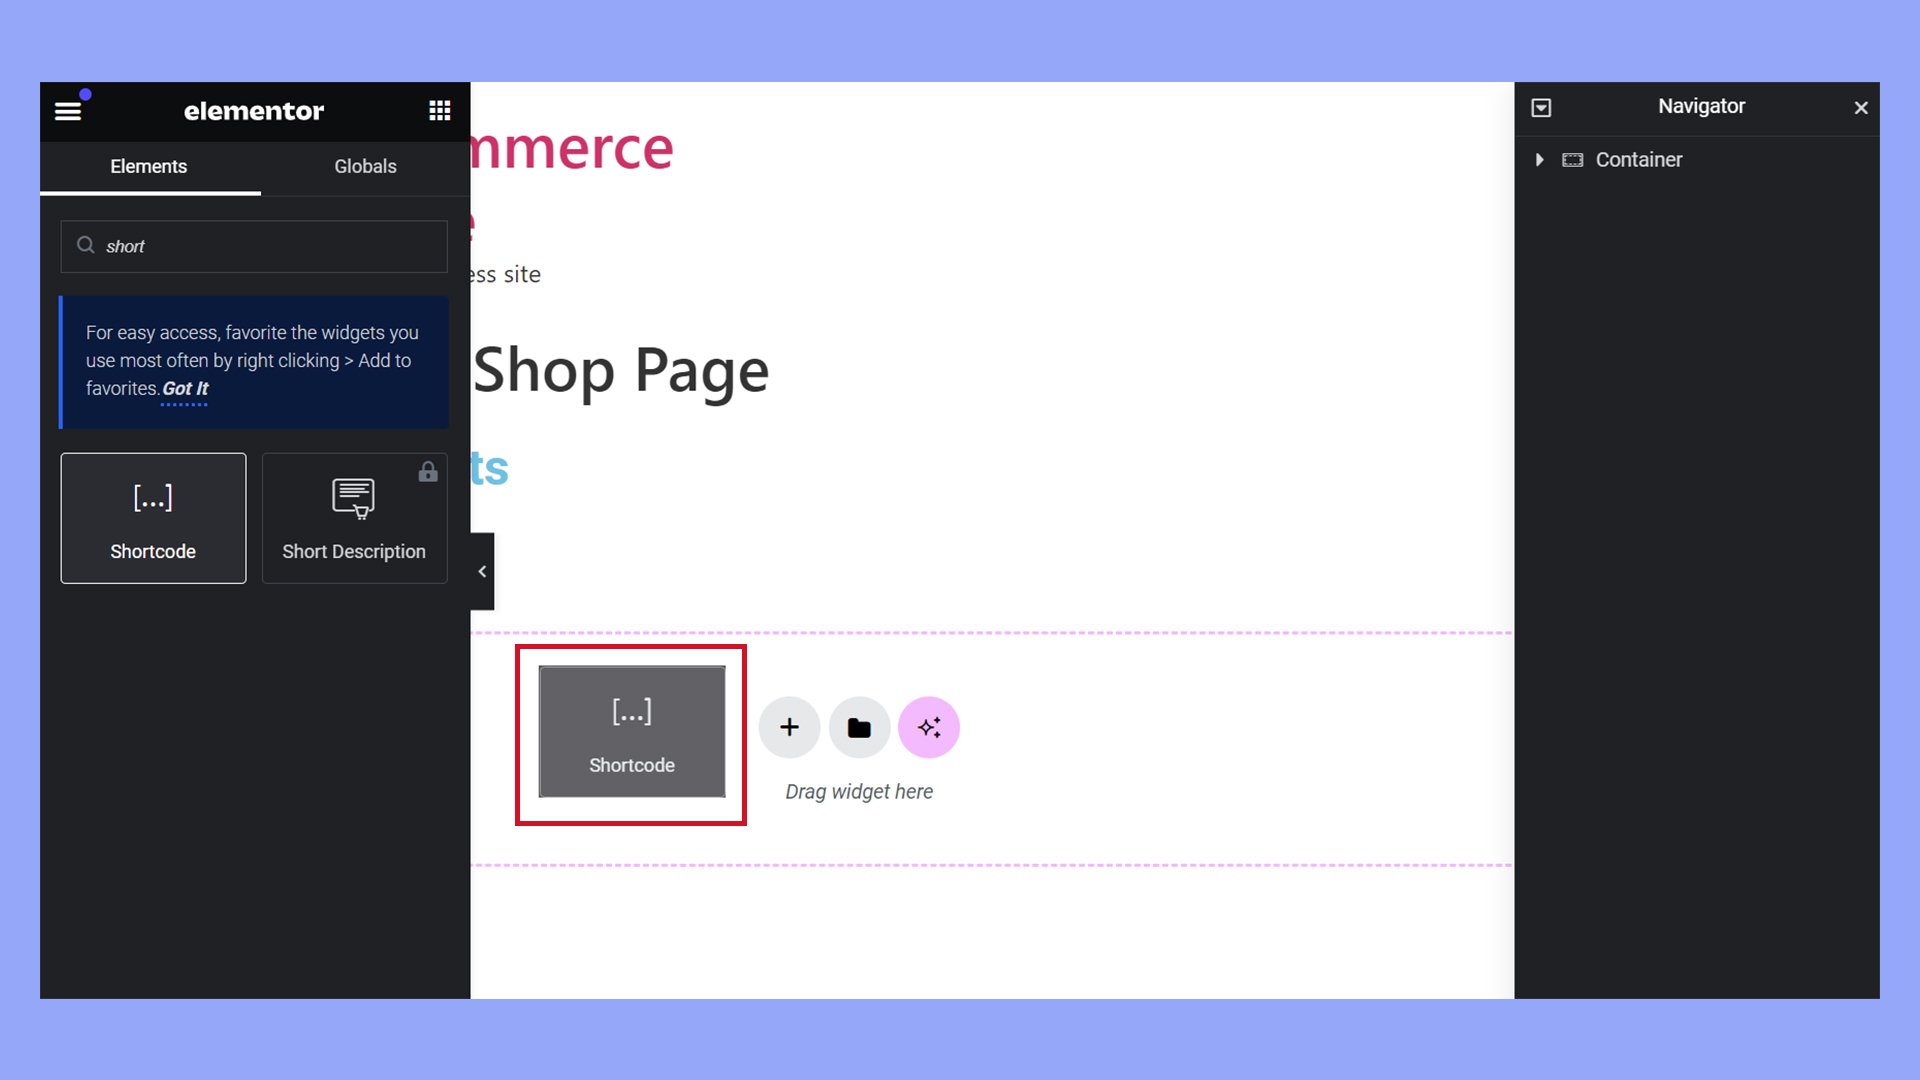
- Add a New Section: Start by adding a new section where you want your products to appear.
- Drag the Shortcode widget: Find the Shortcode widget in the basic Elementor panel and drag it into your section.

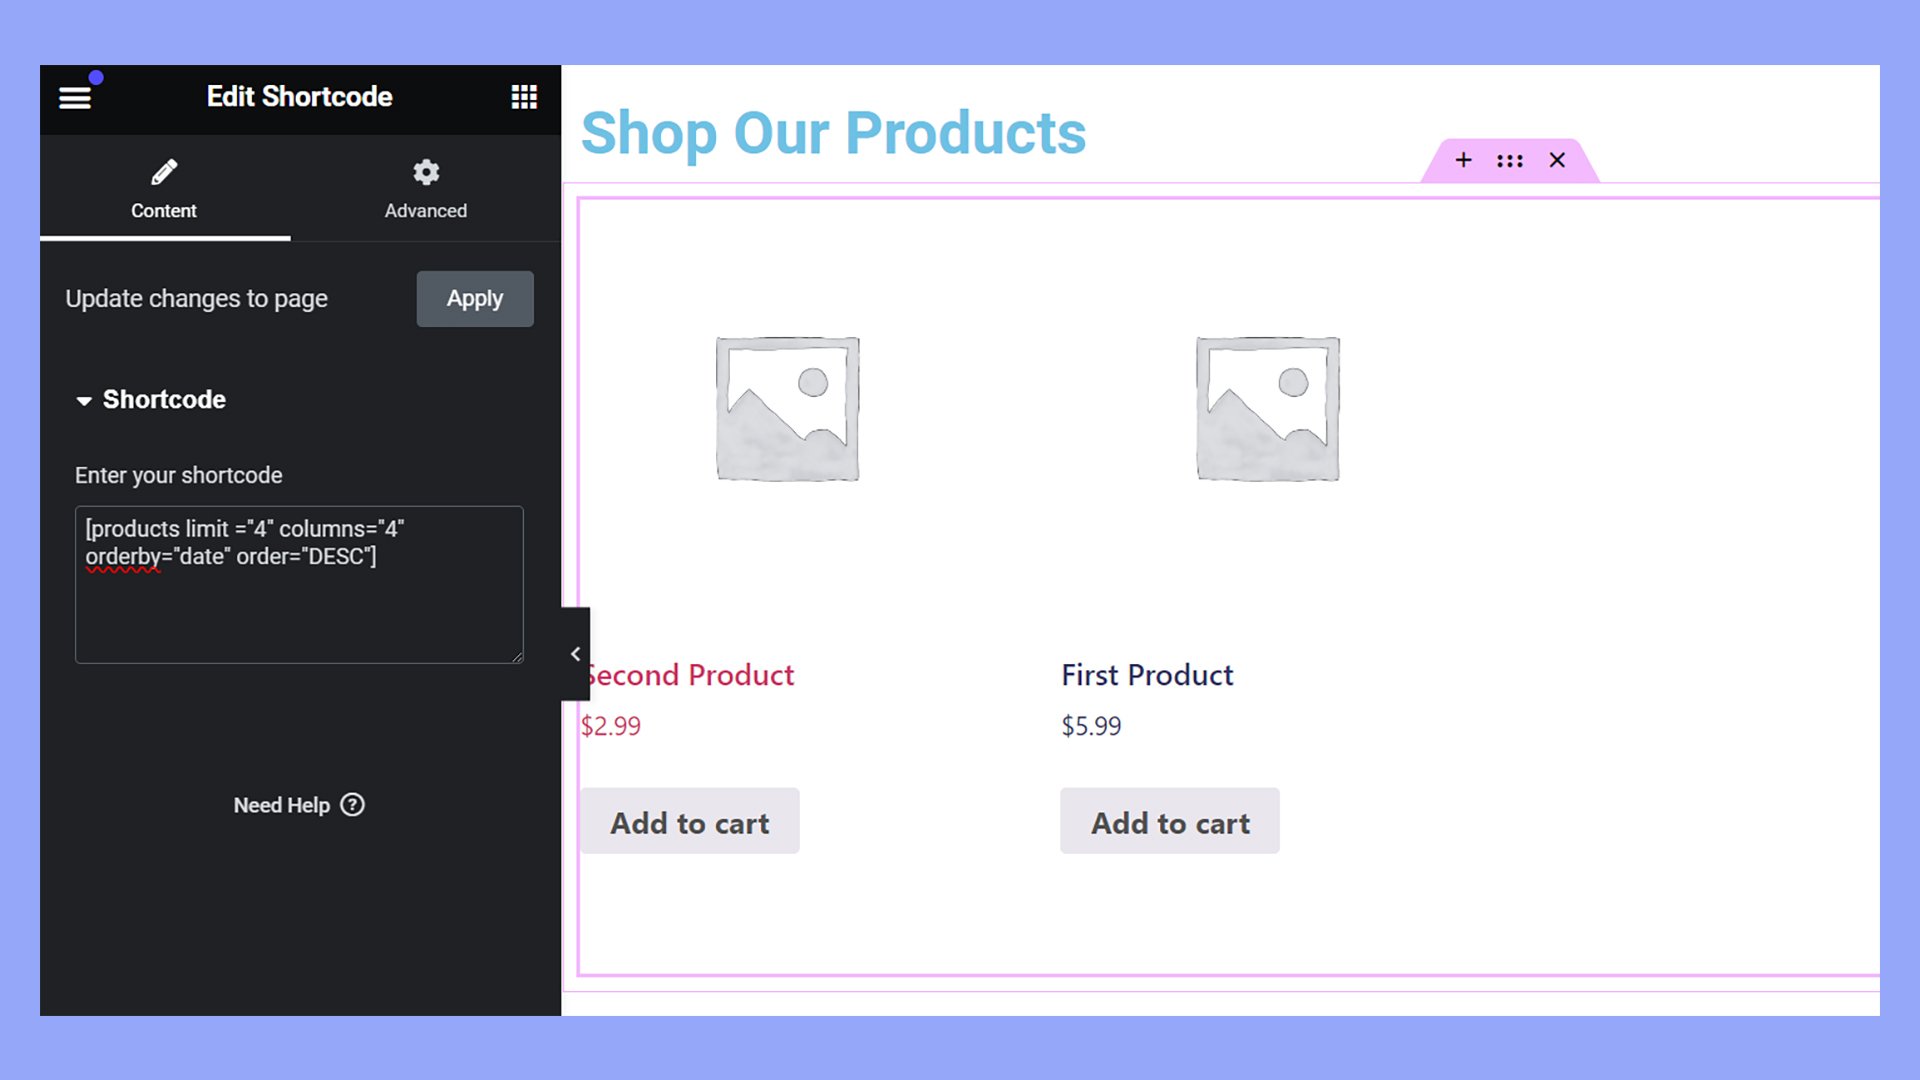
- Enter the WooCommerce shortcode: For example, to display recent products, you could use:
[products limit="4" columns="4" orderby="date" order="DESC"]
This shortcode will display the 4 most recent products in a grid of 4 columns.
Here is a table summarizing some of the most common WooCommerce shortcodes and their purposes based on the documentation.
| Shortcode | Description |
|---|---|
| [woocommerce_cart] | Displays the cart page. |
| [woocommerce_checkout] | Displays the checkout page. |
| [woocommerce_my_account] | Shows the user account page, allowing logged-in customers to view orders and manage account details. |
| [woocommerce_order_tracking] | Lets users track their order status by entering order details. |
| [products] | Highly versatile, used to list products by various criteria like IDs, SKUs, categories, and more. |
| [featured_products] | Shows products marked as featured. |
| [recent_products] | Displays a list of recently added products. |
| [sale_products] | Lists all products on sale. |
| [best_selling_products] | Displays a list of best-selling products. |
| [top_rated_products] | Lists top-rated products based on average reviews. |
| [product_category] | Displays products in a specific category. |
| [product_categories] | Lists all product categories. |
| [add_to_cart] | Shows the Add to Cart button for a specific product. |
| [add_to_cart_url] | Provides the URL to add a product to the cart. |
| [shop_messages] | Displays WooCommerce messages, typically used to show notices, errors, and confirmations. |
These shortcodes can be used within posts, pages, and widgets to create a dynamic and interactive shopping experience. For more details on WooCommerce shortcodes, including available attributes and examples, please refer to the WooCommerce Shortcodes Documentation.
Use WordPress widgets
Similar to adding a shortcode, Elementor has multiple WordPress widgets for displaying products.
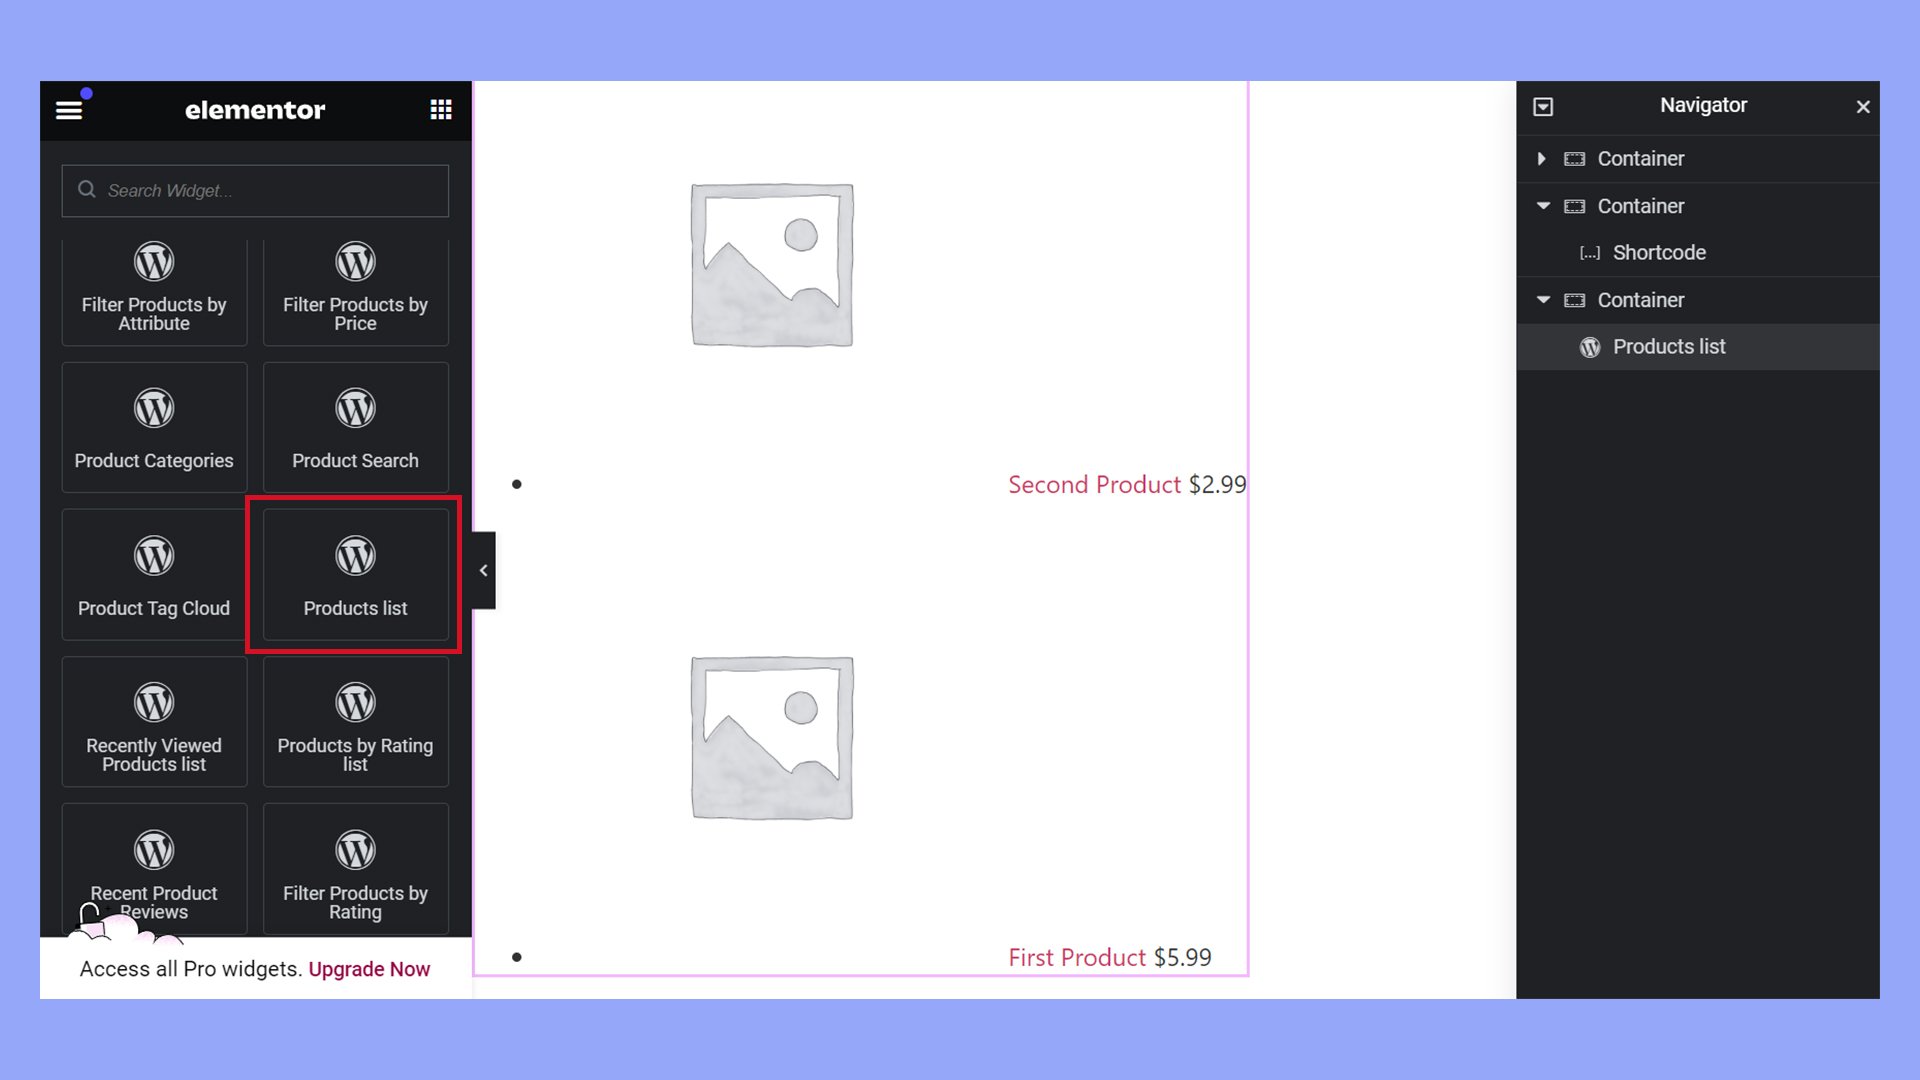
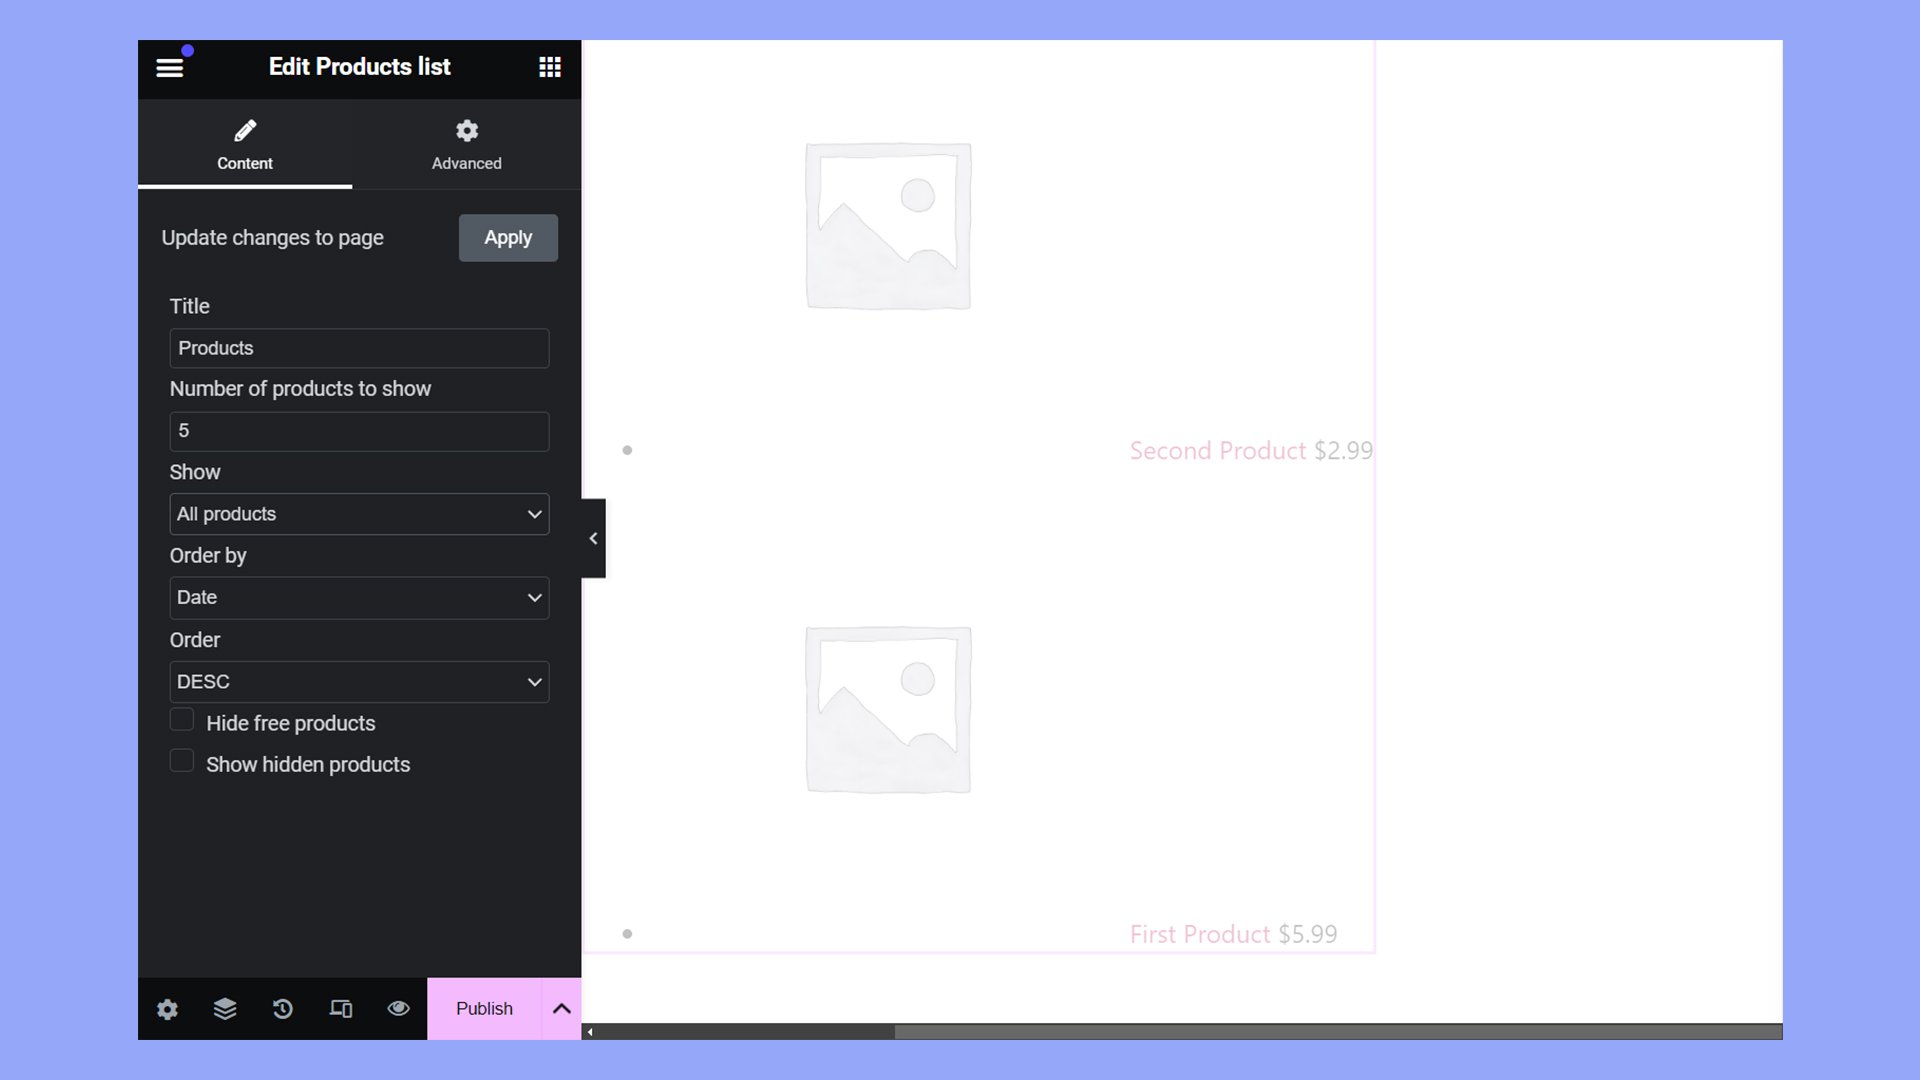
For example, the Products list widget displays a customizable grid of products. You can filter for different products in the Content tab.
Customize with basic widgets
Even though you are limited to using shortcodes or WordPress widgets for product display, you can still use other basic widgets for design and layout purposes:
- Heading widget: Use this to add titles or headings to different sections of your shop page.
- Image widget: Incorporate branding with images like banners or featured graphics.
- Text editor: Add descriptions, welcome messages, or promotional texts.
- Spacer and divider: These can help in managing the space and separation between different sections effectively.
Styling and alignment
While using shortcodes within the Text Editor or Shortcode widget, you can adjust the alignment and style indirectly through Elementor’s regular styling options. However, keep in mind that some detailed styling adjustments specific to products will need custom CSS.
Linking to categories or specific products
You can manually link to specific product categories or products by using the Button widget. Set up buttons that link to different categories or featured products on your shop:
- Add a Button widget: Place it under category descriptions or next to category headings.
- Customize the Button: Link each button to a specific WooCommerce category or product page.
- Style the Button: Adjust the button’s styles to match your website’s design.
Creating a manual layout
Instead of a fully automated product grid, you can create a manual layout.
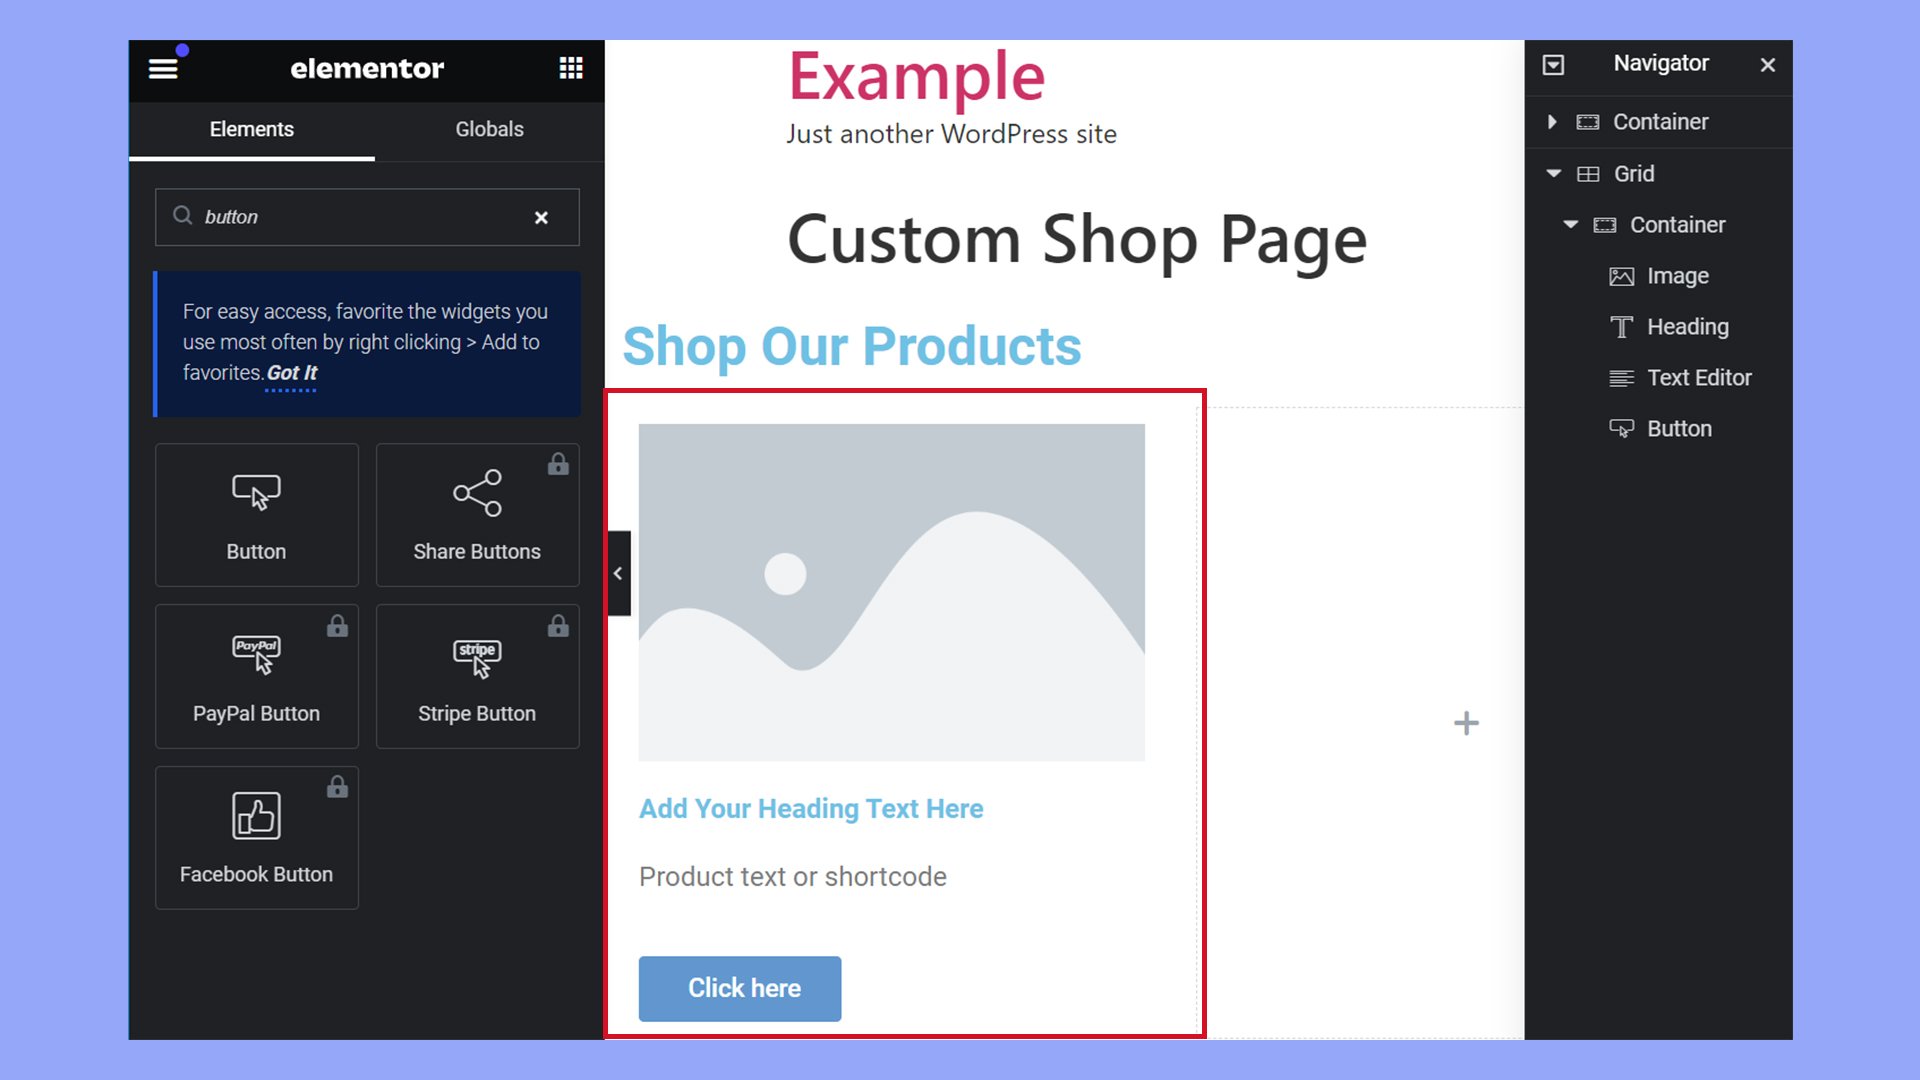
Use a combination of Image, Text, and Button widgets to create individual product displays. Each section can mimic a product card where you manually add the product image, description, and a button linked to the product page.
These methods involve more manual setup compared to using Elementor Pro, but they allow you to maintain a degree of control over the presentation and styling of your products using the free tools available in Elementor.
Advanced WooCommerce shop page customizations
When taking your WooCommerce shop page to the next level, Elementor Pro offers a host of powerful tools and widgets that allow you to edit your WooCommerce shop page. By harnessing these advanced features, you can create a more engaging and customized shopping experience for your visitors.
Using theme elements for customization
To start, identify the theme elements that are crucial to your shop’s branding.
You can then enhance these elements directly within Elementor.
Look for the option to Add New sections where you can introduce new rows and columns to better organize your content.
Remember, consistency in your theme’s design will maintain a cohesive look throughout your shop.
Leveraging Elementor Pro widgets
Next, explore the variety of Pro Widgets available in the Elementor Theme Builder.
With these widgets, you can add sophisticated features like product carousels and dynamic blocks that react to user interactions.
Take advantage of widgets such as Product Title, Product Images, and Add to Cart to construct a detailed and inviting product display.
Enhancing user experience with interactive elements
Finally, to truly captivate your audience, incorporate interactive elements like pop-ups that can provide additional product information or prompt users to sign up for newsletters.
Using Elementor’s pop-up builder, these can be customized to match the style of your shop and appear at just the right moment in the browsing experience.
Make sure these interactive features are not only attractive but also functional, improving overall user experience without overwhelming your shoppers.
Optimizing the shop page for conversions
When you’re looking to improve your online store, focusing on optimizing your shop page for conversions is crucial. It’s about blending form with functionality to create a smooth shopping experience.
Arranging product grids and lists
The arrangement of your product grids and lists can have a significant impact on your conversion rates.
A clean layout with adequate spacing helps customers browse products more efficiently.
You can use Elementor’s drag-and-drop interface to place products in a grid or list view and customize the spacing and style for a tailored design.
Keep your most popular or profitable items in prime positions, like at the top or along the visual paths that your visitors usually follow.
Customizing add-to-cart buttons
The style and placement of your add to cart buttons can greatly affect your store’s conversion rates.
With Elementor, you can customize these buttons to stand out with bold colors and clear typography.
It’s important that they are immediately visible when a customer views a product.
Ensure that the buttons contrast well with other elements on the page, and consider using hover effects to make them even more enticing to click.
Utilizing call-to-action buttons
Call-to-action (CTA) buttons guide your customers through your sales funnel.
For instance, they encourage them to Check Out now or to Learn More about a product.
With Elementor, you can design your CTA buttons to be eye-catching using brand colors and action-oriented text.
Place them strategically when editing your shop page to lead your customers toward making a purchase.
For example, you can place them near best-sellers or at the end of product lists.
Your CTA buttons should create a sense of urgency, prompting an immediate response from the shopper.
Conclusion
By following the steps outlined in this guide, you have transformed your basic WooCommerce store into a customized shopping paradise using Elementor.
Now that your store is live with a design that reflects your brand and caters to your audience, you’re well-equipped to attract and retain customers, ultimately boosting your online sales. Continue exploring Elementor’s advanced features to further edit your WooCommerce shop page and keep your online shopping experience fresh and engaging.
Simplify WordPress with 10Web
Simplify WordPress with 10Web
Skip and automate manual work with 10Web Managed WordPress Hosting and the 10Web AI Website Builder.


![Featured image for How to Make WooCommerce Faster [29 Tips and Tricks] article](https://10web.io/blog/wp-content/uploads/sites/2/2024/04/make_woocommerce_faster-742x416.jpg)