When starting your ecommerce store, Shopify seems like a great choice due to its ease of use and integrated management. However, as your business grows, you might find Shopify limiting in terms of customization. WooCommerce, a WordPress plugin, offers extensive customizability, a large plugin ecosystem, and cost-effectiveness with no subscription fees. Migrating from Shopify to WooCommerce can seem complex, but this guide breaks down how to migrate from Shopify to WooCommerce in 10 easy steps. Let’s dive in!
FAQ
Can I transfer my Shopify store to WooCommerce?
How do I import orders from Shopify to WooCommerce?
How easy is it to migrate from Shopify?
5 key benefits of WooCommerce over Shopify
1. Open source and customization
Shopify offers an easy-to-use platform where everything required to operate an ecommerce store is built in from the get-go. Users don’t have to deal with the complexity of coding within the backend part of the website. But the drawback of this is the lack of customizability and flexibility in creating a website according to your vision because the code isn’t open source and accessible.
Being open-source, WooCommerce has created a rich and active developer community that contributes to exciting new ecommerce features in the form of plugins. If you decide to migrate and use 10Web hosting in the meantime, you will access advanced editing options with a wide range of features available, offering more customization. So, if you’re considering switching from Shopify to WordPress, this might provide valuable flexibility.
2. More control and ownership
When you are using Shopify, you are simply renting a platform’s space to host your website. Everything is controlled and owned by the Shopify platform, and you have limited control over many aspects of your own website.
Compared to Shopify, WooCommerce provides complete control and ownership to you. You can choose to host your site on your own server, retain complete control over your website’s data, stay free of any platform restrictions, and add custom code to enhance capabilities. At the same time, if you choose to host your site with 10Web, you get fully managed hosting, and benefit from automated updates, backups, and a 90+ PageSpeed score.
3. Lower cost
WooCommerce is significantly cost-effective to use compared to Shopify for ecommerce stores.
Shopify charges users a sales commission on all sales which ranges from 0.5-2%.
- If you are a small business owner, this commission can be a burden given limited financial resources.
- If you are a large business owner, this commission can add up to be a hefty amount, considering your large sales volume.
In both cases, the sales commission burdens any ecommerce site owner’s pocket. On the other hand, WooCommerce does not charge any sales commission.
On top of that, Shopify has a monthly subscription fee that all users pay to use the platform, where pricing varies based on the features you opt for. WooCommerce (and WordPress) is completely free, and you don’t have to worry about monthly subscription fees, especially when scaling your business.
4. SEO optimization
Organic traffic from search engines like Google accounts for a major part of sales for many ecommerce stores and is an integral part of marketing strategies. While SEO might not seem like an issue for ecommerce stores starting out, being limited to optimizing for SEO can be an issue once you start growing and need to optimize to maximize your sales.
With Shopify, you’re notoriously limited with SEO because of the limited ability to technically optimize many important aspects of your website. This includes limited ability to create search engine optimized URL structures, limited structured data customization, limited pagination and canonicalization support, limited robots.txt file control, limited blog optimization, and much more. This also includes limited options for speed optimization of a website, which might affect SEO significantly.
In contrast, WordPress is the leading tool when it comes to SEO optimization. Most of the sites that rank on Google are built on WordPress, and you have a lot of customizability to optimize your site the way you want it. You also have access to multiple SEO plugins that can help you manage this.
5. Speed optimization
WooCommerce’s flexibility and customizability compared to Shopify make it easier to optimize your site speed without any platform limitations involved. You can lower the time it takes for users to open your site by choosing from a diverse range of speed optimization plugins available.
There are many popular plugins for this, such as 10Web’s Website PageSpeed Booster which improves your site’s speed without manual coding or other work involved. You simply activate the plugin, and the tool does its magic. The result is a 90+ PageSpeed score necessary for an optimized user experience and SEO. On top of that, having your site hosed on 10Web, you access the built-in speed optimization, which is very essential to an ecommerce store, making your visitors stay long and make purchases without being frustrated of the loading time.
Want to speed up your website instantly?
Get 90+ PageSpeed Score automatically with 10Web Booster.
On any hosting!
10 simple steps to migrate from Shopify to WordPress WooCommerce
Step 1: Back up data from your Shopify store
First off, start by making sure all valuable data is backed up safely in a separate environment. In case of issues during the migration process, you can revert back to the original state of the store.
To back up your Shopify data, you can either manually download it as a CSV file to move to valuable data (products, customer data, order history, etc.) or download an app from the Shopify app store that automates this process.
Valuable data from your Shopify store to backup includes:
- Product information: Details of all products, related images, and variations
- Customer data: Details of all customers including order history, e-mail addresses, etc.
- Analytics data: All analytics data that you were tracking Shopify such as customer journeys, customer buying patterns, etc., should also be moved.
- Content: Content such as all website pages including the copy, blog posts, and any related content, should be backed up.
Step 2: Set up your WordPress site
Next, you need to set up your destination environment i.e., WordPress. First, choose a hosting provider and purchase a hosting plan. You will get access to your hosting dashboard. From there, follow the instructions on how to install WordPress. Once WordPress is installed, you’ll get access to your WordPress dashboard.
Tip: To skip the hassle of manually setting up your WordPress site, check out 10Web AI Ecommerce Website Builder. In a few simple steps just by answering a couple of questions about the kind of site you want, get a professional WooCommerce site built for you by our AI tool within minutes.

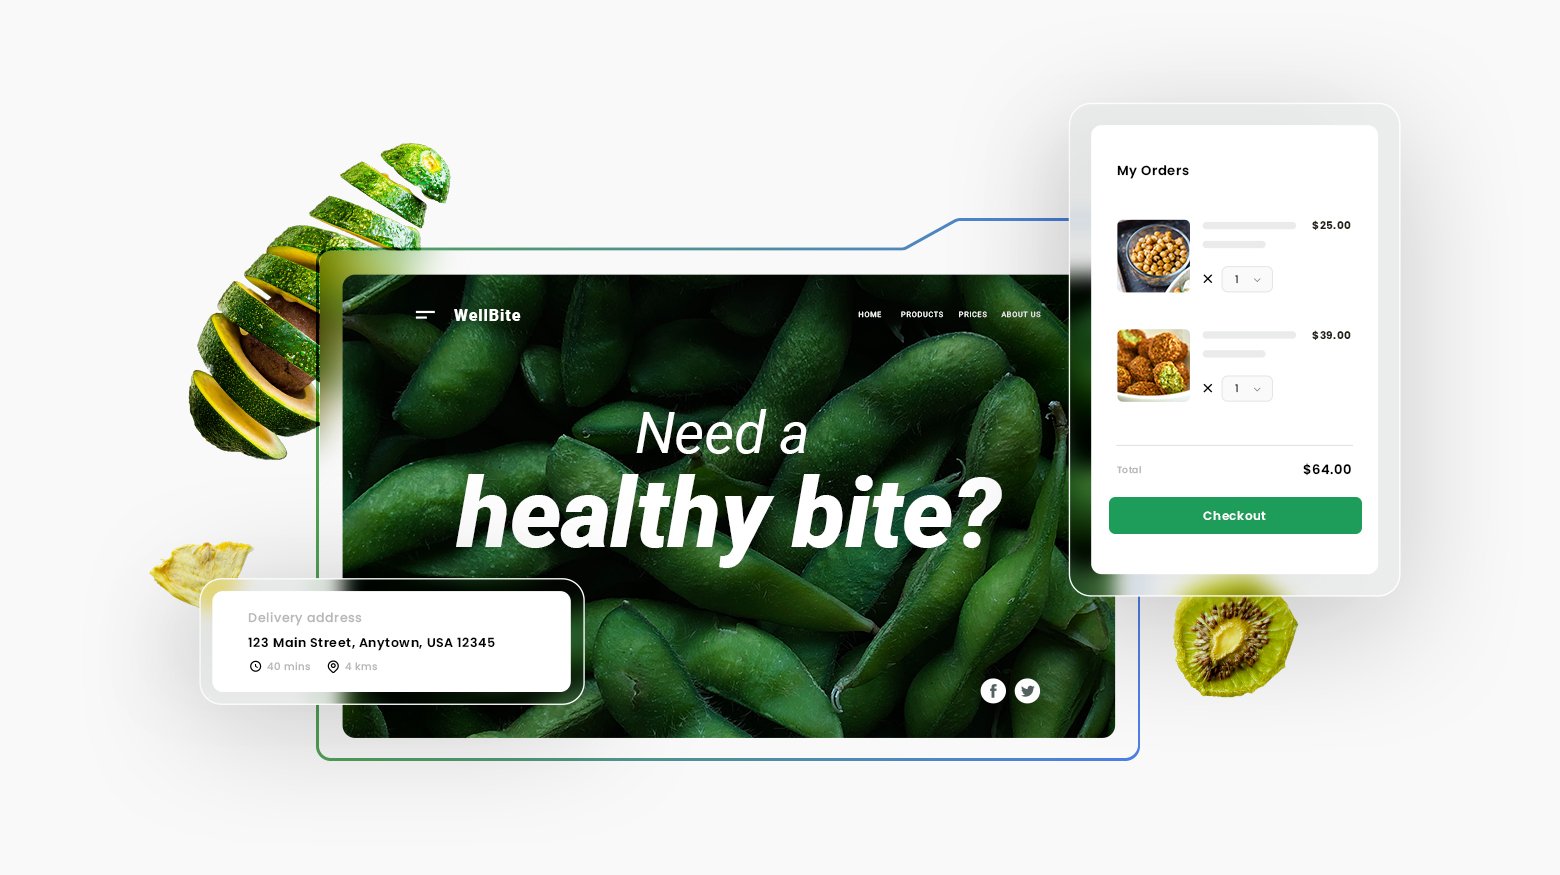
Looking to sell online?
Create your custom online store in minutes with 10Web AI Ecommerce Website Builder and take your business online.
Step 3: Install WooCommerce
To install WooCommerce, follow these two steps:
Step 1: WooCommerce comes as an ecommerce plugin that will attach to your WordPress site. To install WooCommerce, go to your WordPress dashboard > Plugin > Add New.
Step 2: Once you click on New, you’ll see a search bar where you can search all of the available plugins on WordPress. Search for WooCommerce, and once you find it, click on Install Now. Once installed, click on Activate. Once activated, you’ll have WooCommerce installed on your WordPress site.
Step 4: Choose your desired theme
Next, choose a theme that best matches your brand’s personality. You can opt for a new theme to give your ecommerce site a new look different from the old Shopify one, or you can even choose to customize your theme to match the old theme on your Shopify website. 
Step 5: Migrate your data
The moment of truth arrives when you need to migrate your data. As emphasized earlier, make sure your data is backed in a separate environment (such as a hard drive or a separate cloud environment) so you can revert back to the original site state if anything goes wrong during data migration. To export Shopify to WooCommerce, follow these steps:
Step 1: Export all of your Shopify data from the Shopify admin panel. To do this, go to Products in the admin panel and then click on the Export button.
Choose the file format (such as CSV) you want to save the data in and then choose all of the data you want to export. This will include product and collection pages, customer data, order history, and so on. Once done, download the CSV file.
Step 2: Once you have your CSV file, the next step is to upload it to WordPress. To do this, go to your WordPress dashboard and then WooCommerce > Products.
You’ll see the Import button at the top. Click on it and you’ll then be prompted to map the CSV file. By default, WooCommerce tries to automatically match all of the required fields based on the data of the CSV file. But if it fails, you’ll have to manually fill these fields in to correctly match the data.
Step 3: Once all of your data is mapped, go and verify on your WordPress site to see if all of the product and collection pages, customer data, order history, etc. are correctly mapped. Once verified, pat yourself on the back. Your Shopify data has been migrated over to WordPress.
Tip: As someone running an online business, your job should be to focus on the business aspect of things without worrying about technical aspects of site building such as creating a data backup plan.
Step 6: Configure and set up payment gateways
Next, you will need to configure your payment gateway on WordPress so you can start receiving payments on this new platform. Here’s how:
Step 1: Open the WooCommerce plugin by going to the WordPress dashboard and clicking on Plugins > Settings.
Step 2: On the Settings page, click on the Payments tab at the top.
Step 3: Next, you will see a number of payment gateway options to choose from, such as Paypal, Stripe, Square, Auhtorize.Net, Verifone, etc. Based on your location and the nature of your business, you’ll configure any additional settings accordingly.
Step 4: Finally, once the payment gateway is selected and you’ve configured your settings, it’s important to run a payments test to see if everything is working smoothly. Make a couple of small, test payments and verify this. And that’s it, you’re all set with your new payment gateway.
Step 7: Set up shipping and tax information
Next, it’s time to set up your shipping and tax information on WordPress. With the WooCommerce extension, you can automate most of this so that all taxes and relevant shipping information are updated based on your settings. You can configure to automate information such as the shipping zones, shipping methods, and tax calculation methodology. Here’s what to do:
Set up shipping on WooCommerce
Step 1: Go to WooCommerce > Settings > Shipping.
Step 2: Choose your desired zone, like the United States, United Kingdom, France, etc.
Step 3: Set up all relevant information such as shipping methods, shipping costs, etc.
Step 4 (Optional): Set up shipping classes if you want to customize shipping costs based on specific regions, products, etc.
Setup tax information on WooCommerce
Step 1: Start by going to WooCommerce > Settings > General.
Step 2: Next, click on the Enable tax rates and calculations checkbox and make sure it’s checked. Once done, go ahead and save the changes.
Step 3: To configure taxes according to your preferences, go to WooCommerce > Settings > Tax. (This will only show if you have taxes enabled as explained in the above step).
For more information on taxes in WooCommerce, check out WooCommerce’s official tax documentation.
Step 8: Perform testing before going live
Post-migration, it’s extremely crucial to test all aspects of your new WooCommerce to ensure everything is running smoothly. Here are all of the components of your new WooCommerce store that you should test out:
- Product testing: Cross-check all Shopify products to make sure they are on WooCommerce with their correct product title, descriptions, variations images, prices, tags, categories, etc.
- Customer and order data testing: If you migrated customer and order data over from Shopify, do a test to see if all of this data is showing up on your WooCommerce store. Make sure the customers who have already purchased products, can log in and see their orders or purchase more stuff.
- Functionality testing: Test out your new website to verify if buttons (like add to cart) are working correctly, if the checkout process is working correctly, perform a speed test to see loading time, etc.
- Cross-browser and device testing: It’s crucial to verify if the website is working correctly on different browsers and devices (laptop, mobile, tablet, etc) or not. This is crucial to ensure a frictionless user experience.
- Theme and design testing: Go through all pages of your new site to verify if the theme is correctly enabled and to check for any misalignment or wrong layout on any page. This is more crucial if you’re using a custom theme.
With 10Web AI Ecommerce Website Builder, stop worrying about manually customizing a theme for your new WooCommerce store. You can even customize your new WooCommerce store according to your requirements without any hassle. For new, small businesses, it might be better to create a new store with AI automation and import products then. 10Web ecommerce website builder allows you to generate your customized ecommerce site in minutes.
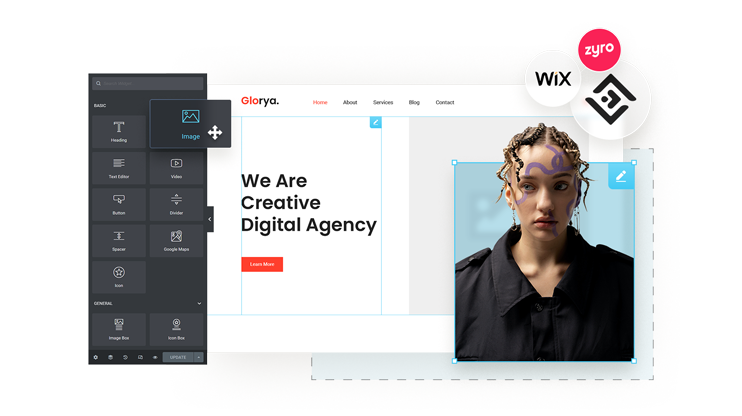
Build your website in 1 minute
Create your dream website with 10Web AI Website Builder
and take your business online!
Step 9: Redirect relevant URLs
The next important step is to ensure all of the old Shopify URLs point toward your new WooCommerce store. If ignored, it can confuse old customers who might be using old links to access your store. These “broken links” can also negatively impact your SEO rankings on search engines, as search engines Google considers broken links as a crucial factor when ranking websites.
To redirect old URLs, here’s what to do:
Step 1: Choose a plugin that allows for easy redirects. If you have a large number of product and collection pages, such a plugin will come in handy. Some popular redirect tools include 301 directs, Yoast SEO Premium, and Redirection.
If you’re using 10Web, you can configure redirects from the 10Web dashboard for sites hosted on 10Web. To do this, go to Manage Site > Hosting > Redirects.
Step 2: Identify all old Shopify URLs that are no longer valid. If you have a large enough website, you can use a tool like Screaming Frog to identify all such links.
Step 3: Finally, based on the plugin you’ve chosen, you can enter the old URL along with the new URL. The plugin will make sure the old URL points towards the new one. 
Step 10: Go live!
Finally, once you’ve tested the migration process and ensured everything has successfully migrated, it’s time to go live. Here are some additional tips that will come in handy after your successful Shopify to WooCommerce migration:
- Send out a promotional e-mail to your customers: If you have e-mails of past customers, use them to send out a notification about the move. Tell them that while it will not affect them in any way, they are set for a better user experience on their website since new functionality has been added.
- Update social media: All of the links you’ve posted on social media are for your old Shopify site. While redirects will ensure people always visit the correct new WooCommerce site, it’s best to give all of the links you have shared on social media another look to ensure consistency.
- Keep the backup data stored safely: While your new WooCommerce store is up and running and the old Shopify store is no longer needed, make sure the data you backed during migration is still safely kept. If any issues arise a week, month, or even a year after migration, the backup data can come in handy.
Related Articles
Conclusion
Migrating from Shopify to WooCommerce offers numerous benefits such as advanced customization, complete control and ownership, lower costs, and improved SEO. While the process may seem challenging, careful planning ensures a smooth transition.
Post-migration, you’ll enjoy powerful features available with WordPress, including diverse plugins and extensive customization options. At the same time, opting for 10Web hosting, you’ll benefit from automated updates, backups, and a speedy page, enhancing both user experience and SEO. Embrace the new capabilities and flexibility. Good luck!
Looking to sell online?
Create your custom online store in minutes with 10Web AI Ecommerce Website Builder and take your business online.
Simplify WordPress with 10Web
Simplify WordPress with 10Web
Skip and automate manual work with 10Web Managed WordPress Hosting and the 10Web AI Website Builder.